


For some Office 2007 users, the introduction of the Ribbon caused some problems. However, you can take advantage of it by including your own customizable tabs that contain frequently used commands, making it faster and easier to work with a document.
We’re using Word in the example, but you can create tabs in other Microsoft Office applications as well.
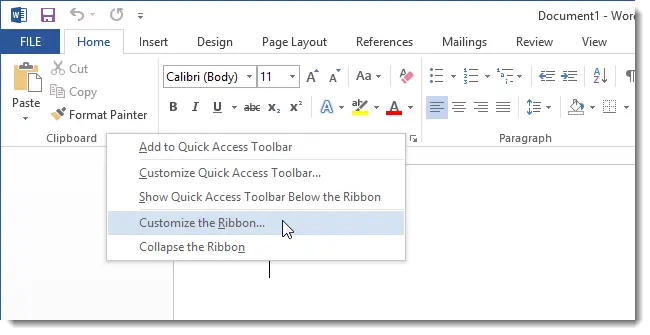
To create a custom tab, right-click on the Ribbon and select Customize the Ribbon (Ribbon setup).
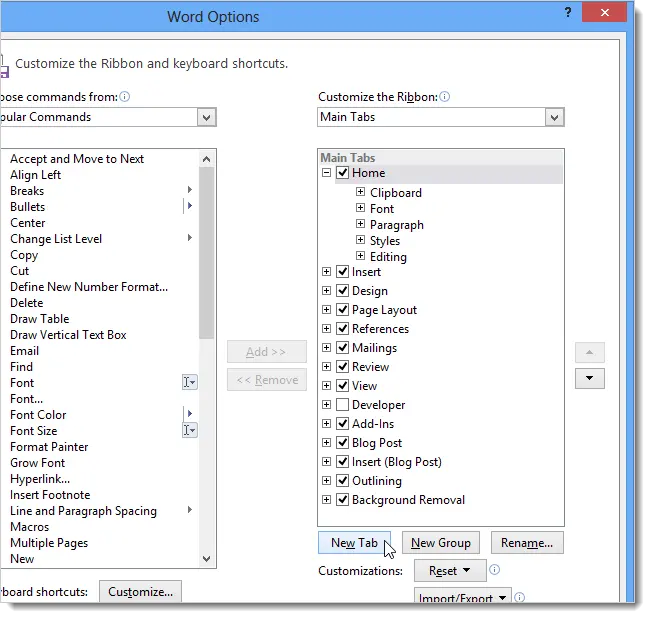
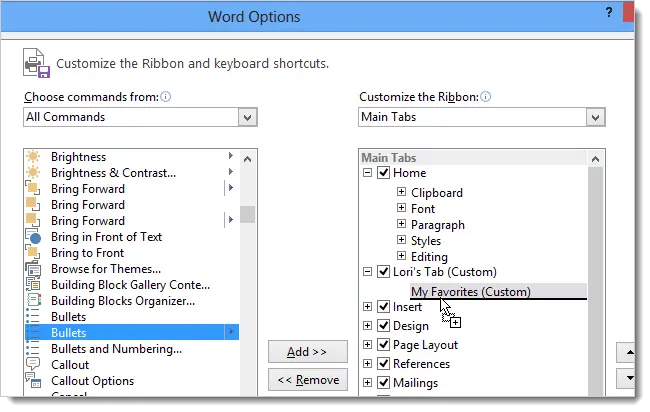
In the dialog box Word options (Word Options) tab opens Customize Ribbon (Customize Ribbon). On the right side of the dialog box, the tabs that appear on the Ribbon are listed as a list. Click the button New Tab (Create Tab) at the bottom of the list.
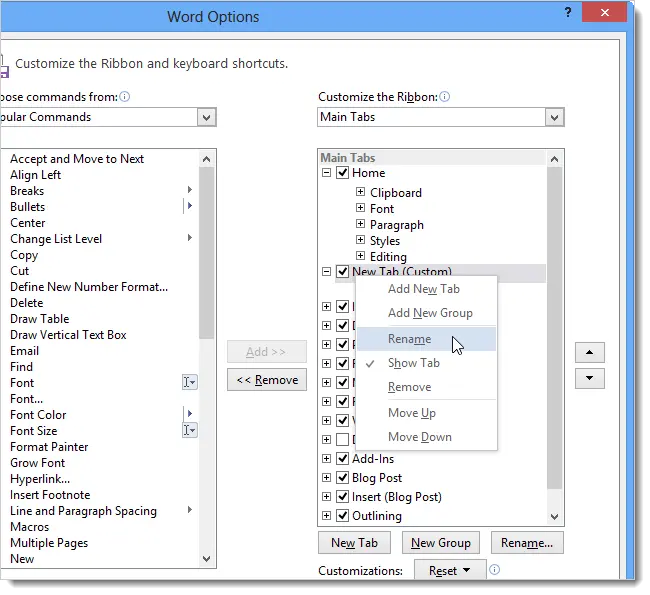
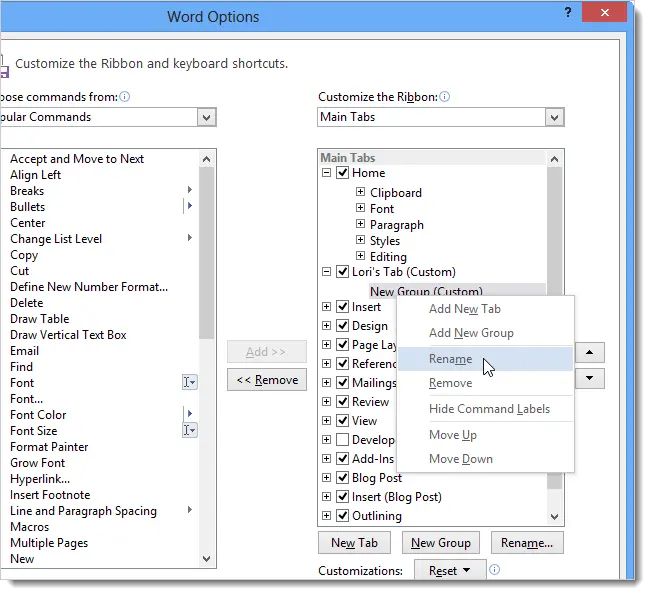
The new custom tab will appear below the highlighted tab, by default below the tab Home (Home). To rename a new tab, right-click on it and from the context menu select Rename (Rename).
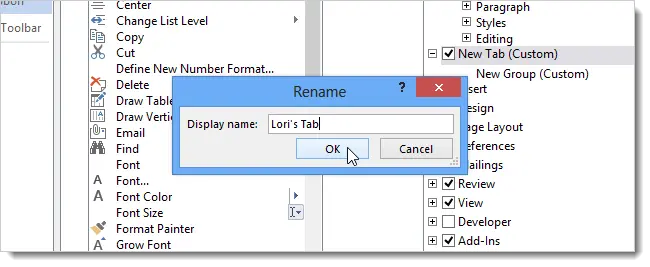
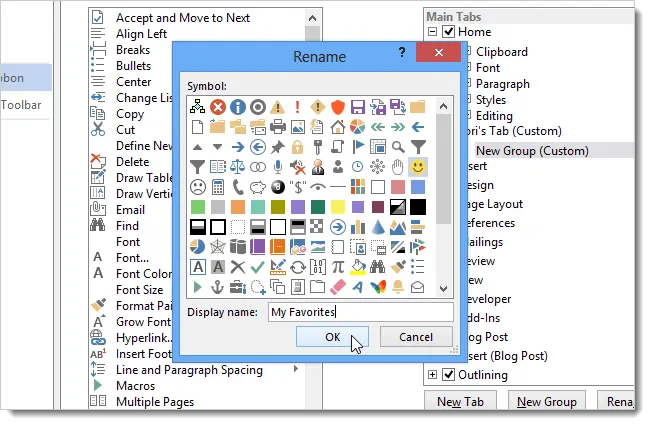
In the dialog box Rename (Rename) in line Display name (Display Name) Enter a new name for the tab and click OK.
Each tab must contain at least one group of commands. When you create a new tab, a new group is added automatically.
In the dialog box Rename (Rename) in line Display name (Display Name) Enter a name for the group. In addition, you can select an icon from the box Symbol (Character) to display this group when the Ribbon changes size.
Note: You can add multiple groups to a tab if you want to categorize commands.
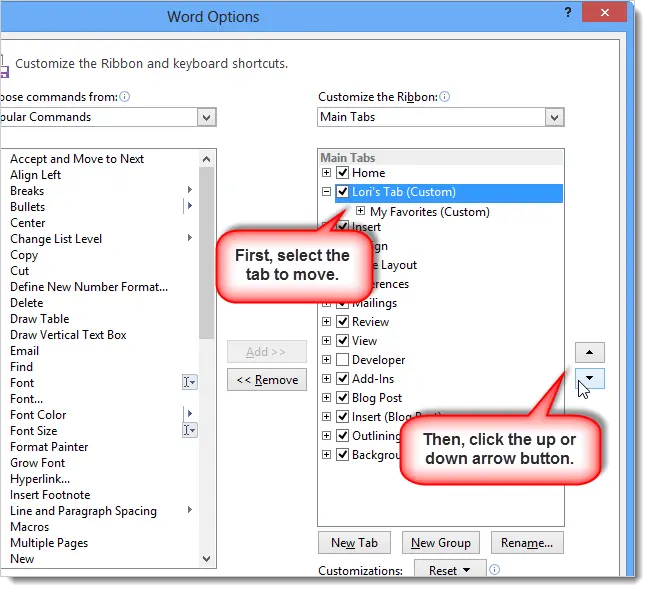
Because the tab Home (Home) was highlighted when we created a new tab, the last one was placed right below it. You can move a tab around the Ribbon by selecting it and clicking the up and down arrow buttons.
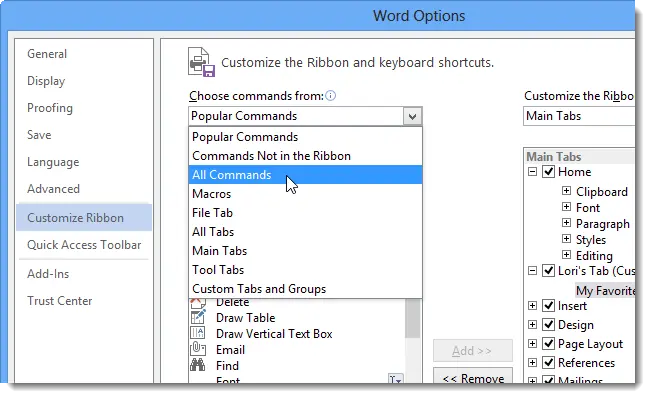
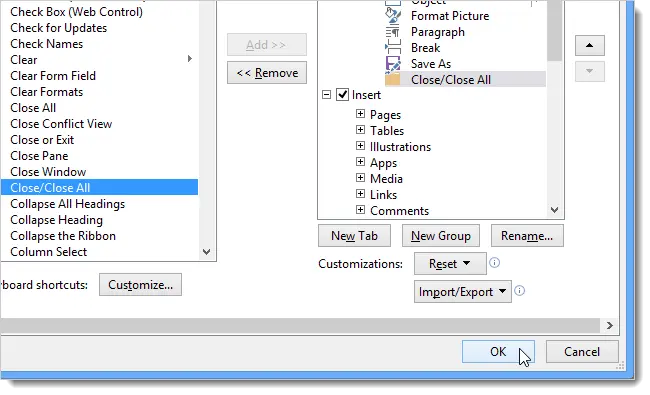
To add a command to a specific New Tab group, select it from the list of commands on the left. You can filter the list by selecting the desired option from the dropdown list. Choose commands from (Select commands).
To add a team to a group, drag it to the right under the group name (or other team name) until you see a horizontal line. You can also add commands by highlighting a group, selecting a command, and clicking Add (Add).
Note: You can use the up and down arrow buttons to move commands within groups.
When you have added all the necessary groups and commands, click OKto confirm changes and close the dialog Word Options (Word Options).
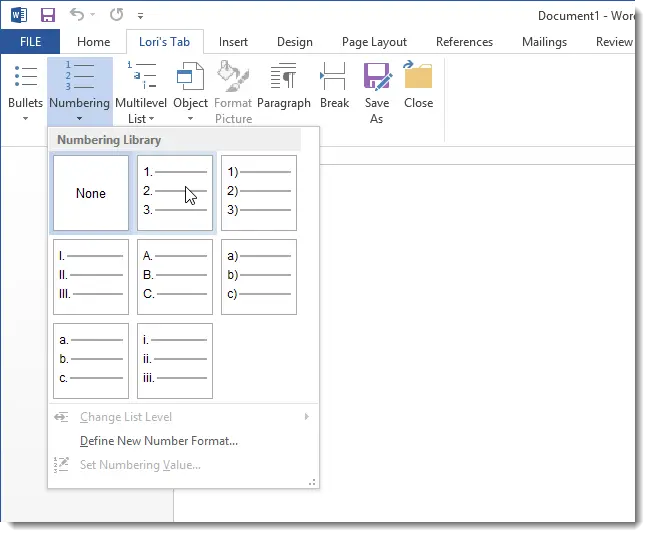
A new tab is now displayed on the Ribbon, providing quick access to frequently used commands.
You can also back up custom tabs. This will allow them to be imported when you reinstall Word (or other Office programs). Also, with the help of backups, you can transfer certain settings to another computer; for example, when you need to change PC.
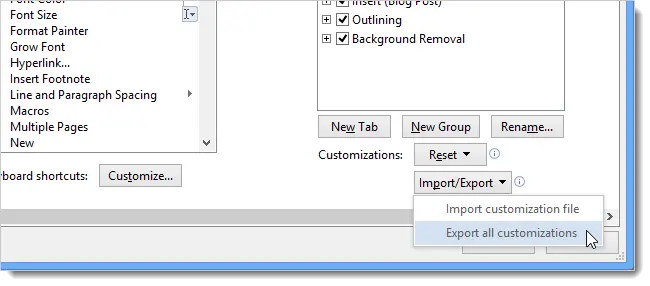
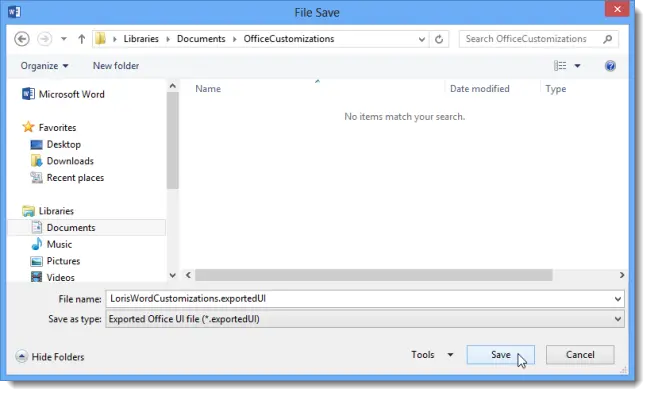
To back up your settings, right-click on the Ribbon and select Customize the Ribbon (Ribbon setup). In the dialog box Word Options (Word Options) at the bottom of the tab Customize Ribbon (Customize Ribbon) click on Import /Export (Import and Export) and select Export all customizations (Export all settings).
In the dialog box File Save (Save file) select the path to save the backup copy of your settings, name the file in the field File name (File name) and press Save (Save). For safety, you can copy this file to external media.
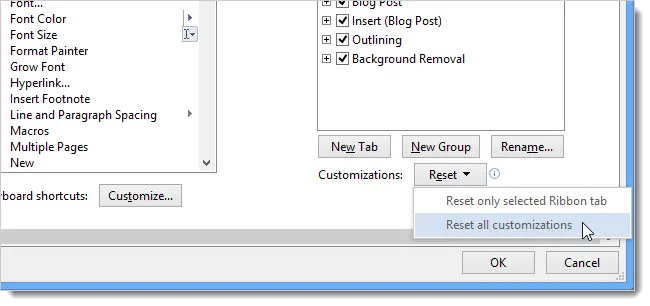
If you wish to delete any previously created tab, or changes made to built-in tabs, click on Reset (Reset) and select Reset all customizations (Reset all settings). If you need to reset changes in only one built-in tab (not a custom one), select the one you need and click Reset (Reset), and then select Reset only selected Ribbon tab (Resets only the selected ribbon tab).
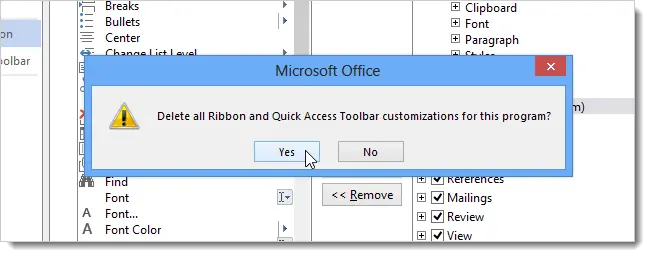
If you have selected the option Reset all customizations (Reset all settings), a dialog box will appear on the screen to confirm your decision. Click Yes (Yes) to remove all changes in built-in and custom tabs.
Note: The confirmation dialog does not appear if you select the function Reset only selected Ribbon tab (Resets only the selected ribbon tab).
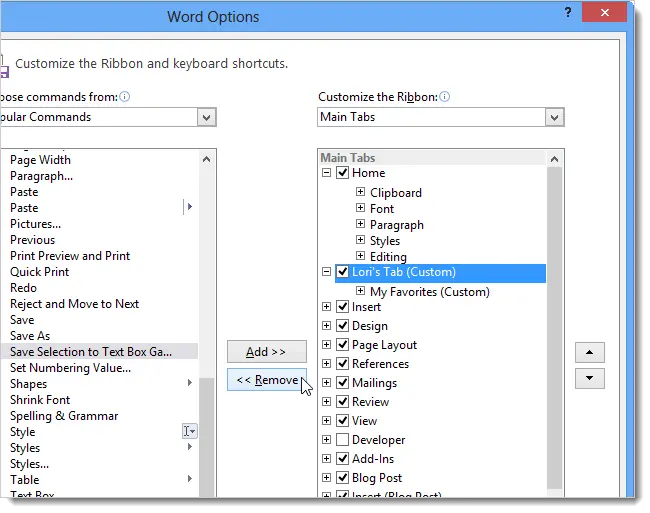
Another way to remove a custom tab is to select it and click Delete (Delete). This action will not affect any changes made to built-in tabs.
Note: The confirmation dialog does not appear if you delete a custom tab. Before deleting it once again, make sure that your decision is correct.
The ability to customize the Ribbon by creating your own tabs is a useful tool for quickly and easily working with documents. You can group frequently used commands by organizing quick access to them.