


Sometimes we carefully and diligently enter data in Excel columns and only towards the end we realize that it is much more convenient to arrange them horizontally, i.e. not in columns, but in rows. Yes, for this it was worth working hard to understand that from the very beginning it was necessary to do everything the other way around! Do not rush to delete the work done and start all over again. Excel has an easy way to transpose an entire table and keep the structure.
In this article, we provide examples and screenshots from the x2010 version of Excel 64. In other versions, starting with Excel 2003, this technique works similarly, but there may be differences in the interface, menu structure, and dialog boxes.
Converting a column to a row
So we have the following Excel spreadsheet:
The data is in two columns, but we want to make the table horizontal and have the same data in two rows. Select the cells you want to convert. Then right click and select Copy (Copy) or just click Ctrl + C.
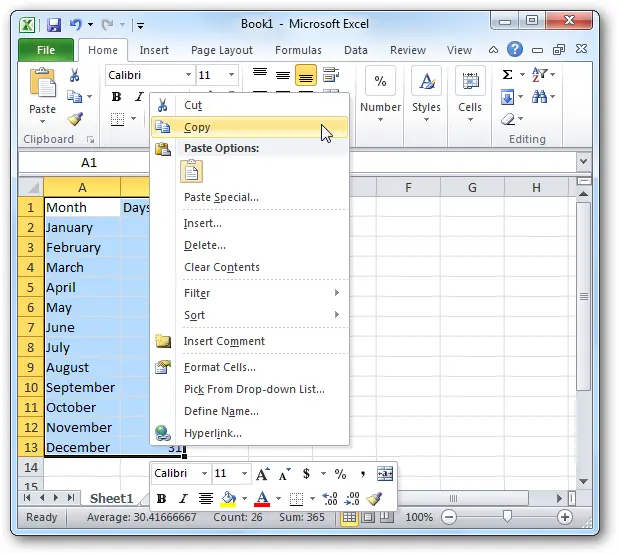
Now right-click in the cell where you want to place the converted data and select from the context menu the item paste Special (Special Paste):
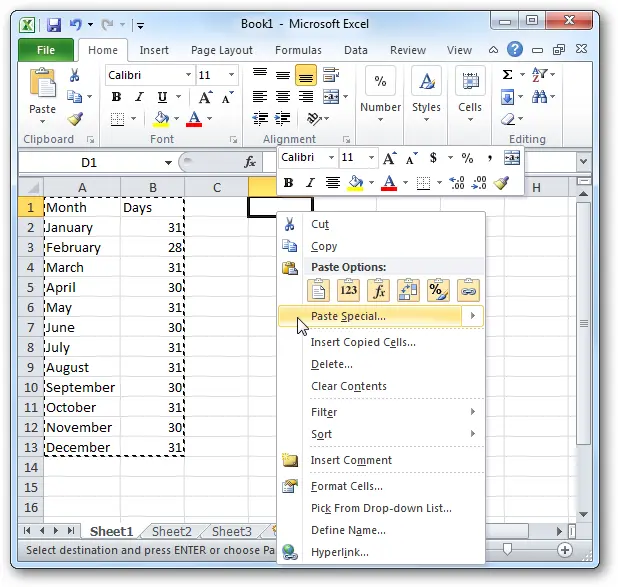
In the opened dialog box Paste special (Paste special) select item Transpose (Transpose) and press OK.

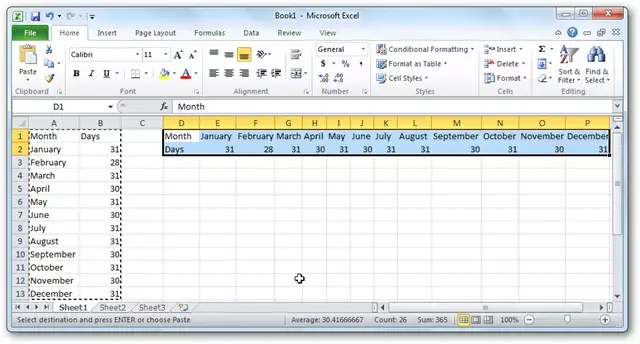
Now your columns have been converted to rows!
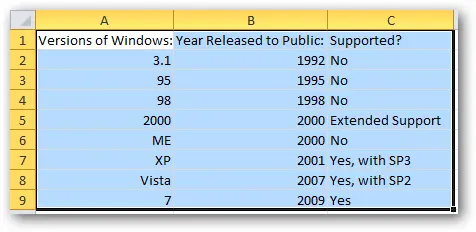
In exactly the same way, you can convert rows to columns. Here is a small example:

After copy and paste special with option enabled Transpose (Transpose) rows converted to columns.
This is a great way to arrange information on an Excel sheet the way you want it.