


Do you use the Windows calculator to make quick calculations when generating sheets in Excel? You can save your time by adding a calculator to Quick Access Toolbarso you don’t have to leave Excel every time to start the calculator.
- To do this, click on the arrow to the right of the Quick Access Toolbar and select More Commands (Other commands) in the drop-down menu.


- You will be in a dialog box Excel Options (Excel Options) under Customize the Ouick Toolbar (Customize Quick Access Toolbar). Drop Choose commands from (Select commands from) select item Commands Not in the Ribbon (The commands are not on the ribbon).

- Scroll through the extensive list and select Computer (Calculator). Click the button Add (Add) to make the command appear on the Quick Access Toolbar.

- Press OKto accept the change and close the dialog Excel Options (Excel Options).

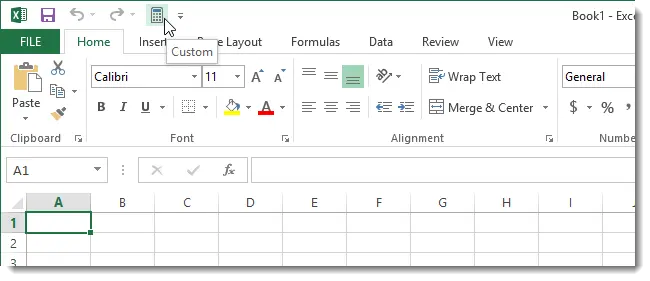
- You will see a calculator icon on the Quick Access Toolbar. When you hover the mouse over the icon, the name of the command is displayed: Custom (Other). Regardless, when you click on a command, the Windows Calculator opens.
To add a Windows Calculator to Excel 2010, follow the same steps.