


Word automatically formats items such as quotation marks, bulleted and numbered lists, and horizontal lines. If you type three or more dashes, underscores, or equal signs in a row in a single paragraph and then press Enter, then these characters are automatically replaced by a single, thick single or double horizontal line, respectively.
In most cases, this helps save time, but not in the situation when these characters are really needed in the document, and you do not want Word to turn them into a horizontal line across the entire width of the page. You can do different things: cancel this action, remove the horizontal line, or prevent Word from automatically creating it.
Use keyboard shortcut Ctrl + Z immediately after entering a sequence of characters and pressing Enter. This will cancel the automatic creation of the horizontal line. The line will disappear and the characters you entered will reappear on the page.
However, doing this undo every time a horizontal line is inserted is not very practical. The line can be removed later, but let’s first understand how Word creates a horizontal line. When you press Enter after the entered character sequence, Word removes those characters and adds a bottom border to the paragraph, just below it.
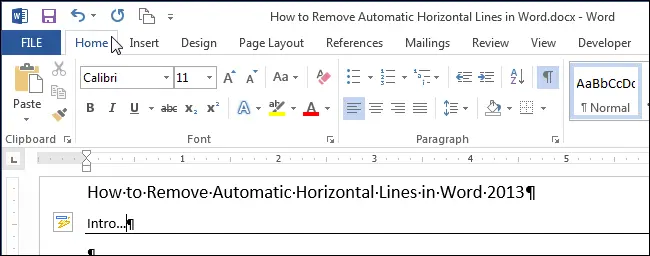
To remove this border, place the cursor in the paragraph directly above the line. Open a tab Home (Home) on the Menu Ribbon.
In section Paragraph (Paragraph) click the down arrow to the right of the button Boundaries (Borders) and from the drop-down menu select no border (No border). This will remove the line under the paragraph in which the cursor is located.

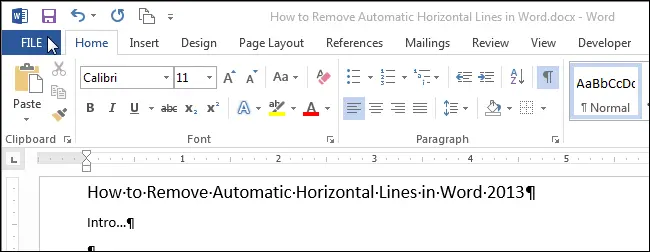
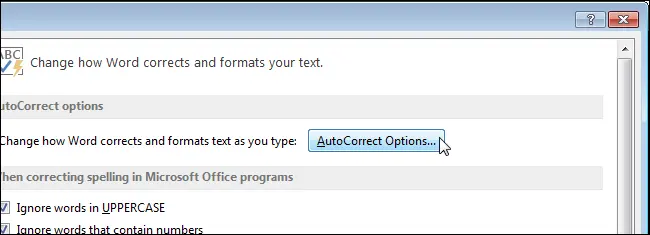
If you do not want to cancel the automatic creation of a horizontal line each time, you can simply disable this option. To do this, open the tab File (Queue).
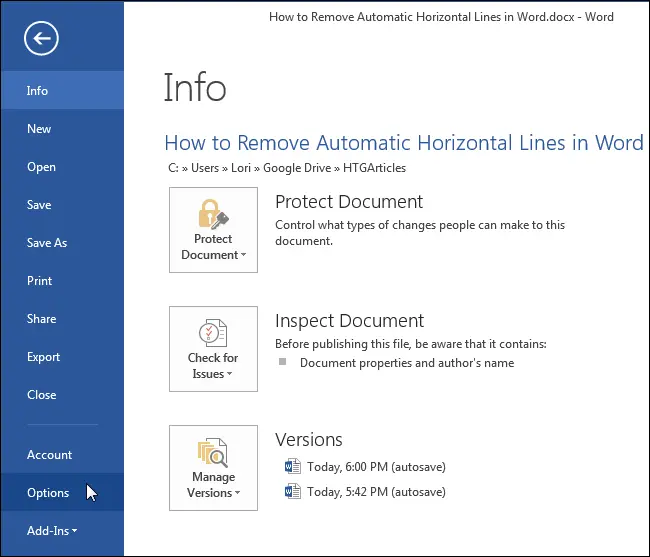
In the menu on the left, click Parameters (Options).
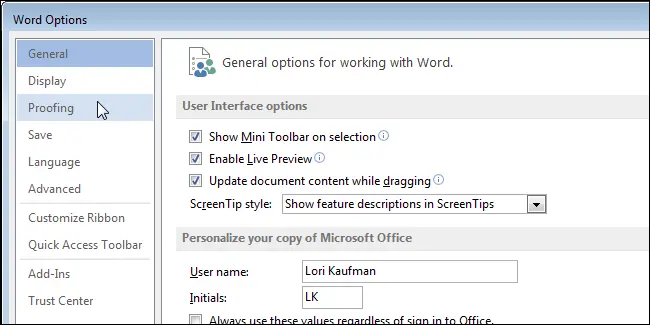
On the left side of the dialog box Word options (Word Options) click Spelling (Proofing).
In a group AutoCorrect options (AutoCorrect options) click the button with the same name.
A dialog box will open AutoCorrect (AutoCorrect). Go to the tab Autoformat as you type (AutoFormat As You Type).
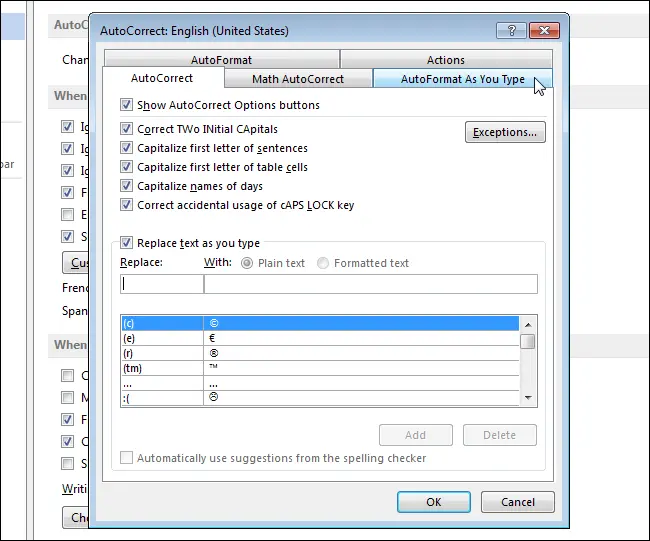
In the parameter group Apply as you type (Apply as you type) uncheck the box border lines (Border lines). Squeeze it OKto save changes and close the dialog AutoCorrect (AutoCorrect).

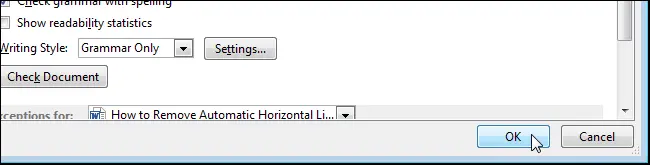
You will return to the dialog box Word options (Word Options). Click OKto close it.
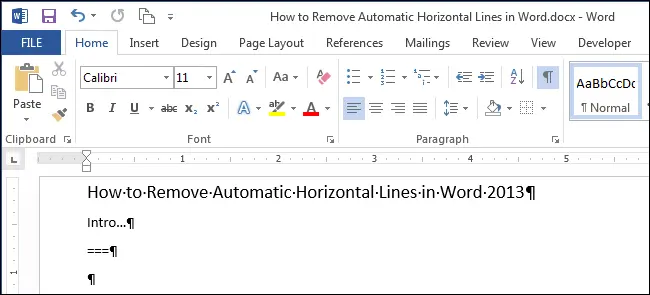
Now when you type three or more dashes, underscores or equal signs in a single paragraph and press Enter, everything will remain unchanged.
In addition to dashes, underscores, and equal signs, Word also automatically creates horizontal lines of three or more asterisks (*), tildes (~), and pound signs (#). The picture below shows the various horizontal lines that are automatically inserted in Word.

If you want Word to automatically insert horizontal lines again, just check the box border lines (Border lines).