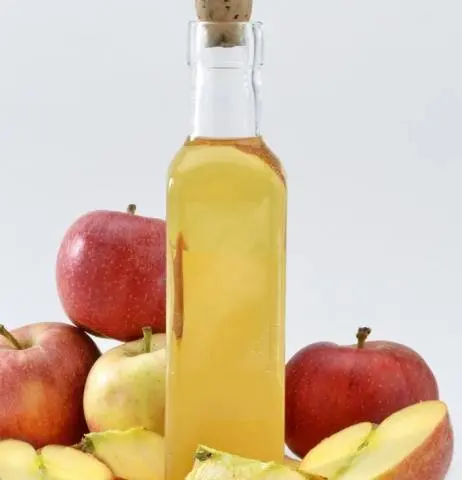
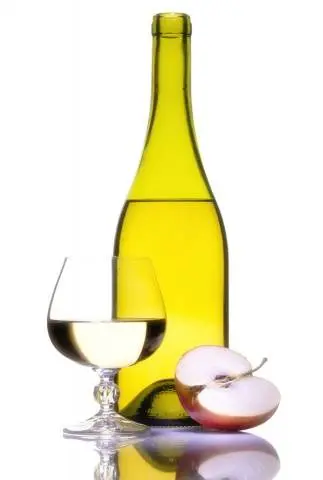
Apple wines are not as common as grape or berry alcoholic drinks. However apple wine has its own unique taste and very strong aroma; almost everyone likes this drink. The recipe for homemade ranetki wine is quite simple, and the technology for making it does not differ much from the traditional one (used in grape winemaking). There are some nuances in making wine from apples that a novice winemaker must know about.
You can learn how to make ranetki wine at home from this article. Here is a detailed technology, in which each process is described step by step.
Features of wine from ranetki
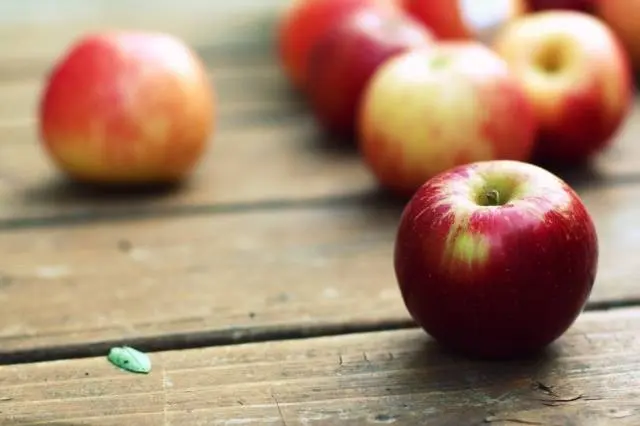
Ranetki are called small-fruited varieties of apples, the mass of each of which does not exceed 15 grams. Such fruits mainly grow in the Urals, in the northern regions and in the Far East. Ranetki differ from the rest of the apples in the high content of solids in the fruits, that is, they have less juice than in other varieties.
Wine made from ranetki is very fragrant, the drink has a beautiful shade and can be stored for several years. At his discretion, the winemaker can prepare both dry and sweet or dessert wine from ranetki – it all depends on the amount of sugar in the must.
To make good homemade ranetki wine, you need to know a few simple rules:
- Before making wine wounds are not washed, since on the peel of apples there are wine fungi necessary for fermentation. If, for some reason, the apples are washed, you will have to add wine yeast to the must or make a special starter.
- For winemaking use glass, aluminum or plastic utensils. Do not cook wine in metal containersotherwise it will oxidize. The same can be said about spoons or spatulas that interfere with the wort – they should be wooden or plastic.
- The juice of ranetok should be fermented in containers with a wide neck (pot, basin or bucket), so that it is convenient to mix the mass, and nothing prevents the pulp from rising. But for fermentation, it is better to place ranetki juice in a vessel with a narrow neck, so the contact of wine with oxygen will be minimal.
- Wine during the fermentation stage must be isolated from the air, so you need to find an airtight lid for the bottle or jar that contains the wine from ranetki. To ensure greater tightness, you can use plasticine or paraffin, which is used to treat the contact points of the lid with the vessel.
- The natural sugar content of ranetki does not exceed 10%, which is enough only for dry wine. If you need to get a sweeter drink, sugar is added to the wort in a proportion of 120 to 450 grams per liter of apple juice.

- You can not pour all the sugar into the wort in one go.. This must be done in parts: first pour half the sugar, then two more times a quarter serving. This approach will allow you to control the taste of wine, to achieve the optimal sweetness of the drink. In addition, wine yeast can only process a certain percentage of sugar. If the sugar content of the wine is higher than the allowable value, the fermentation will suddenly stop.
- It is allowed to dilute ranetki juice with clean water, but when doing this, you need to understand that the natural aroma of wine and its taste are reduced with each liter of water. It is better not to add water to the wine, or do it in case of emergency. (for example, when apples are very sour and sugar alone cannot improve the taste of wine).
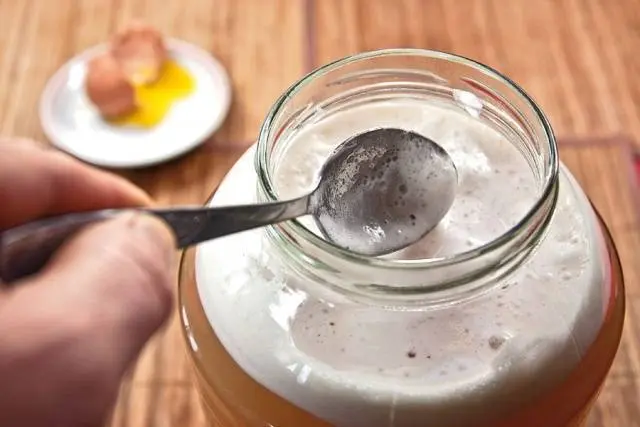
- You can not add baker’s yeast (dry or pressed) to wine, so you can only get mash from ranetki. For winemaking, special wine yeasts are used, but they are quite difficult to find on sale. You can replace wine yeast with raisin sourdough., which winemakers prepare themselves.
- Before making wine, apples are carefully sorted out, leaves, twigs, rotten or wormy fruits of ranetok are removed. The seeds from the ranetki need to be cut out, as they will give the wine bitterness.
- Hands, utensils and containers for winemaking must be absolutely clean, as there is a high risk of introducing pathogenic microorganisms into the wine, leading to the souring of the drink or the appearance of mold. That’s why dishes are sterilized with boiling water or steam, and hands must be washed with soap or rubber gloves are worn.
A simple recipe for ranetki wine with detailed instructions
Apple wines are very tasty and fragrant, so there is no need to add other fruits or berries to them, use complex recipes. For a good homemade drink, you will need the simplest ingredients:
- 25 kg of ranotek;
- 100-450 g of sugar for every liter of apple juice;
- from 10 to 100 ml of water for every liter of juice (recommended to add when ranetki are very acidic);
- yeast for winemaking or sourdough based on raisins (if the wine does not ferment on its own).

The step-by-step technology for making homemade wine looks like this:
- Preparation of wounds. The fruits of ranetok are sorted out, cleaned of earth or dust, wiping with a soft cloth (dry). Then the core is removed from the apples along with the seeds and hard partitions. Cut the ranetki into slices of a suitable size.
- Getting juice. Now you need to do the most difficult thing – squeeze the juice out of the ranetki. To do this, apples must first be chopped, this can be done using a meat grinder, juicer, blender, grater or food processor. The task of the winemaker is, ideally, to get pure ranetok juice. But semi-liquid applesauce is also suitable for wine.
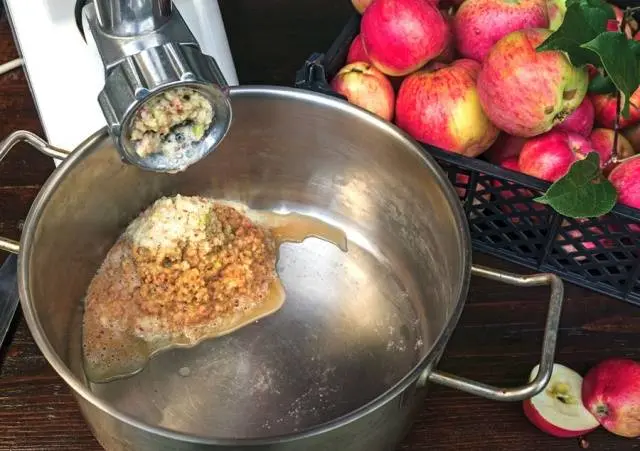
- The squeezed juice or ranetki crushed to a puree state are transferred to an enamel pan or a plastic basin. Try mashed potatoes for sugar and acid. If necessary, add sugar and water to ranetki. Mix the mass and cover the container with several layers of gauze.
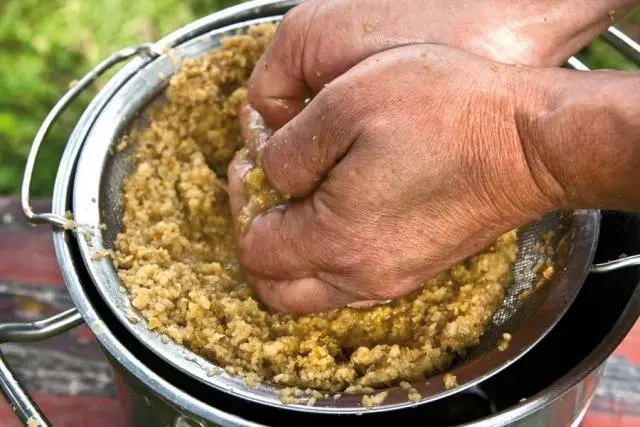
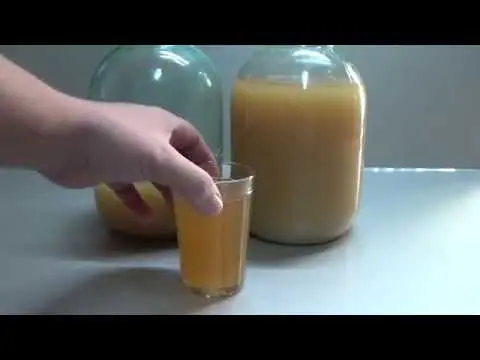
- Place the pot with ranetki in a warm place and keep it there for several days. After 6-10 hours, signs of fermentation should appear: hissing, foaming, sour smell. This means that the process is running normally. So that the wine from ranetki does not turn sour, you need to constantly lower the pulp (large particles of apples that float to the surface, peel), because it contains wine yeast. The wort from ranetki is regularly stirred with a wooden spatula – after 6-8 hours.
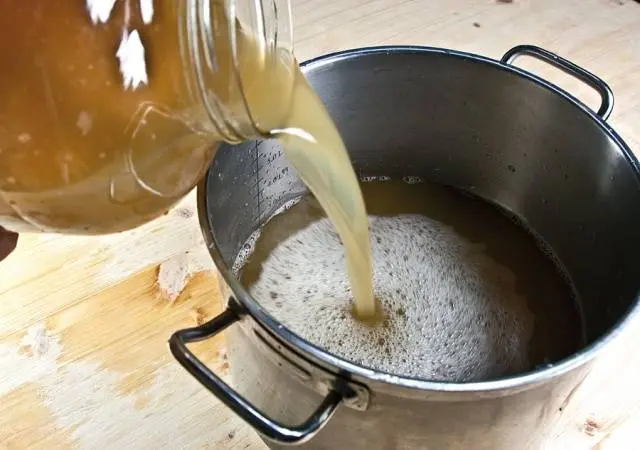
- After three days, the pulp should float completely, forming a dense foamy mass on the surface of the wine. Now it can be collected with a spoon and squeezed through a sieve or cheesecloth. Pour the ranetok juice into a bottle. Add sugar – about 50 grams per liter of apple juice.
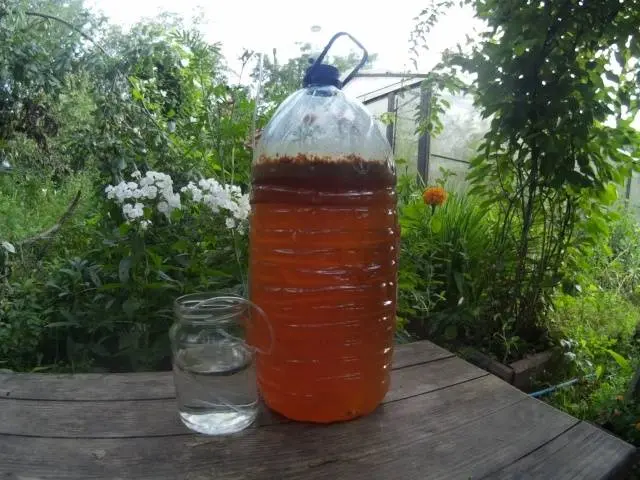
- Mix the wort, fill it with no more than 75% of the fermentation tank (large bottle or three-liter jar). It is necessary to put on a water seal in the form of a special cover, a medical glove or a tube to remove carbon dioxide. Place the wine container in a warm, dark place.
- After 5-7 days, you need to taste the wine and, if necessary, add more sugar – no more than 25 grams per liter of juice. To do this, carefully drain a small portion of wine and stir sugar in it, after which the syrup is poured back into the bottle.
- After another week, the procedure with sugar can be repeated if the wine is too sour.
- Wine from ranetki can ferment from 30 to 55 days. The end of this process is evidenced by a deflated glove, the absence of bubbles in the must, the sediment that has fallen out and the clarification of the wine itself. Now the drink can be drained from the sediment using a plastic straw.
- Sugar, alcohol or vodka can be added to the wine drained from the sediment (if this is provided for in the recipe). Fill the bottles with wine to the top and take it to a cool place (cellar), where the drink will ripen for 3-4 months.
- Regularly you need to inspect the wine from ranetki for the appearance of sediment. If the sediment layer is more than 2-3 cm, the wine is poured into a clean container. Do this until the drink becomes clear.
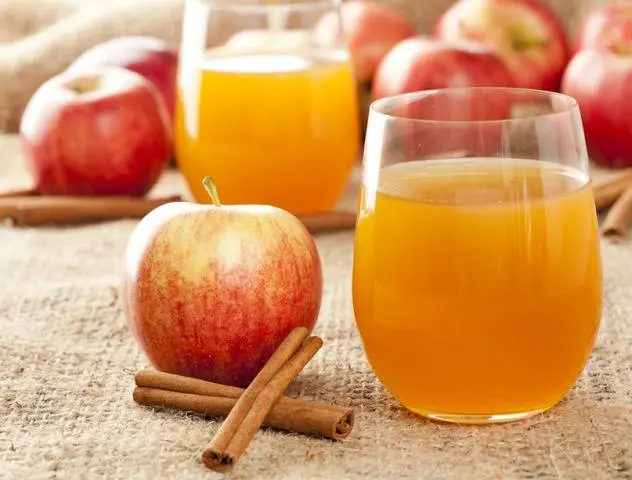
- Now the finished wine is poured into beautiful bottles and sent to the cellar for storage.
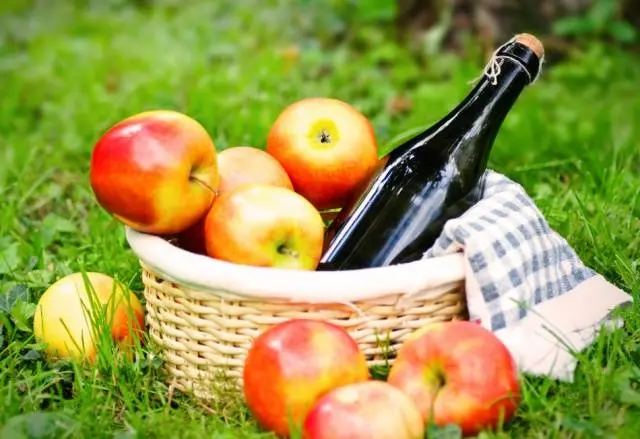
Making wine from ranetki at home is not very easy, but a good result is guaranteed if the technology for preparing an alcoholic drink is fully observed. Make apple wine at least once, and you will forever love its amber color and pronounced aroma!