Contents
Alcoholic drinks made from honey began to be prepared several millennia ago, simultaneously with the advent of beekeeping. Over time, the production technology has changed, but the unforgettable taste and intoxicating flavor have remained the same. Next, I will tell you how to make mead at home. We will consider a modern version and a classic recipe without yeast and boiling, which was used before.
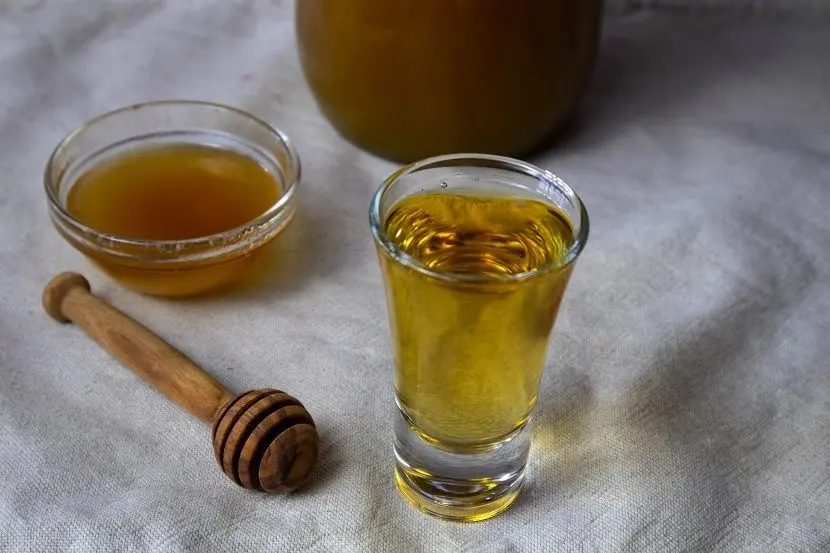
Mead – This is a low-alcohol (5-10%) alcoholic drink obtained by fermenting honey. Depending on the recipe, in addition to water, yeast, hops, flavors and other ingredients can also be added to the composition.
There is a strong mead, but it is not made by fermentation, but by adding the right amount of alcohol (vodka) to the finished product. This method allows you to achieve a predetermined strength of the drink up to 75 degrees.
In Russia, “drinking honey” was considered sacred and was an essential attribute of many holidays, but in the Middle Ages this wonderful drink was forgotten. The second birth of mead occurred in the first years of Soviet power, when beekeepers received a lot of honey unsuitable for long-term storage and sale. For the sake of fast processing, beekeepers made mead with the addition of baker’s yeast.
The new low-alcohol drink took root, it was prepared at home, using not only spoiled, but also very high-quality mature honey, diluted with water. A few decades later, the industrial production of mead began. In this regard, the city of Suzdal, Vladimir Region, became famous, where production has been preserved to this day.
Contemporary homemade mead
Ingredients:
- honey – 300 grams;
- water – 2 liters;
- dry yeast – 1 teaspoon (or 25 grams pressed);
- hop cones – 5 grams;
- cinnamon and nutmeg – 1 pinch.
All ingredients are available, difficulties can arise only with hop cones. They are sold in almost every pharmacy, so this is not a problem either. Yeast can be taken any, for example, for baking bread.
Mead preparation technology
1. Choice of honey
One of the most important stages, on which the quality of the finished drink largely depends. Try to choose the most fragrant varieties. Buckwheat honey is great, but you can take another one, such as linden honey.
In the spring, many beekeepers offer fresh liquid honey, but if you are not well versed in beekeeping, it is better to refuse to buy. There is a risk that instead of a natural product, dealers will sell a sugar surrogate or the honey itself will be of poor quality. Such raw materials will never make delicious homemade mead.
2. Dissolving honey in water
Pour water into an enamel saucepan, bring to a boil. Add honey to boiling water, constantly stirring with a spoon. After 4-5 minutes of boiling the honey mixture, a white foam will begin to appear on the surface, which must be carefully collected with a spoon.
Attention! Honey burns very quickly and can ignite, so the pan should not be left unattended for a minute.
3. Adding flavors
After the foam is removed, add other ingredients to the mixture: cinnamon, nutmeg and hops, which will give the drink original flavor notes. After thorough mixing, remove the pan from the heat.
4. Preparation for fermentation
Cool the mixture to 25-30°C (very important) and add diluted yeast. If you do this at a higher temperature, the yeast will die and fermentation will not start.
Transfer the pot with honey solution to a dark place with a temperature of about 25°C. If there is no separate room, you can use an aquarium heater. To avoid foreign substances and insects getting into the wort (flies are especially annoying in summer), I recommend tying the pan with gauze.
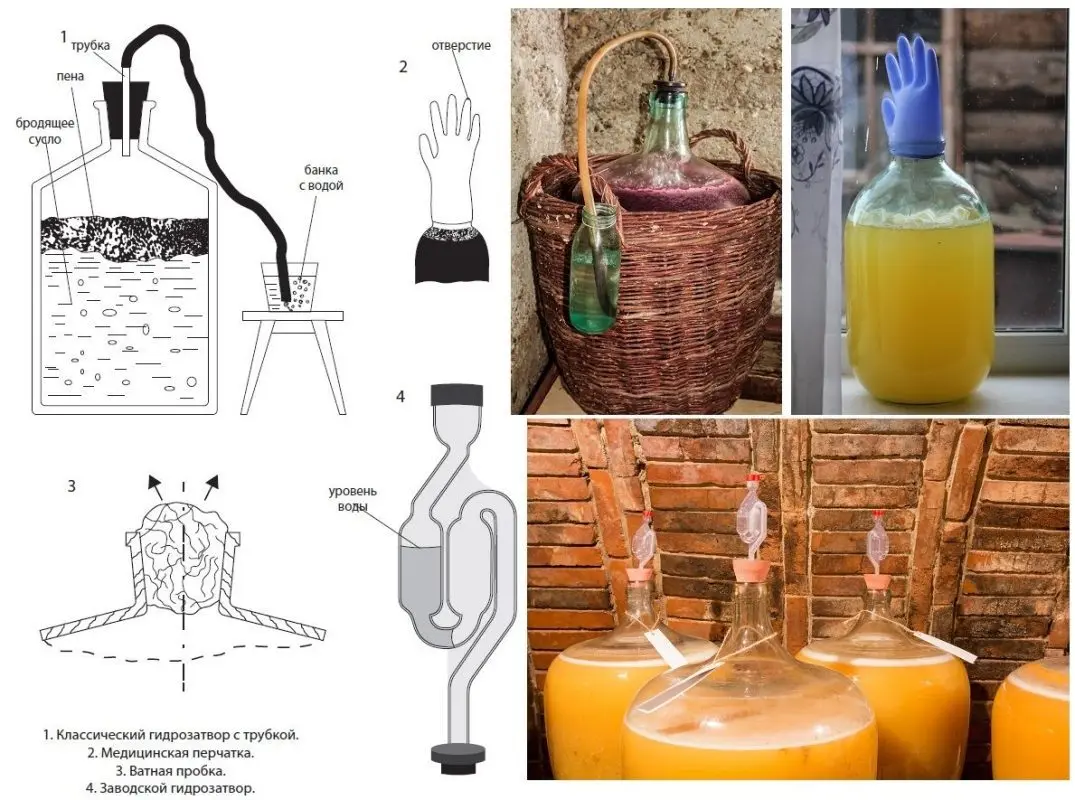
After 1-2 days, signs of fermentation will appear: foam will begin to form on the surface of the mixture, a hiss will be heard. Pour the contents of the pan into a fermentation container, placing a medical glove with a hole in the finger or a water seal on the neck. The designs of these devices are shown in the photo.

5. Fermentation
As a rule, mead fermentation lasts 4-6 days. The end of the process is indicated by a blown glove or a long absence of bubbles coming out through the water seal. Another test method is to bring a burning match to the surface of the liquid, which should not go out. There is nothing to be afraid of, the strength of the drink is only 5-10 degrees, it will not catch fire.
6. Filtration and bottling
The final stage of preparation. Carefully pour the mead into another container, leaving the sediment at the bottom, then strain through several layers of gauze.
Pour the finished drink into bottles (glass or plastic), cork tightly and transfer to the refrigerator or cellar. I am not a supporter of storing alcohol in plastic containers, but in this case it is harmless. The strength of the mead is low, so the alcohol will not interact with the plastic. Beer is sold in such bottles. You can drink mead almost immediately after preparation, but I recommend insisting for 3-5 days and only then tasting it.

How to make mead carbonated
1. Bottles (plastic or glass) wash well and wipe dry.
2. Add honey to the bottom of each container (one and a half teaspoons per 1 liter of drink). Thanks to honey, a slight secondary fermentation will appear, which will saturate the mead with natural carbonic acid.
3. Pour the drink into bottles, leaving 5-6 cm of free space from the neck. Seal tightly with stoppers or lids.
4. Transfer the containers for 7-10 days to a dark room with room temperature. Once a day, check the gas pressure, if necessary, relieve excess pressure.
5. Put carbonated honey in a cool place for at least 5 days to ripen.
Mead without yeast and boiling
An old recipe according to which our ancestors made mead. They dispensed with yeast and diluted honey in cold water. I warn you that using this technology, preparation will take 3-4 months, besides, the strength of the drink will be much lower – 2-4 degrees.
The most difficult thing in this recipe is to find an adequate replacement for yeast, since honey and water will not ferment on their own. There are two options: use cherries (raspberries, strawberries) or raisins as a catalyst. Historically, cherries have been the correct choice, but raisins are more reliable. Let’s consider both cases.
Technology of preparation
1. Dilute honey in cold water. The amount of ingredients depends on the chosen fermentation catalyst. In the case of raisins, 1 liter of water, 80 grams of honey and 50 grams of raisins are used.
If it is decided to support the fermentation with cherries (raspberries, strawberries), then to make mead you will need: 1 liter of water, 4 kg of cherries and 2 kg of honey. Previously, remove the seeds from the cherries, then pour the honey solution.
Attention! Raisins and cherries should not be washed before being added to mead, otherwise you can accidentally wash off the wild yeast responsible for fermentation, and it will be difficult to predict the subsequent result.
2. Tie the neck with gauze, then put the container in a warm place. Fermentation will begin in 1-2 days. Since we did without yeast (dry and baker’s), it takes more time than in the first case.
3. If signs of fermentation appear (see the 4th paragraph of the first recipe), filter the liquid through several layers of gauze, pour into another container and close tightly. This method prepares the so-called “set mead”, which does not require a glove or a water seal.
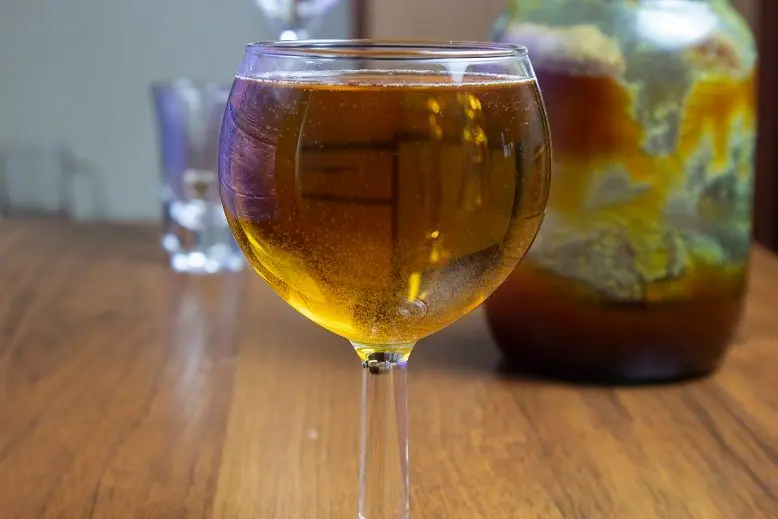
4. It remains to put the bottles in the refrigerator or cellar for maturation. After 3-4 months, you can try the finished drink. It will turn out carbonated with a slight sourness, alcohol is almost not felt, more like kvass.

PS Many people call the “proper mead” a recipe without yeast and boiling. But this does not mean that the first option is not so tasty or healthy. I advise you to prepare mead in two ways, try each option, and only then draw conclusions.
The video shows a simple honey beer recipe.


