


Contents
When processing a large amount of data, it is often necessary to organize them. Especially for this, Excel provides various functions, one of which is grouping. With its help, as the name implies, you can group data, as well as hide irrelevant information. Let’s see how it works.
Setting the function parameters
To ultimately get the desired result, you first need to configure the function itself. To do this, perform the following steps:
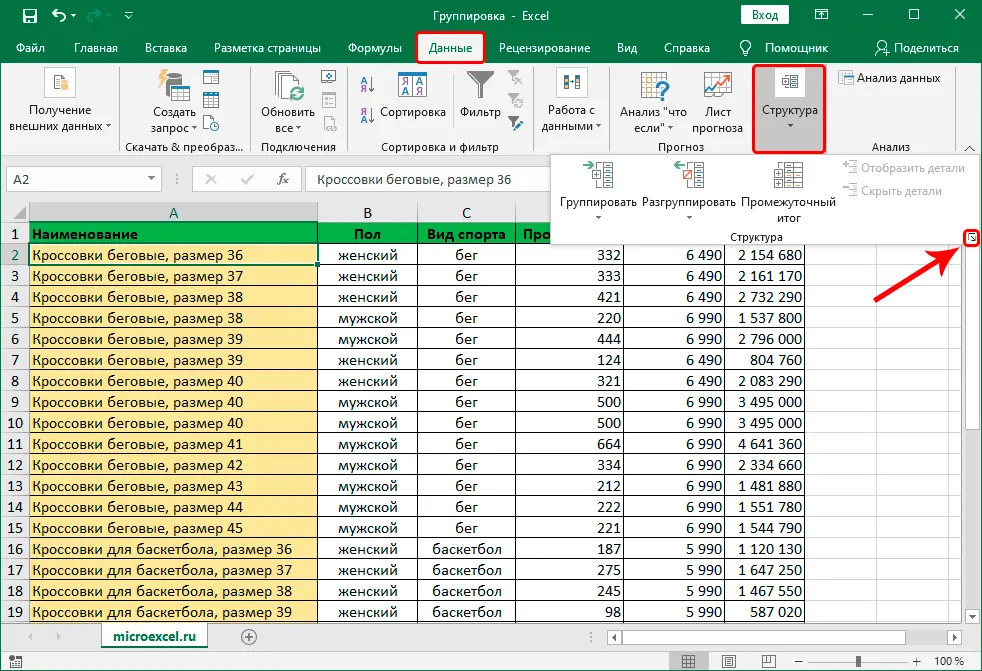
- Switching to the tab “Data” click on the button “Structure” and in the list of commands that opens – by a small icon in the form of an arrow pointing diagonally down.

- A small window with function parameters will appear on the screen. Here we can customize the display of totals. Check the boxes next to the options you need (including automatic styles) and click the button OK.

 Note: the location of the summary data in rows below the data seems inconvenient to many, so this option can be turned off.
 - Everything is ready, now we can go directly to the data grouping itself.
Grouping data by row
First, let’s look at how you can group rows:
- We insert a new line above or below the lines that we want to group (depending on what kind of arrangement of totals by lines we have chosen). How to do this, read our article – ““.
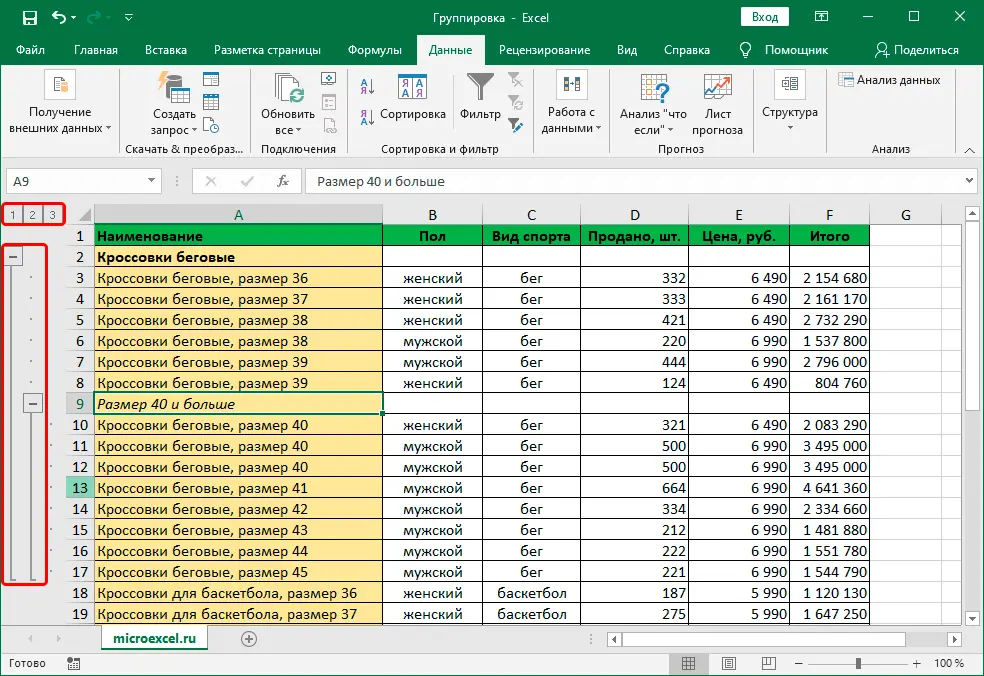
- In the leftmost cell of the added line, write the name that we want to assign to the group.


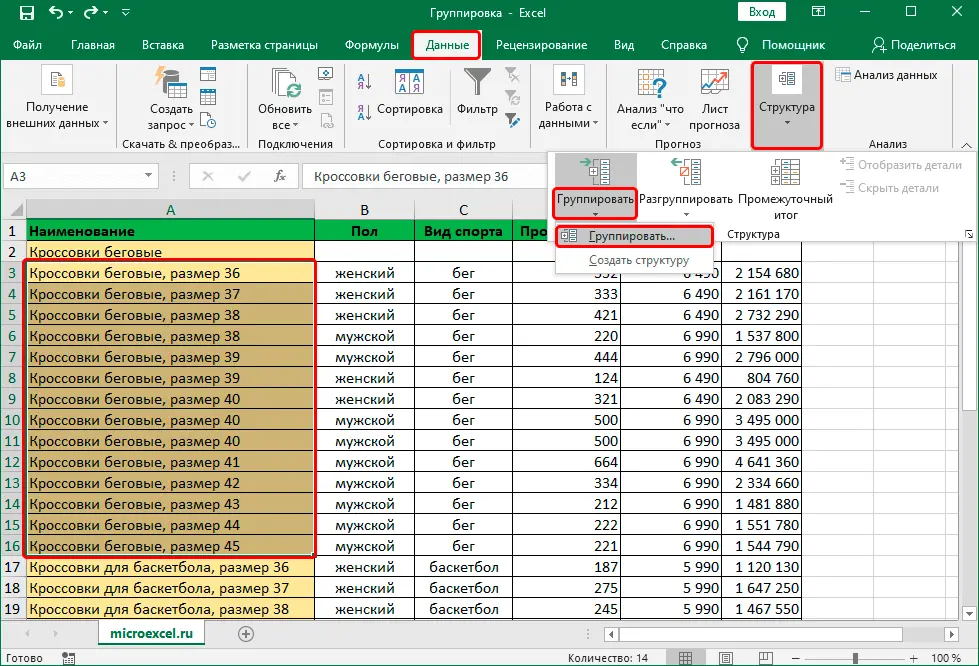
- In any convenient way, for example, with the left mouse button pressed, we select the cells of the rows (except for the final one) that need to be grouped. In the tab “Data” click on the button “Structure” and in the list that opens, select the function “Group”. You need to click on the command icon, and not on its name.
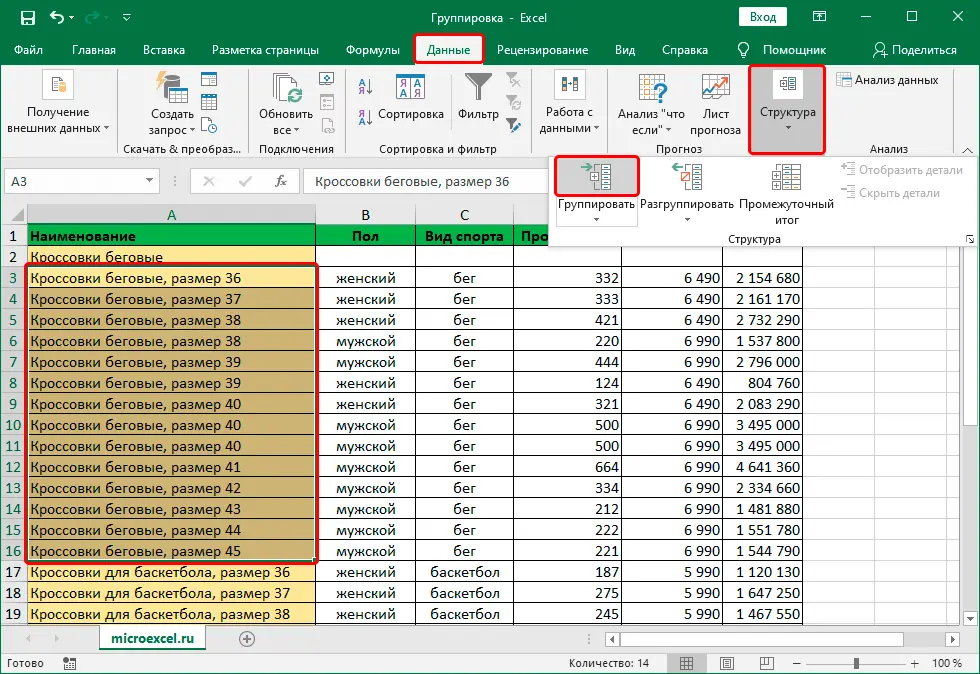
 If you click on the last one (with a down arrow), another submenu will open, in which you should click on the button of the same name.
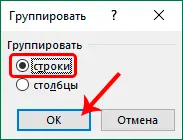
- In the window that appears, mark the item “terms” (should be selected by default) and confirm the action by pressing OK.
 Note: If, instead of cells, all rows are selected entirely on the vertical coordinate bar, and then grouping is applied, then there will be no intermediate window with the selection of a row or column, since the program immediately understands what exactly it needs to do.
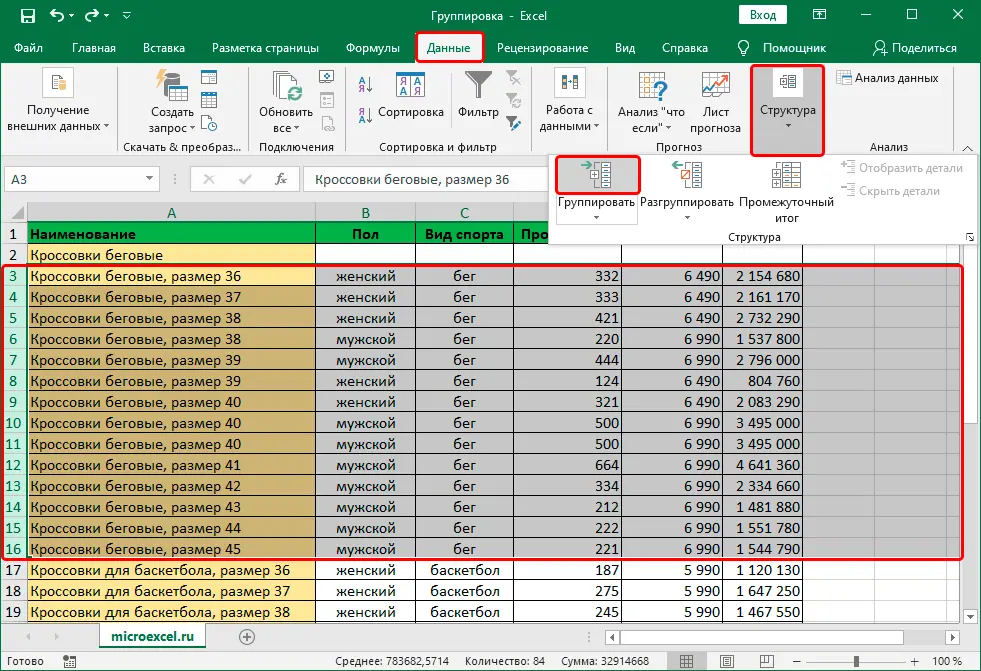

- The group has been created, as evidenced by the bar with the sign that appears on the coordinate panel “minus”. This means that the grouped data is revealed. To hide them, click on the minus or button with a number “1” (the highest grouping level).

- The lines are now hidden. To open them back, click on the icon “plus”, which appeared instead “minus” (or by button “2”).

Grouping columns
To group columns, we follow approximately the same algorithm of actions described above:
- We insert a column to the right or left of the grouped ones – it depends on the selected parameter in the function settings. Read more about how to do this in our article – ““.
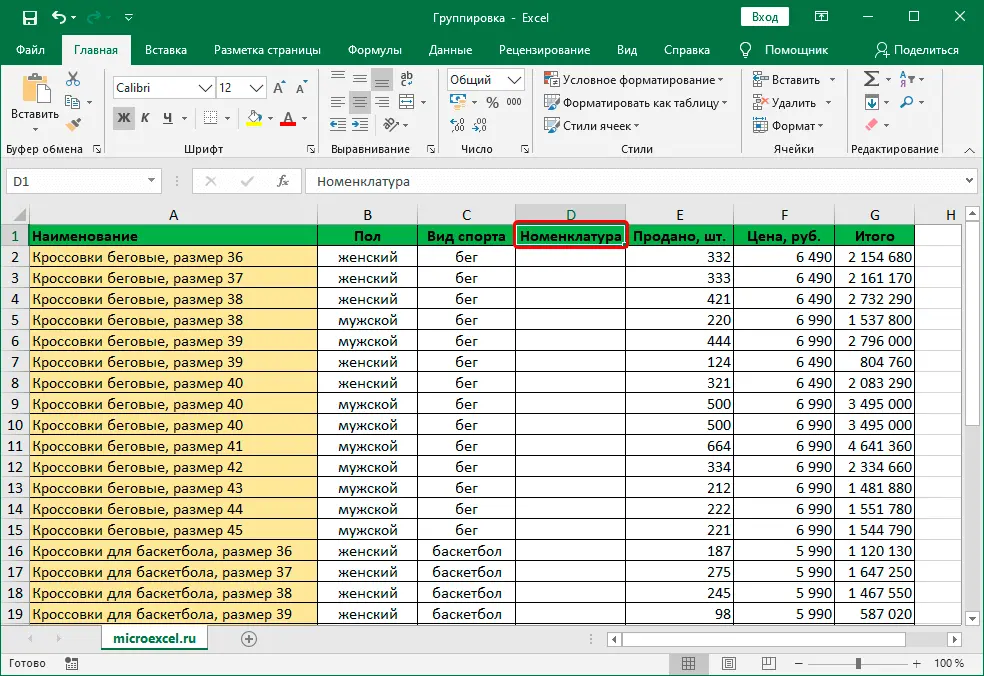
- We write the name in the topmost cell of the new column.
- Select the cells of the columns to be grouped (except for the added one) and apply the grouping function.


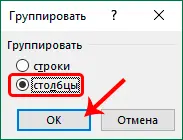
- Put a check mark next to the option “columns” and clicks OK.
 Note: As in the case of grouping rows, when selecting columns entirely on the horizontal coordinate bar, the grouping of data will be performed immediately, bypassing the intermediate window with the selection of elements.
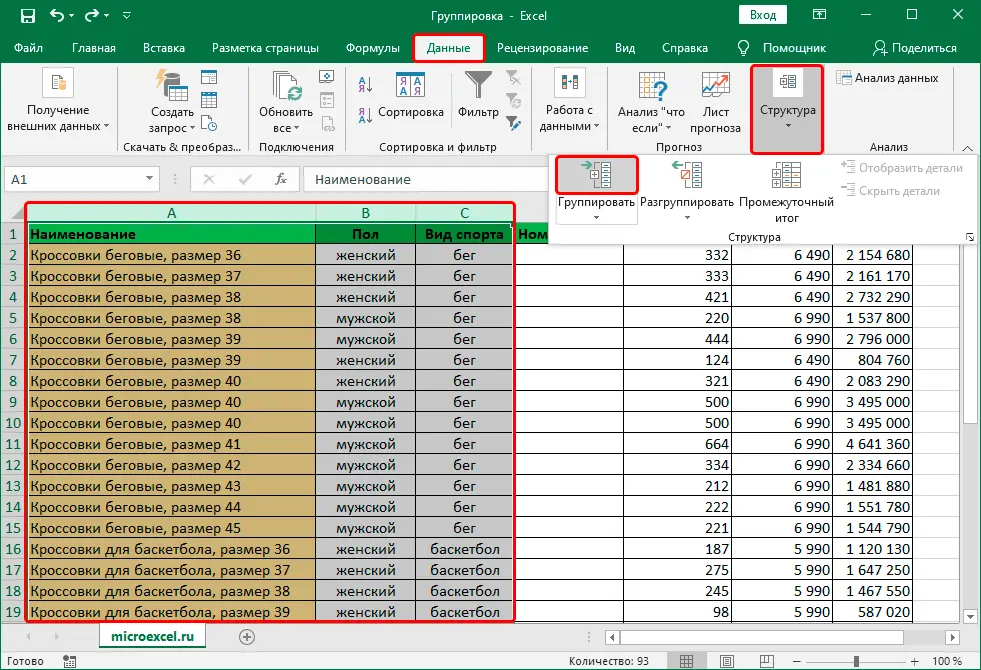

- Task completed successfully.

Create a multilevel grouping
The program features allow you to perform both single-level and multi-level groupings. Here’s how it’s done:
- In the expanded state of the main group, within which it is planned to create another one, we perform the actions discussed in the sections above, depending on what we are working with – with rows or columns.


- Thus, we have received a multilevel grouping.
Ungrouping data
When a previously performed grouping of columns or rows is no longer needed, or you want to do it differently, you can use the inverse function – “Ungroup”:
- We make a selection of grouped elements, after which everything is in the same tab “Data” in the tool group “Structure” choose a team “Ungroup”. Click on the icon, not on the name.
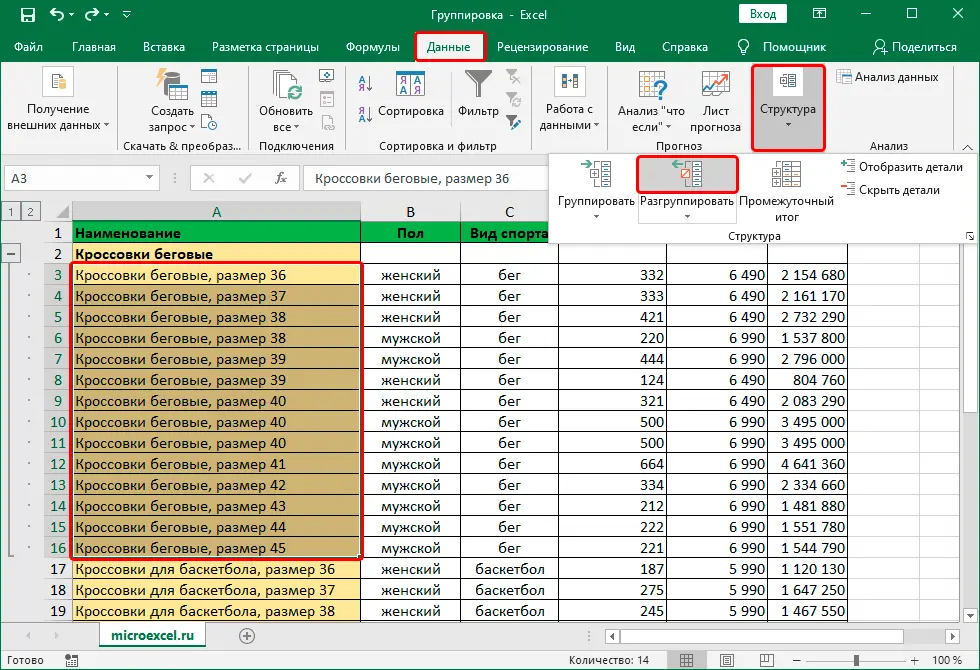

- In the window that opens, put a checkmark in front of the required item (in our case – “terms”) and press OK.

 Note: in the case of multilevel grouping or the presence of several data groups, each of them must be disbanded separately.
 - That’s all that needed to be done.

Conclusion
Grouping data is performed in a few clicks and does not require special skills in working with the program, however, this technique can significantly save time when you have to deal with a large amount of information. This makes the function one of the most useful and indispensable in Excel.