Contents
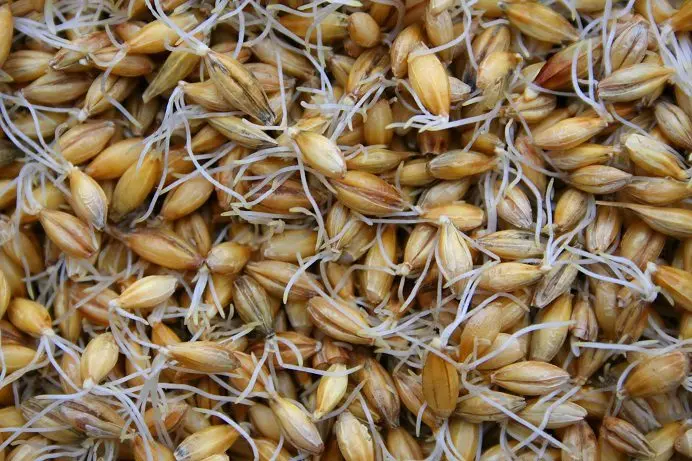
Green malt differs from regular malt only in the absence of drying. The missed step does not affect the taste of the finished drink (moonshine, whiskey or beer). There is only one drawback – raw materials are not subject to long-term storage. We will look at the complete method of growing green malt, the technology of its saccharification, the mash recipe and the correct method of distillation.
Whole barley, wheat, rye and oat grains with a germination capacity of over 90% are suitable for making green malt. From the moment of harvesting, at least 2 months should pass, but not more than 3 years. Soak and irrigate raw materials with spring or bottled water with a minimum chlorine content.
You can check the quality of cereals by testing for germination: soak 100 grains in water, after 3 days count how many of them have sprouted. If 90 or more sprouted, then the raw material is suitable for malt.
An interesting result is obtained by mixing different types of malt (grains are germinated separately). For example, make mash from 50% barley, 40% wheat and 10% rye, the ratio of cereals may be different. Barley gives beer tones and a slight aroma of whiskey, rye gives a bready flavor, wheat gives softness. After several attempts, each moonshiner finds his optimal proportions.
Ingredients:
- grain (wheat, rye, barley, oats) – 10 kg;
- water – 40 liters (for mash, separately required for washing and irrigation);
- yeast – 100 grams dry or 500 grams pressed.
Preparation of green malt
1. Flushing
Fill the grain with water. Stir, wait 2-3 minutes, then remove the floating debris and mix again. Repeat the procedure 3-4 times until the complete disappearance of floating particles of debris.
2. Soak
Pour the washed grain with a new batch of cold water, mix and change the water every 12-2 hours for 3 hours. An alternative option is to pour the grain into a mesh container and irrigate at the specified frequency. For rye, the soaking period can be reduced to 6 hours.
3. Disinfection
This step is optional but recommended. Pour the grain 2-3 cm higher with a solution of manganese (1 gram of potassium permanganate per 10 liters of water), wait 20-25 minutes until the solution turns brown and drain. Rinse the cereals with cold running water to remove the remnants of the product.
4. Sprouting
Spread the grain in an even layer of 3-5 cm on any suitable surface (it can be on the floor, in a basin or bath), covered with PVC film. Top cover with a damp, but not wet rag (gauze). It is advisable to pre-disinfect the rag and film in a solution of potassium permanganate and rinse.
The room should be dark, the recommended stable temperature is 12-15°C. Stir the grain every 12 hours, moisten the rag with water, wring out and lay on top.
Attention! It is better to let the cereals be slightly dry than waterlogged.
With the appearance of roots 3-5 mm long and sprouts that have barely hatched (after 1 day for rye and wheat, for barley – 2 days), stop germination. This is the finished green malt, which has enough enzymes for self-saccharification.

If the resulting malt needs to be saccharified by another starch-containing raw material – flour or cereals, then grain germination should be stopped when sprouts 1-3 mm long and roots 7-12 mm long appear, it takes about twice as long.
5. Disinfection
An optional step, but during germination, pathogenic microorganisms appear on the grain, which it is desirable to remove, freeing the “road” for cultural yeast.
Pour green malt with a solution of potassium permanganate (1 gram per 10 liters), wait 25 minutes, drain, rinse with running water, leave for 20 minutes to drain the remaining water.
6. Shredding
Lightly dry the malt for 1-2 hours under a fan, this will simplify further work. Using a meat grinder, blender, roller mill or any other way to grind the finished green malt. The less grind, the better.
It is desirable to use processed raw materials in a day, the maximum shelf life is 3 days.
Green malt mash recipe
7. Saccharification
During this stage, the starch in the grain is broken down into sugar under the influence of high temperature.
Place the malt in an enamel pot or bucket for boiling. Add water at a temperature of 50-55°C in a thin stream. Stir constantly with a wooden spatula so that lumps do not appear, the mass should turn out to be homogeneous.
Attention! For successful saccharification, it is very important to adhere to the indicated temperature ranges, otherwise all the work will go down the drain. You can’t do without a thermometer.
Heat the resulting wort to 63°C, mix, cover with a lid. For the next 80-90 minutes, keep the temperature at 55-62°C (periodically including heating) and be sure to stir every 15 minutes. Toward the end of the process, the upper part of the wort should lighten, and all the porridge should settle to the bottom.
8. Bookmark and fermentation of mash
Cool the contents of the pot as quickly as possible to 24-27°C.
You can’t wait until the mass cools down by itself, otherwise the wort will become infected with bacteria and turn sour. The easiest cooling option is to lower the container into a bath of cold water or ice.
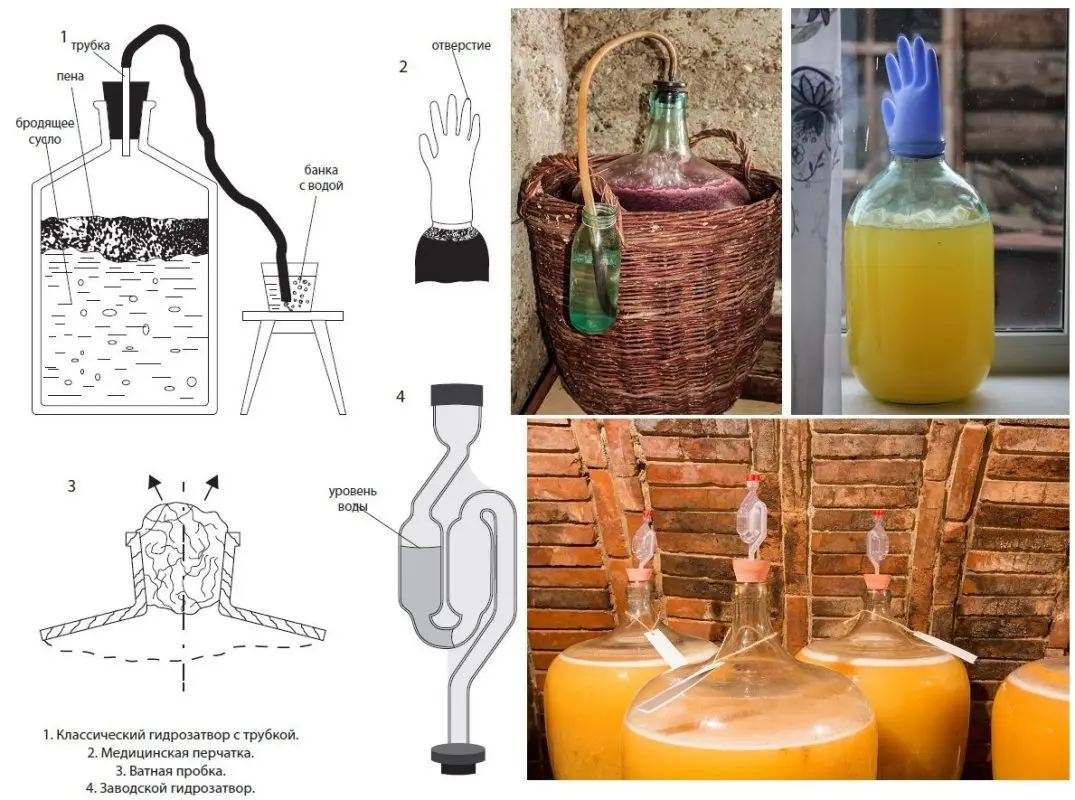
Pour the wort into a fermentation tank, add the yeast diluted according to the instructions on the label. Mix. Install a water seal or a glove with a hole in the finger (pierce with a needle). Move the container to a dark room with a stable temperature of 18-25°C.

After 3-6 days, the release of bubbles from the water seal will stop, the mash will become light and bitter in taste without notes of sweetness, a layer of sediment will fall at the bottom. These signs indicate readiness.
Obtaining moonshine from green malt
9. Distillation
Drain the finished mash from the sediment, filter through cheesecloth to remove solid residues that can burn and give bitterness.
Overtake the mash for the first time without selecting “heads”, “body” and “tails”. Stop taking the distillate when the strength in the jet falls below 30 degrees. Measure the total strength of the resulting product, determine the amount of pure alcohol.
Dilute moonshine with water up to 20% and overtake again. The first 8-12% of the amount of pure alcohol (as long as the unpleasant odor persists) is collected separately. This fraction is called “heads”, contains many impurities, therefore it is used only for technical purposes.
Select the main product until the strength in the jet drops below 45%. This is moonshine made from green malt.
10. Finishing
Dilute the distillate with water to a comfortable strength (40-45%), pour into bottles, seal tightly. To stabilize the taste, leave for 3-4 days in a dark, cool place. Further aging in barrels is possible, you get a drink that resembles whiskey.


