


Contents
Gel nail extension at home. Video
Gel nail extension technology is based on the use of a special material that can harden under the influence of ultraviolet rays. With this procedure, you can not only lengthen your own nails, but also give them a glossy shine, a neat and well-groomed look.
Gel nail extension at home
Base for nail extension: gels
Gel build-up presupposes the presence of certain devices and tools, including UV lamps. In addition, the gels with which the procedure is performed are divided into several types. In the process of work, you can use a three-phase system containing components separated by functionality. The first layer is applied to the natural nail for better adhesion to the artificial plate. The second is used to correctly model the body of the nail, for example, it is not difficult for them to form the entire length at once, or part of it – to lengthen the nail bed, and to perform the regrown part in a contrasting color. And the third layer provides extra durability of the completed manicure and creates a shiny and smooth surface.
Experts also widely use a two-phase system, when the first gel is applied twice in a row to ensure strong adhesion to the natural nail and immediately simulate the desired nail shape, and the second gel serves as the final
The most convenient is a single-phase system, when one and the same tool can satisfy all the needs of the master. These are usually used by beginners.
In addition, gels can be divided into those with a sticky layer and those without it. This is usually indicated on the product label. For products with an adhering surface, the top layer must be removed after hardening. As a rule, this is indicated in the instructions for the product.
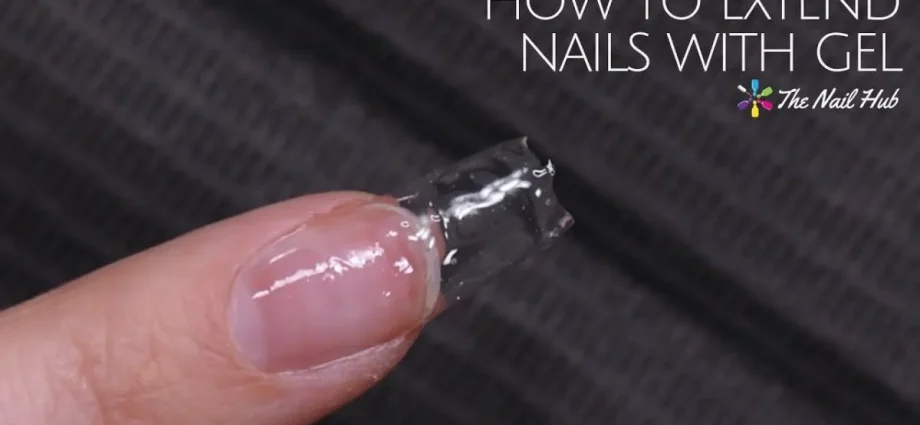
Gel nail extension on tips
It is very easy to build nails on artificial ready-made plates even at home.
To do this, you need the following tools:
- Ultraviolet lamp
- transparent gel
- camouflage gel pink
- white gel
- brushes of different sizes for design
- flat brush for gel extension
- degreaser
- acid-free primer
- bond
- sponge
- abrasive file
- baf
- cotton wheels
- nail polish remover
- strong tip adhesive
- finish gel
- cuticle oil
- tip cutter
- tips
Before starting work, you need to wash your hands, dry them, then process each nail with a file and give it the desired shape – square, oval, etc. Then you should carefully move the cuticle and saw off the surface of the plate to remove the fat layer.
Tips are selected based on the size of the grown nail. As a rule, even bitten nails can be lengthened in this way. The glue is applied to the tip of the tip and at an angle of 45 degrees is placed against the nail, and then glued, held for 10 seconds, and then released. Then it is cut using a tip cutter – special nippers – to the desired length.
The border of gluing must be cut off with an abrasive file, only after that you can start the extension procedure
Each nail must be wiped with a degreasing liquid. The surface of the plate is lubricated with a bond, the product will help to evaporate moisture and dry the plate a little, after which you can immediately use the primer. It is necessary for better adhesion of the gel to the native nail.
The next step is to apply the gel. A small amount of the product is collected with a brush and applied in a thin layer from the middle of the nail and along the entire length, then it is necessary to dry the gel in a lamp for 1-2 minutes. Usually a 9 W device is used, but a 36 W lamp can also be purchased, then the process will proceed faster.
It is possible to build up nails with the help of the gel not only on the hands, but also on the legs. This procedure is able to protect the plate from fungal diseases.
Having stepped back 1 mm from the cuticle, it is necessary to apply a second layer on the hardened gel. A little more gel is applied in the middle of the nail than at the beginning and end. This technique will help to give a slight bulge and prevent the plate from breaking in the first days after building. Then dry again. Now you can start applying pink camouflage gel, which lengthens the nail bed and can subsequently give the effect of a “French manicure”.
The tip of the nail is formed at will with colored gel or white. If there are bumps and irregularities on the nails, they must be filed, if necessary, apply an additional layer of gel of the desired color. At the very end, the nails are covered with a transparent finish gel that looks like nail polish. It will add shine and set the gel.
Extension of nails on forms
You can also lengthen your nails using reusable or disposable forms. The designs are plates that stick to the finger. Forms are used to give a natural manicure, as if continuing your own nail. However, for their application, it is important to have an overgrown plate under which paper or plastic is attached.
The procedure for extending nails on forms is almost the same as lengthening on tips. Only in this case, instead of artificial nails, you need to attach a form to your plate and only then apply the gel on top. After the first layer has hardened, the molds are removed and then they work according to the technology with already prepared nails of the required length.
Nail design is optional, you can decorate them with decorative elements or just varnish, then apply a glossy finish gel on top, which will give the manicure a complete look
A correctly performed procedure can take about 2-3 hours, but when using a single-phase gel, the application and filing time is significantly reduced and is about 40-60 minutes.
Also interesting to read: treatment of a tumor on the lips.