Contents
A garden plastic pond is a great solution for a personal plot. Unlike the arrangement of an ordinary artificial reservoir, the installation of a finished form requires a minimum of skills and time, and the result is very picturesque. In the article we will look at how to make a plastic pond with your own hands.
Advantages of finished polymer molds
Dug-in forms for creating ponds have a number of important advantages:
- ease and simplicity of installation – no special skills are needed to create such a pond;
- environmental friendliness – in large forms, you can even breed fish;
- unpretentiousness in care;
- long service life;
- if necessary, the reservoir is easily dismantled.
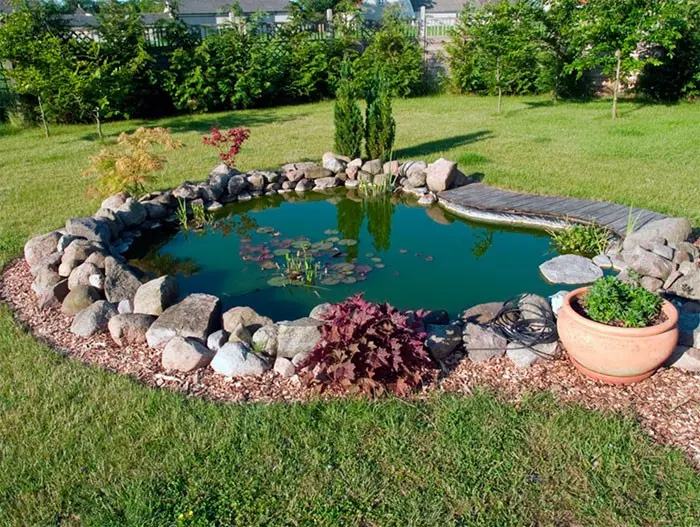
Thanks to a huge number of models, you can choose the option that is ideal for the site.
Video “Installation of a decorative pond”
The video clearly demonstrates the process of installing a polymer mold for a pond.
Varieties
Ready-made frames for reservoirs are made from the following materials:
- Polyethylene. Usually these are small and inexpensive models with a capacity of up to 900 liters. Such a product requires careful transportation – it may crack due to impact. The bottom of the installation pit must be perfectly level. Cracks cannot be repaired. Serves up to 10 years.
- Polypropylene. Durable and flexible material, resistant to damage and temperature changes. Possesses high waterproofing properties. Service life – up to 20 years.
- Fiberglass. The most durable material, can last up to 30 years. Lightweight, UV resistant. Cracks that appear can be repaired with a special compound.
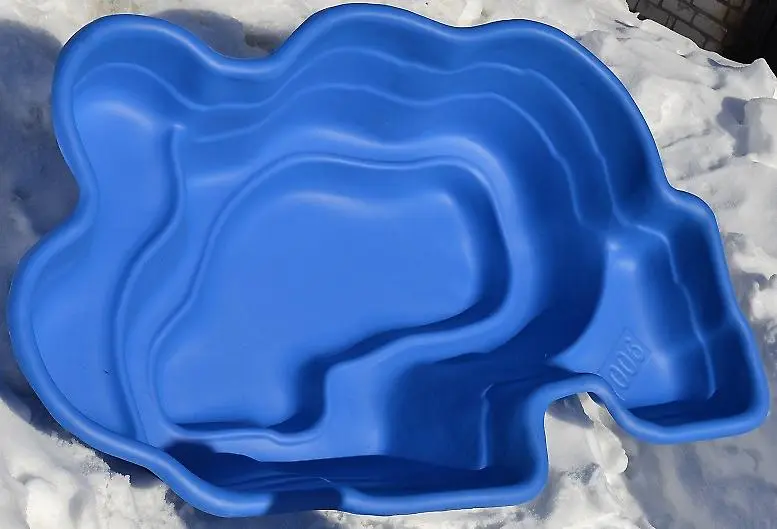
In addition to the material of manufacture, the frames differ in shape. It can be correct, for example, in the form of a circle or rectangle, as well as asymmetric, imitating the uneven banks of a natural reservoir.
How to choose
First of all, determine the size of the future reservoir. To do this, select a place for it in advance – a fairly picturesque, even, well-lit, without slopes and irregularities. Please note that ponds look especially beautiful as part of various compositions – next to gazebos, alpine slides, garden hearths, etc. Measure the selected space to know what form will fit there.
If you intend to breed fish, choose deep options: at least 1,5 m for carp and crucian carp, 2–2,5 m for trout or sturgeon.
If the dacha or the adjacent area is decorated in a classic style with strict lines, it makes sense to stay on a round frame. In most other cases, uneven, “natural” shapes look more appropriate. If you intend to place the pond next to an already installed object, make sure that the selected frame fits well into the allotted space, for example, it will “wrap around” a small rock garden.
Installation
To install the selected capacity, do the following:
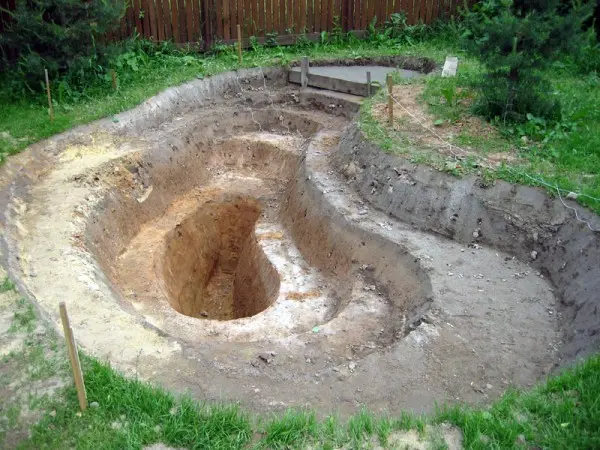
- Make a markup. It should follow the contour of the form, but be 15–20 cm larger than it. In the same way, outlines of different depth levels, if any, should be noted.
- Dig a trench to the depth of the mold plus 10-15 cm. To create small ponds, you can use a simple shovel, for large-scale ones it is better to order special equipment.
- At the bottom of the pit, pour a layer of sand 2-5 cm. Carefully level it, spill it with water and tamp it down. For large fiberglass molds, a concrete screed up to 7 cm is needed.
- Lower the container into the hole, secure it with wooden supports and fill it about a third with water.
- Check shape stability. If everything is in order, pull out the supports one by one and fill the space between the frame and the soil with sand. Along the way, fill the mold with water to equalize the internal and external pressure on the walls. Pour and compact the sand.
Leave the mold for 2-3 days so that the sand finally sags. Fill it up if there are voids.
Do not lay a film under the frame – it will accumulate condensate, which will subsequently lead to deformation of the bottom.
Decor
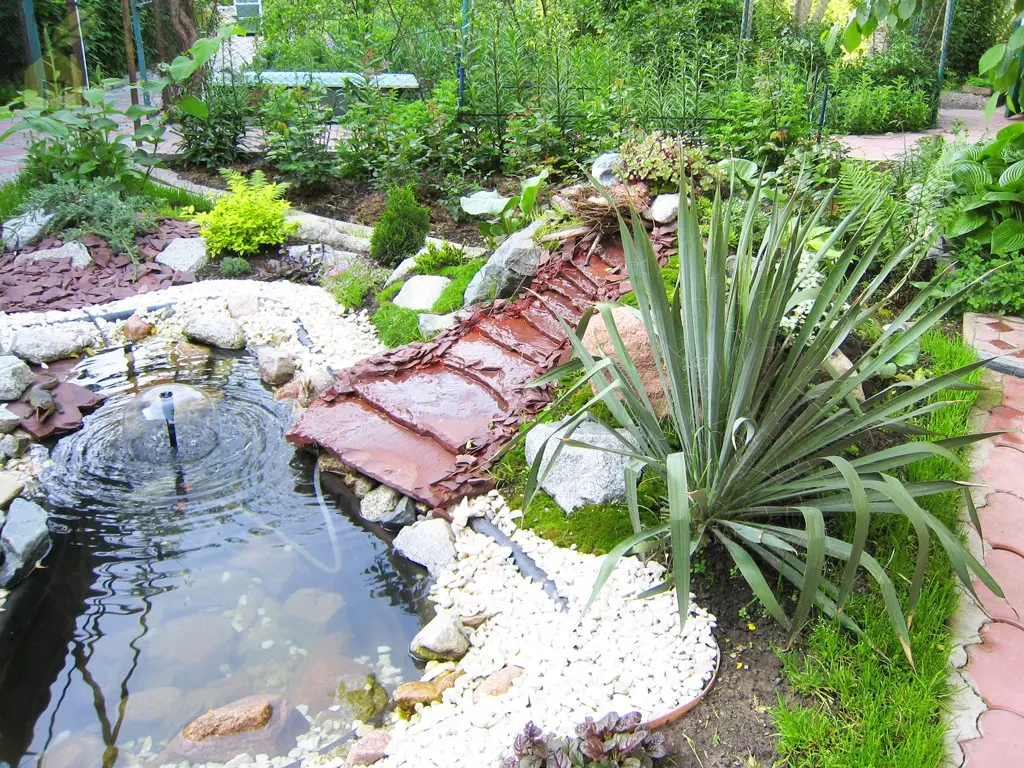
You can decorate the pond with the help of natural stones laid out on the shore. Choose not too large, proportional to the size of the reservoir. Make sure that they are firmly in place and cannot fall, damaging the walls. For the smallest ponds it is better to use gravel, for medium ponds choose limestone or small rounded stones. For large bodies of water, serpentine cobblestones can be used.
Also on the shore you can place decorative garden figurines: frogs, birds, miniature bridges, etc.
The illuminated ponds look very beautiful. For them, you should purchase special waterproof equipment. Convenient models with light sensors that automatically turn on in the evening.
In the reservoir itself, you can install a fountain, which will require a special pump.
For planting near the pond, low moisture-loving plants should be selected:
- wanted
- sedge;
- lightning;
- fern;
- astilba.
Do not plant nearby trees – growing, their roots can damage the plastic.
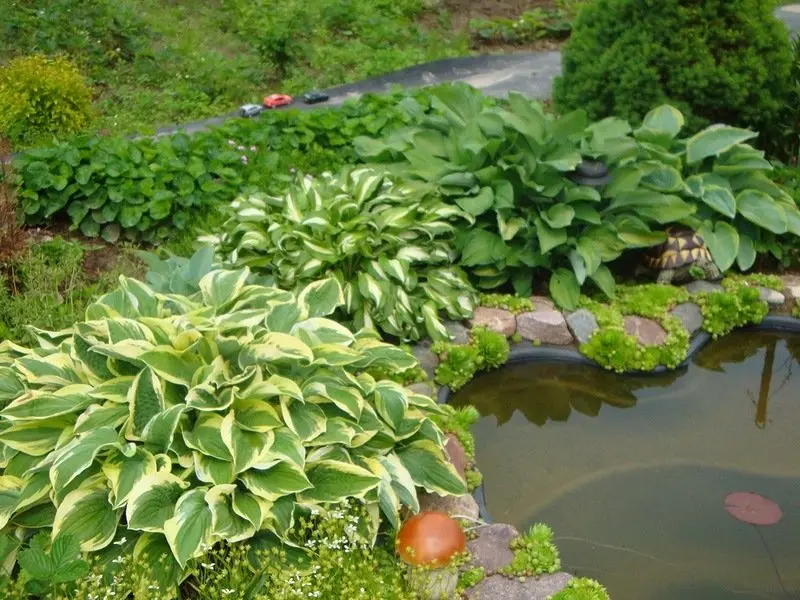
There should be few aquatic plants – they are prone to rapid growth and can turn a pond into a swamp. The following options are popular:
- water lilies;
- water hawthorn;
- vodokras;
- Azolla.
Plants that need soil (for example, water lilies) are planted in special containers.
Finally, fish can be put into the pond. Depending on the species, they are bred for food or for decorative purposes.
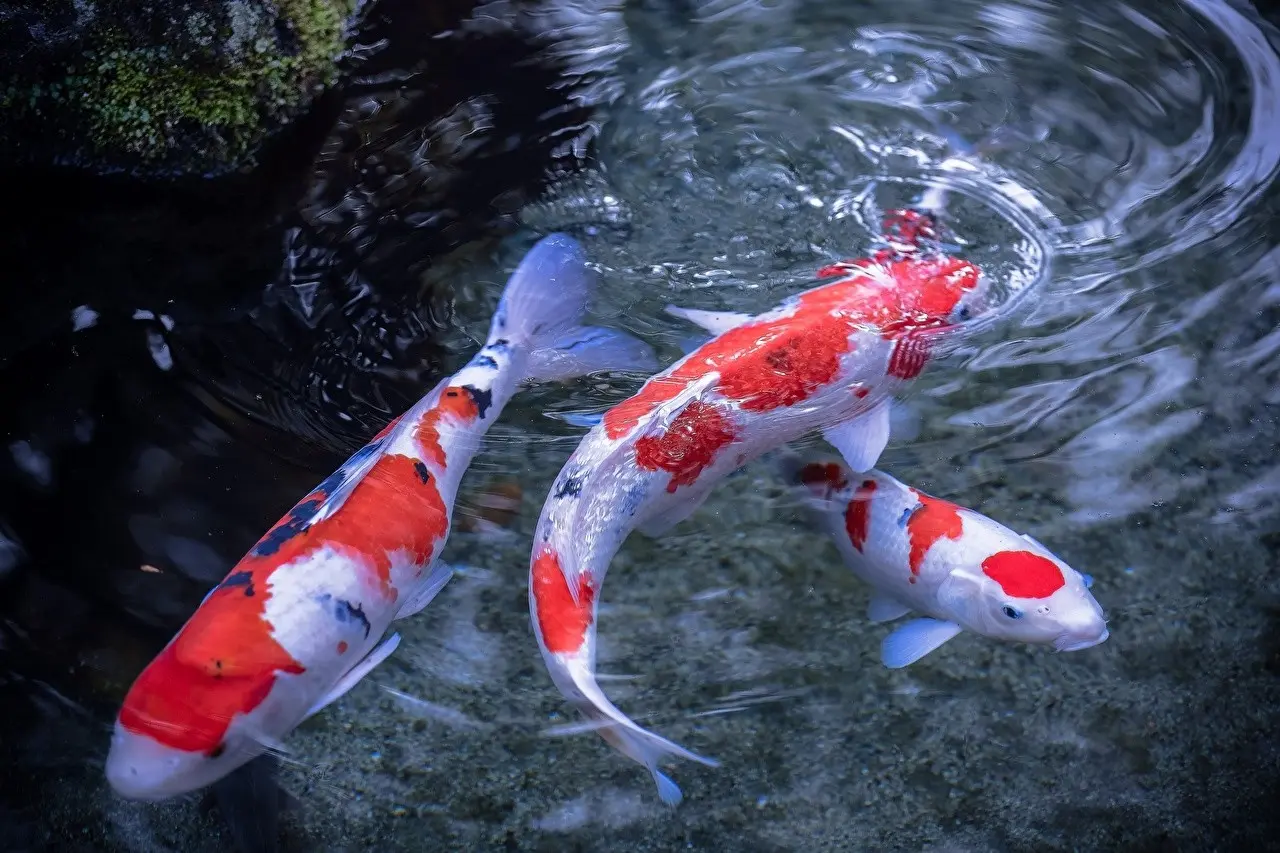
In the second case, the best choice would be koi – carp with bright colors, specially bred for artificial reservoirs. They are clearly visible from the shore, besides, they are quickly tamed and begin to swim up to people for food. Some individuals even allow themselves to be stroked. In order for koi to take root and not die in winter, the depth of the pond must be at least 2 m. The size of these fish ranges from 45 to 90 cm. They can live up to 30 years.
In a small pond (but not less than 50 cm deep) goldfish will look better. For the winter, they need to be taken to a home aquarium.
If you intend to keep fish, you must install an aerator in the pond that saturates the water with oxygen.
Care instructions
In the reservoir, it is desirable to install a cleaning system with a pump. Excess algae is removed with a net. If the water is heavily contaminated, it must be drained and the plastic cleaned with brushes.
In autumn, remove fallen leaves from the surface.
To equip a miniature pond, it is not necessary to use a purchased frame, you can get by with improvised means, for example, dig a trough or a large basin into the ground.
Properly prepare the pit for installation, carefully consider all the decor elements, and your pond will become an exquisite and atmospheric decoration of the garden.


