


Contents
Excel has a large set of font customization tools. You can freely increase and decrease the font size, change the color, typeface and style. In this lesson, we will learn how to customize the font settings in Excel to our liking.
By default, all cells on a worksheet contain the same formatting options, which can make it difficult to read an Excel workbook that contains a lot of information. Font customization can improve the look and feel of a book in a way that draws attention to certain sections and makes it easier to read and understand the contents of the book.
Change the typeface in Excel
The default font for each new book is gauges. However, Excel has many other fonts that can also be used to decorate text. In the example below, we’ll apply formatting to the table header to make it stand out from the rest of the content.
- Select the cell to which you want to apply formatting.
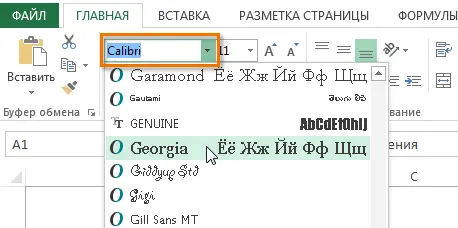
- Click on the arrow next to the field Font tab Home.
- Select the desired font from the drop-down list that appears. By hovering over the various font options, you can see how the text in the selected cell changes. This Excel option is called Live View. In our example, we will focus on Georgia.

- The text font will change to the selected one.

When creating documents, it is sometimes necessary that information be perceived as easily as possible. Excel has a number of fonts specifically designed for reading. In addition to Calibri, Cambria, Times New Roman, and Arial are considered standard reading fonts.
Change font size in Excel
- Select the cells in which you want to change the font size.

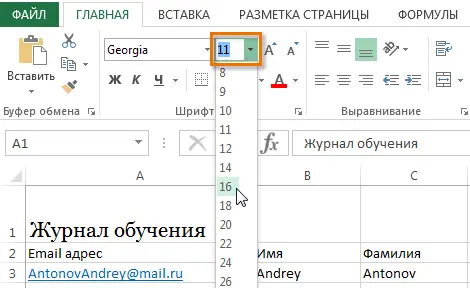
- Click on the arrow next to the field Font size tab Home.
- Select the desired font size from the drop-down list that appears. When you hover over different sizes, you can see how the text in the selected cell changes. In our example, we will stop at size 16 to make the text larger.
- The font size will change according to the selection.

You can use commands Increase font size и Decrease font size, or simply enter the desired size using the keyboard.

Change Font Color in Excel
- Select the cells for which you want to change the font color.

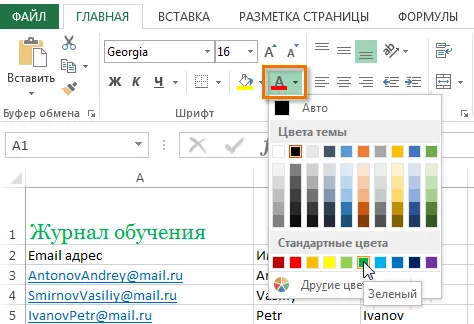
- Click the arrow next to the command Text color tab Home. A color palette will appear.
- Choose the desired color. By hovering over the different color options, you can see how the selected text changes. In our example, we will choose green.
- The font color will change to the selected one.

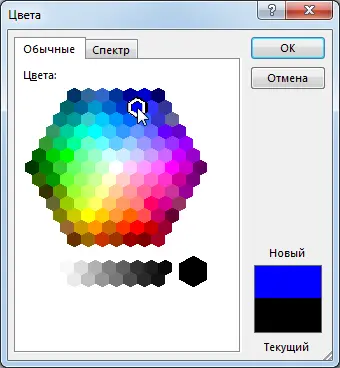
To access an extended list of colors, use the item Other colors at the bottom of the command dropdown menu Text color.
Commands Bold, Italic, and Underline
- Select the cells whose contents you want to format.

- Click one of the Bold (W), Italic (K), or Underline (H) commands on the Home tab. As an example, let’s make the font in the selected cell bold.

- The selected style will be applied to the text.

You can also use keyboard shortcuts to style text. For example, pressing the combination Ctrl + B on the keyboard, you will make the selected text bold, the combination Ctrl + I apply italics, and Ctrl + U underlining.