Contents
Bathroom renovation is one of the longest undertakings: a lot of operations that require time. Completes all bathroom tiling. Also not the easiest task that requires knowledge of technology. In addition, it is necessary to develop a laying scheme, but not somehow, but beautifully. And also – count the number and not be mistaken.
Technology
According to modern requirements, the tile is placed on a flat base. Smooth – this is with a maximum height difference of 5 mm per 1 sq. m. If the walls or floor do not meet this requirement, putty is necessary for the walls – with a deviation of up to 3 cm – or plaster with more curved surfaces. The floor in this case is leveled with a screed.
If there are already tiles on the floor, but you want to replace it, you will have to knock down the old one, level out more or less all the differences and fill it with concrete mortar, align it with beacons. Self-levelling mixes can be used, but they also need to be leveled, although not as thoroughly as regular concrete. After the concrete has gained about 50% of the design strength (about 7 days at a temperature of +20°C), work can continue.
Sometimes the tiles on the floor are not removed in any way (usually small). In this case, a 2-3 cm screed can be poured on top and then a new one can be laid.
What composition to level the walls of the bathroom
How to level / putty the walls in the bathroom? All compositions are made on the basis of two binders: gypsum or cement. Since the bathroom is a room with high humidity, the use of gypsum plaster or putty is undesirable. No, you can use them, especially since in many high-rise buildings the walls of the bathrooms are also made of gypsum. But gypsum is very hygroscopic and will absorb moisture from the air, from the walls. Neither tile nor glue will interfere with this. So that it does not “pull” moisture, fungus or mold does not appear on the walls, the surfaces will need to be well saturated with compounds that reduce hygroscopicity. And preferably several times. And this is an additional cost, and considerable. Therefore, it is better to immediately use cement-based compositions – they initially have low hygroscopicity.
Primer
Before plastering or puttying, before laying tiles, all surfaces are primed. This stage must not be forgotten. Primers improve the adhesion of one layer of materials to another, which has a positive effect on the quality of the finish. If you put the finish on the walls without a primer, there is a high probability that the finish will bounce, sometimes with putty, sometimes just with glue – where the weakest adhesion will be found.
When choosing a primer, pay attention to its additional properties. In the bathroom, anti-fungal additives are useful, as well as hydrophobic additives (water repellent).
How to lay tiles
Actually, after all these stages, the tiling of the bathroom begins directly. First of all, lay it on the floor. Use a special tile adhesive for wet rooms. Start from the door, move towards the far wall. Usually there is a bathroom along the opposite wall, so all the trimmings will be under it.
A layer of glue of about 4-5 mm is applied to the leveled floor, the excess is removed with a notched trowel, the tiles are laid, leveled in a horizontal surface, checking the level. All subsequent ones are laid in the same way, maintaining gaps with the help of plastic crosses. Large format tiles are usually used on the floor, therefore thicker crosses are taken – 3-5 mm.
After the glue has dried (the period is indicated on the package), you can start decorating the walls of the bathroom. The technology is simple and very similar to the one described above:
- a layer of glue 3-5 mm thick is applied to a primed even wall, the excess is removed with a notched trowel, which forms recesses;
- the tile is dipped into water for a few seconds, set in place, pressed and tapped with a trowel handle, achieving its even position in all planes;
- check the position using the building level, checking the horizontal and vertical installation;
- next put the second;
- the gap between adjacent elements is set using special plastic crosses (2-3 mm, depending on the format);
- check for vertical and horizontal.
There is another way – the glue is not applied to the wall, but directly to the tile, removing the excess with the same notched trowel. Apply it to the wall and align it in the same way. This way is neither better nor worse. Choose the one that seems more convenient to you.
The first row is gradually filled – from wall to wall. The second one is placed on it, and so on, already up to the ceiling, then they move to the second wall. While working, do not forget to remove the crosses. The glue sets quickly, as a result, picking them out can be difficult. Also make sure the tiles are clean. All traces of glue, even the smallest, must be wiped off. You can use a sponge or cloth, or both. Pay attention to the fact that the glue does not protrude from the seams. They should be half empty – they will need to be trimmed – overwritten.
The seams are rubbed with special colored compounds, which are matched to match or made contrasting. After the glue has dried, the grout is diluted to a paste state, applied to the seams with a small rubber spatula, and the excess is removed with it. The remains are wiped with a soft non-shedding cloth.
There are still many features and nuances – in terms of layout, design of the bathroom, doorway, etc., but in general, the bathroom is tiled using this technology.
Layout features
To get a high-quality and beautiful bathroom, you must first consider the layout of the tiles. Let’s say you have already looked at several options in different colors or sizes. Now you need to decide which one is better to buy and in what quantity. The difficulty lies in the fact that today the decoration of the bathroom with tiles is sharply monophonic from floor to ceiling. Usually two or three colors are combined, and there are also a number of fragments with a pattern or decor. And we need to accurately calculate their number in order to purchase immediately from one batch and not make a mistake at the same time (due to the peculiarities of the technological process, the colors of different batches may have significant differences).
To solve this problem and, at the same time, develop a tile layout scheme, you will need a large sheet of checkered paper or graph paper, a pencil and colored pencils. On the sheet, draw a sweep of the room, accurately observing the dimensions and proportions. On the appropriate walls mark the location of the doors, bathroom, plumbing, mirrors, washing machine. All objects are drawn in the same scale. It is better to make the drawing large – it will be easier to draw the details, as well as count the tiles individually.
On the prepared plan, on the same scale, draw the tile, painting it with the appropriate colors. So it will be possible to more accurately imagine how everything will look, test several layout options – in horizontal stripes, vertical ones, shifting them, making them wider / narrower / higher, etc.
When you decide on exactly how you want to lay out the bathroom (in terms of the arrangement of different colors, stripe widths and other nuances), you will need to redraw the selected layout again, but taking into account trimming to size.
If you start laying tiles just from one of the corners, you will have to cut it in the other. Since large format tiles are in trend today, these trimmings, on the one hand, greatly spoil the overall impression. Therefore, it is laid out relative to the center of the wall, “accelerating” the trimmings in two corners. It turns out a symmetrical picture, which looks much better.
Only here there are nuances. To make the wall look normal, the trim width should be more than half. Too narrow inserts look sparse. This is regulated by the location: a seam or the middle of a tile can be placed along the center line. Draw so that only narrow stripes are not in the corners.
Redraw the selected styling method, taking into account these moments. Then count the number, taking into account those that need to be cut. Yes, the number of tiles will be more, but the look of your bathroom in this version is much more attractive.
The principles of creating a bathroom design with your own hands are described here. Features of the design of combined bathrooms are described here.
How to tile a bathtub – rectangular, rounded
One of the important points when decorating a bathroom with tiles is how to decorate the front of the bath. Most often, it is also pasted over with tiles (another option is to sheathe it with plastic panels). But you can’t hang it just like that, you need a foundation. It is made either from brick (better than ceramic, not silicate, although it is cheaper) or from moisture-resistant drywall.
From both materials, you can lay out a wall that is even or rounded. With bricks, everything is more or less clear, just ask and steal along the drawn arc, creating a slightly broken line. It is then cured with plaster.
To bend drywall, it is cut from the inside into strips 3-5 cm wide, depending on the radius of the bend, the gypsum breaks the floor lines and bends it as necessary. Having laid out the base of a suitable shape, it is primed and it is already possible to lay tiles on the glue in the standard way.
There is one more subtlety when finishing the bathroom: there can be a decent distance between the side of the bathroom and one of the walls – from 5 to 15 cm. This distance must be covered with something, otherwise water will flow down and the greater the distance, the more problematic it is to close it. The way out is to make a drywall shelf, on which then stick the tiles. The order of work is as follows:
- expose the bath strictly horizontally;
- transfer the line of the upper edge of the bathroom to the wall (with a square or ruler);
- from the resulting line, retreat down to the thickness of the planned materials (tile thickness + drywall thickness + board thickness, on which all this will be based);
- attach a bar or profile along the resulting line (the upper edge coincides with the drawn line);
- a wide board (treated with antiseptics) is attached to the profile, which reaches the side of the bathroom;
- the gap between the board and the bath is filled with sealant;
- a piece of moisture-resistant drywall cut to size is laid on top;
- primed;
- subsequently, when finishing the walls, we lay out this shelf with tiles cut to size.
If you decide to install a shower cabin in the bathroom, you can read about the assembly process here.
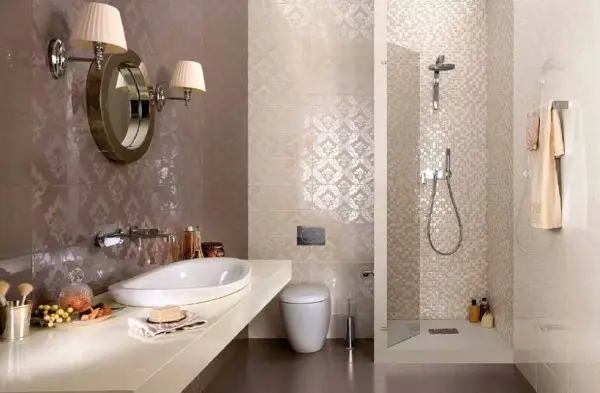
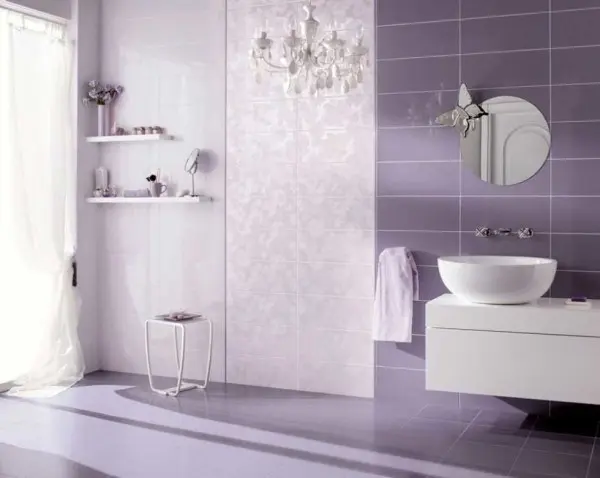
Bathroom tiling: photo ideas
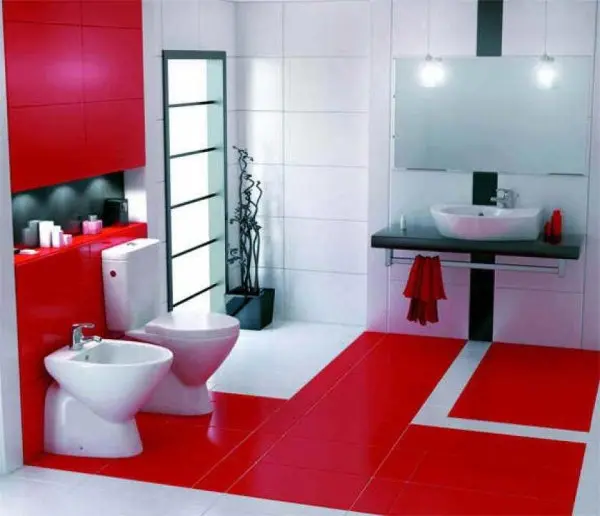
In recent years, there are two main trends in bathroom decoration:
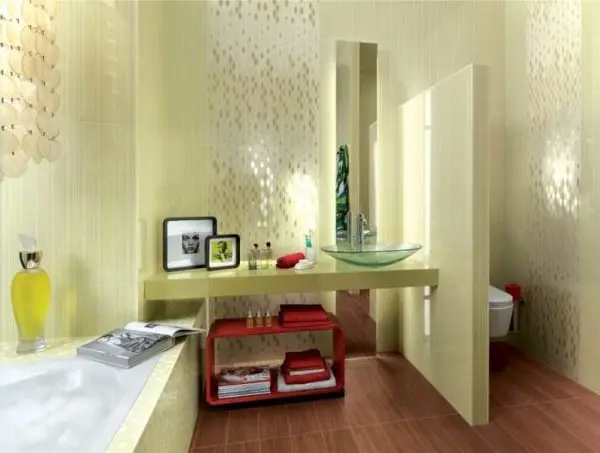
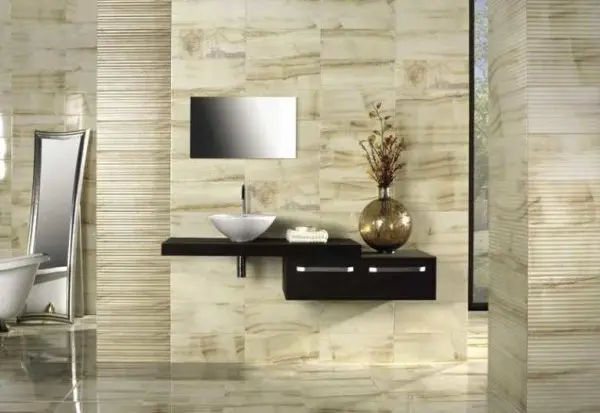
- Use of large format tiles. Rectangular or square – it doesn’t matter, the main thing is that the dimensions are solid.

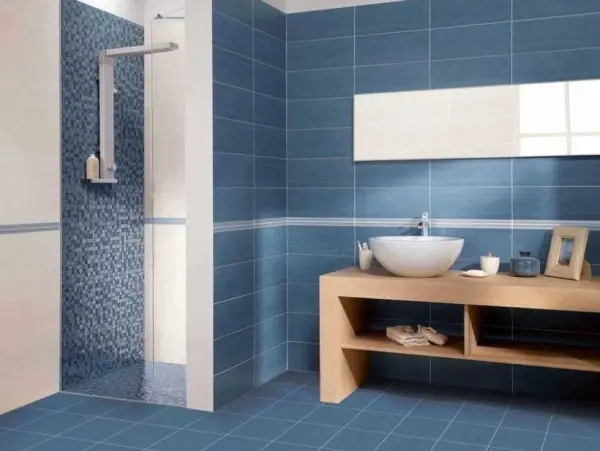
Basically, the bathroom is finished with large format tiles. - The use of mosaics – glass or ceramic. These are small squares with a side of 1,5-3,2 cm, pasted on a polymer mesh.

Mosaic – small tiles glued to the grid
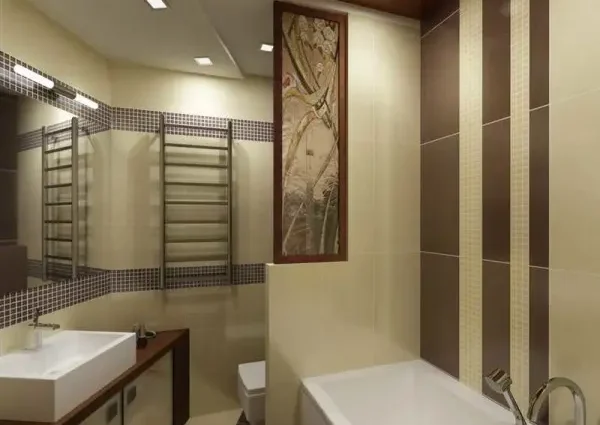
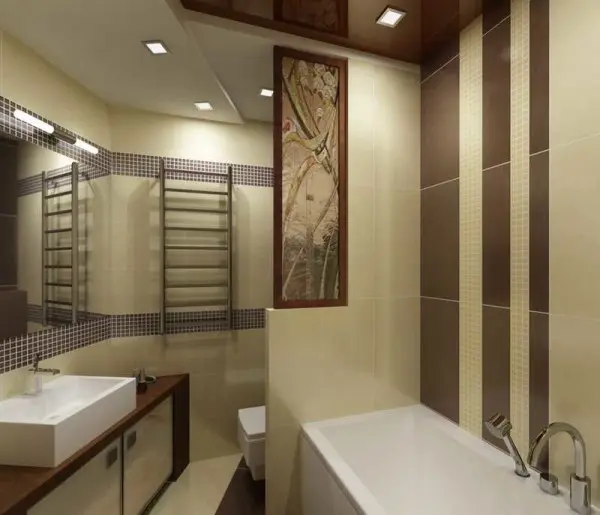
There is a third option – a combination. Such options, by the way, are especially interesting.
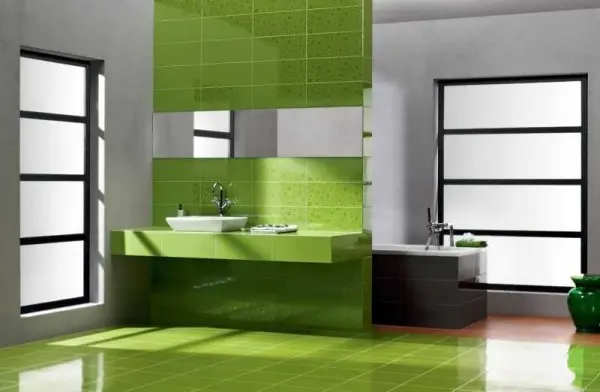
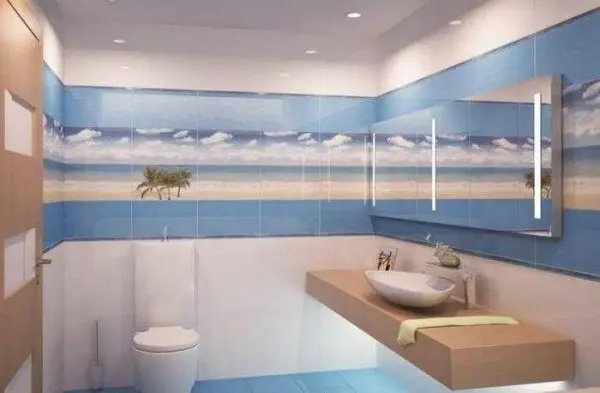
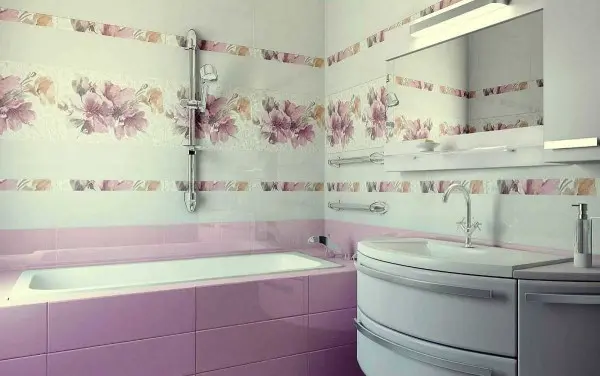
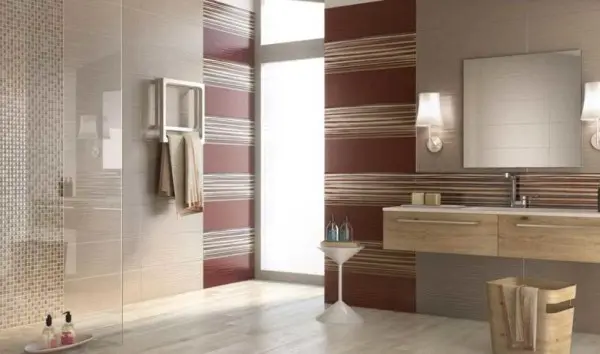
Another design nuance is that rectangular tiles are increasingly placed not “standing”, but “lying” – in length. This is justified, as it makes the room visually wider.

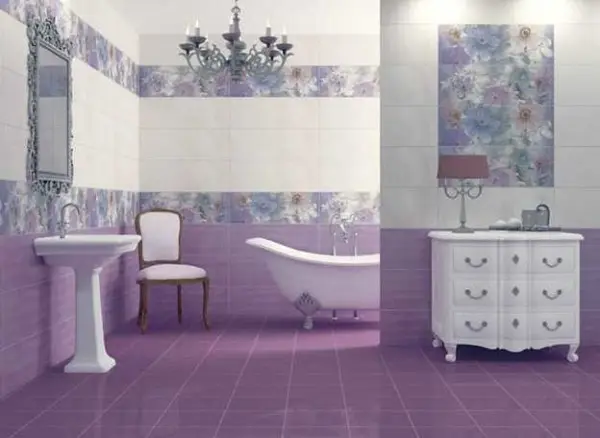
You have probably noticed that more and more people are using stripes – horizontal or vertical – of different widths. Make them on different walls.
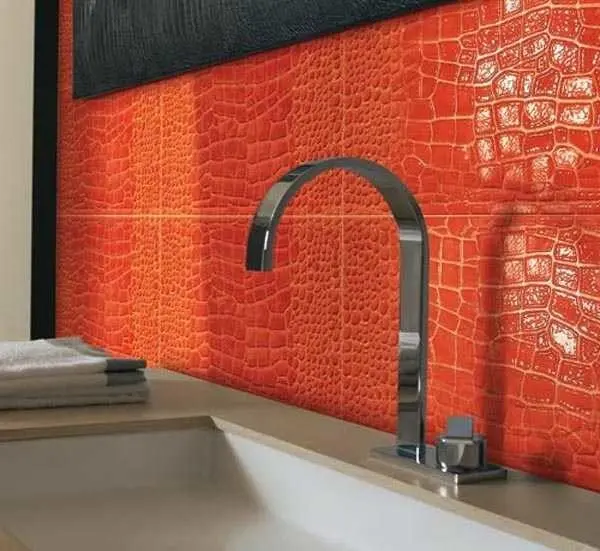
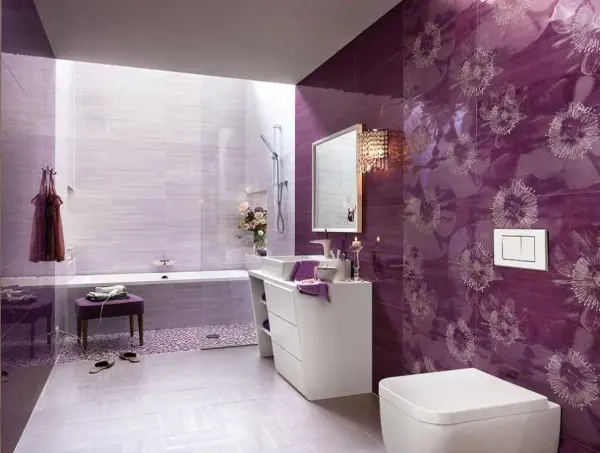
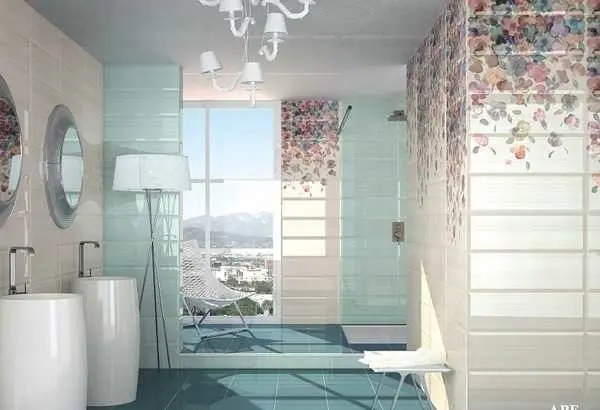
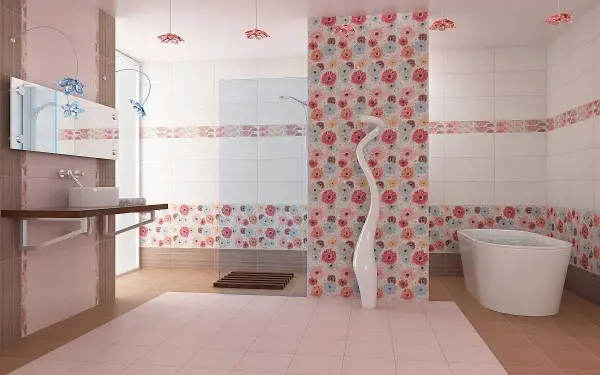
Fashion and drawings did not bypass. Although flowers or solid colors are still popular, tiles have appeared that imitate various natural materials: stone, wood of different species, leather. It turns out quite interesting: it looks like a tree (imitations are quite high-quality), but it feels like ceramics.
In general, there are many interesting ideas on how to tile a bathroom. Various combinations, sometimes unexpected.