


Contents
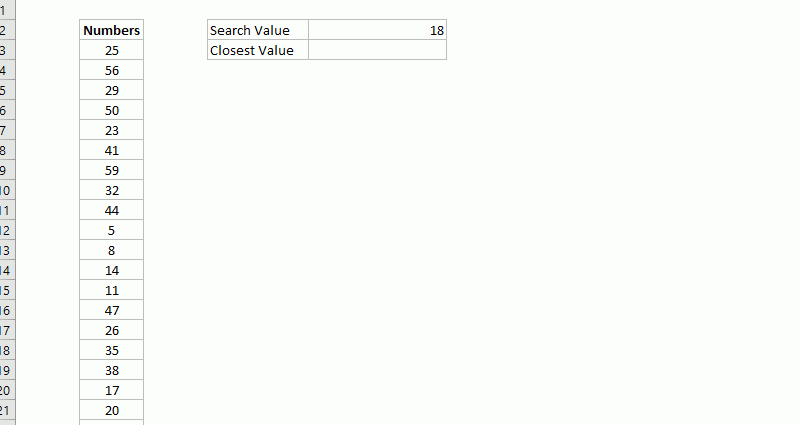
In practice, very often there are cases when you and I need to find the closest value in a set (table) in relation to a given number. It could be, for example:
- Calculation of discount depending on volume.
- Calculation of the amount of bonuses depending on the implementation of the plan.
- Calculation of shipping rates depending on the distance.
- Selection of suitable containers for goods, etc.
Moreover, rounding may be required both up and down, depending on the situation.
There are several ways – obvious and not so obvious – to solve such a problem. Let’s look at them sequentially.
To begin with, let’s imagine a supplier who gives discounts on wholesale, and the percentage of the discount depends on the quantity of goods purchased. For example, when buying more than 5 pieces, a 2% discount is given, and when buying from 20 pieces – already 6%, etc.
How to quickly and beautifully calculate the discount percentage when entering the quantity of the purchased goods?

Method 1: Nested IFs
A method from the series “what is there to think – you need to jump!”. Using nested functions IF (IF) to sequentially check if the cell value falls into each of the intervals and display a discount for the corresponding range. But the formula in this case can turn out to be very cumbersome:

I think it’s obvious that debugging such a “monster doll” or trying to add a couple of new conditions to it after some time is fun.
In addition, Microsoft Excel has a nesting limit for the IF function – 7 times in older versions and 64 times in newer versions. What if you need more?
Method 2. VLOOKUP with interval view
This method is much more compact. To calculate the discount percentage, use the legendary function VPR (VLOOKUP) in approximate search mode:

where
- B4 – the value of the quantity of goods in the first transaction for which we are looking for a discount
- $G$4:$H$8 – a link to the discount table – without a “header” and with the addresses fixed with the $ sign.
- 2 — the ordinal number of the column in the discount table from which we want to get the discount value
- TRUE – this is where the “dog” is buried. If as the last function argument VPR specify LYING (FALSE) or 0, then the function will look for strict match in the quantity column (and in our case it will give a #N/A error, since there is no value 49 in the discount table). But if instead LYING write TRUE (TRUE) or 1, then the function will look not for the exact, but nearest smallest value and will give us the percentage of discount we need.
The downside of this method is the need to sort the discount table in ascending order by the first column. If there is no such sorting (or it is done in reverse order), then our formula will not work:

Accordingly, this approach can only be used to find the nearest smallest value. If you need to find the nearest largest, then you have to use a different approach.
Method 3. Finding the nearest largest using the INDEX and MATCH functions
Now let’s look at our problem from the other side. Suppose we sell several models of industrial pumps of various capacities. The sales table on the left shows the power required by the customer. We need to select a pump of the nearest maximum or equal power, but not less than what is required by the project.
The VLOOKUP function will not help here, so you will have to use its analogue – a bunch of INDEX functions (INDEX) and MORE EXPOSED (MATCH):

Here, the MATCH function with the last argument -1 works in the mode of finding the nearest largest value, and the INDEX function then extracts the model name we need from the adjacent column.
Method 4. New function VIEW (XLOOKUP)
If you have a version of Office 365 with all updates installed, then instead of VLOOKUP (VLOOKUP) you can use its analogue – the VIEW function (XLOOKUP), which I have already analyzed in detail:

Here:
- B4 – the initial value of the quantity of the product for which we are looking for a discount
- $G$4:$G$8 – the range where we are looking for matches
- $H$4:$H$8 – the range of results from which you want to return the discount
- fourth argument (-1) includes the search for the nearest smallest number that we want instead of an exact match.
The advantages of this method are that there is no need to sort the discount table and the ability to search, if necessary, not only the nearest smallest, but also the nearest largest value. The last argument in this case will be 1.
But, unfortunately, not everyone has this feature yet – only happy owners of Office 365.
Method 5. Power Query
If you are not yet familiar with the powerful and completely free Power Query add-in for Excel, then you are here. If you are already familiar, then let’s try to use it to solve our problem.
Let’s do some preparatory work first:
- Let’s convert our source tables to dynamic (smart) using a keyboard shortcut Ctrl+T or team Home – Format as a table (Home — Format as Table).
- For clarity, let’s give them names. Sales и Discounts tab Constructor (Design).
- Load each of the tables in turn into Power Query using the button From Table/Range tab Data (Data — From table/range). In recent versions of Excel, this button has been renamed to With leaves (From sheet).
- If the tables have different column names with quantities, as in our example (“Quantity of goods” and “Quantity from …”), then they must be renamed in Power Query and named the same.
- After that, you can return back to Excel by selecting the command in the Power Query editor window Home — Close and Load — Close and Load in… (Home — Close&Load — Close&Load to…) and then option Just create a connection (Only create connection).


- Then the most interesting begins. If you have experience in Power Query, then I assume that the further line of thought should be in the direction of merging these two tables with a join query (merge) a la VLOOKUP, as was the case in the previous method. In fact, we will need to merge in add mode, which is not at all obvious at first glance. Select in Excel tab Data – Get Data – Combine Requests – Add (Data — Get Data — Combine queries — Append) and then our tables Sales и Discounts in the window that appears:


- After clicking on OK our tables will be glued into a single whole – under each other. Please note that the columns with the quantity of goods in these tables fell under each other, because. they have the same name:


- If the original sequence of rows in the sales table is important to you, then so that after all subsequent transformations you can then restore it, add a numbered column to our table using the command Adding a Column – Index Column (Add column — Index column). If the sequence of lines does not matter to you, then you can skip this step.
- Now, using the drop-down list in the header of the table, sort it by column Quantity Ascending:


- And the main trick: right-click on the column header Discount choose a team Fill – Down (Fill — Down). Empty cells with null automatically filled in with the previous discount values:


- It remains to restore the original sequence of rows by sorting by column Index (you can safely delete it later) and get rid of unnecessary lines with a filter null by column Transaction code:


- Using the VLOOKUP function to search and lookup data
- Using VLOOKUP (VLOOKUP) is case-sensitive
- XNUMXD VLOOKUP (VLOOKUP)