


Contents
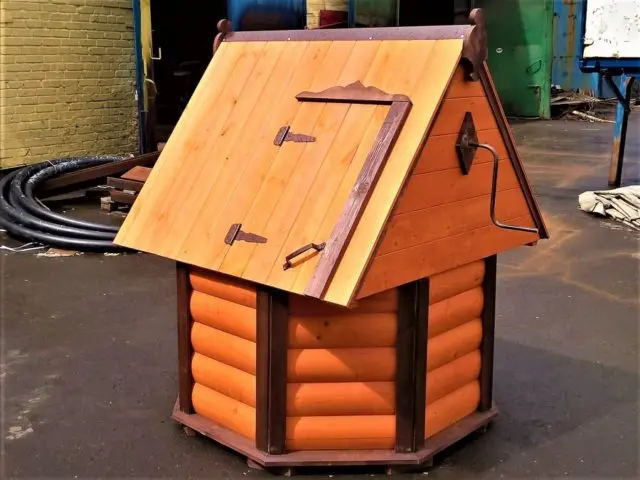
The presence of a well on a personal plot allows you to solve a number of domestic needs. This is not only a source of clean drinking water, but also a decorative element that fits organically into landscape design. But leaving it open is not worth it, the water can become contaminated and become unsuitable for consumption. The most common design option is considered to be a house, equipped on top of a hydraulic structure. But there is another popular way of hiding – a do-it-yourself cover for a well, which every owner can do, adhering to a certain algorithm of actions.
Features of manufacturing a cover for a well
A decorative cover for a well, made by hand, should be distinguished by high strength characteristics, be resistant to high humidity, and adverse environmental factors. This attribute of a private hydraulic structure is required to perform the following tasks:
- Do not allow falling leaves, various kinds of debris, dirt to get inside the mine.
- Prevent the penetration of ultraviolet rays, which favor the active growth of aquatic vegetation.
- Keep warm, which is especially important for winter time, when there is a high probability of water freezing. If there is a cover on the well, the pumping equipment will always be in good condition.
- Protect children and pets from falling into the well shaft.
- Improve the aesthetics of the hydraulic structure.
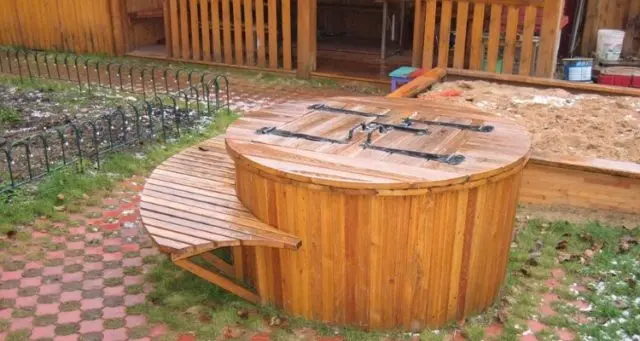
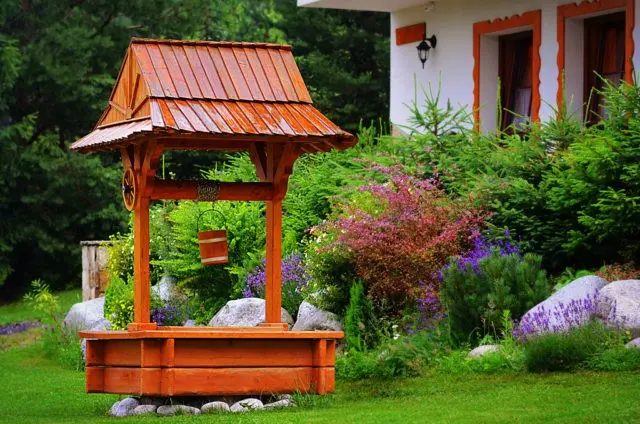
A photo of the cover on the well with your own hands is presented below.
A do-it-yourself wooden cover for a well, although it has a number of advantages, in particular, ease of execution and high decorative effect, loses to plastic or metal products in durability.
The device of hatches of wells
Depending on the type of well, its performance characteristics (purpose, diameter, location), there is a selection of overlap – covers. The device of a manhole of a sewer well or any other hydraulic structure requires calculations for specific strength if it is located on the roadway.
Basically, covers and hatches for wells differ in the material of manufacture, to which the following requirements are imposed:
- indicators of mechanical strength;
- degree of resistance to deformation changes;
- preservation of working qualities regardless of temperature indicators;
- corrosion resistance.
Most often, square and round lids are used to cover wells. The former are used for overlapping in sewer wells with an appropriate shape, and the latter for protection against external factors of water wells, storm sewers. The size of a square cover is 300-800 mm in increments of 50 mm, they are produced hermetic and with slots for draining storm water.
Well covers are made of cast iron, reinforced concrete, polymeric materials. In everyday life, it is preferable to make a cover for a well made of wood; it does not require large financial costs and does not cause difficulties in manufacturing.
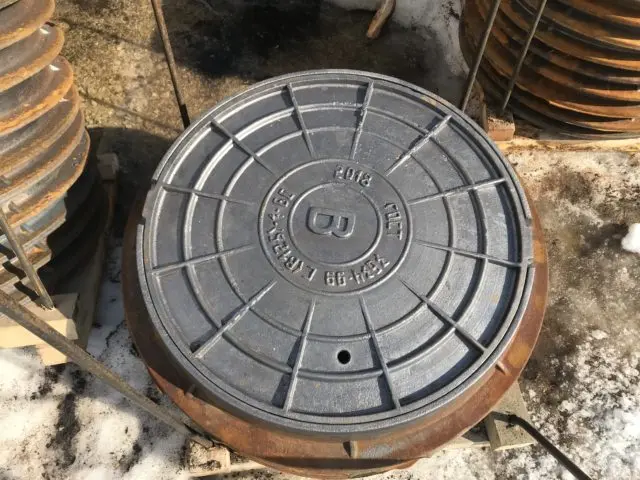
Regarding cast-iron hatches, they are installed on sewer and storm wells, which are subjected to serious external loads during use (in the pedestrian zone, on highways). The maximum service life of such products is no more than 100 years. For their manufacture, a cast iron alloy of the SCh20 brand is taken, which contains lamellar graphite, which increases the resistance of the material to cracking. Among the minuses of cast-iron covers, a relatively large weight and high cost are distinguished.
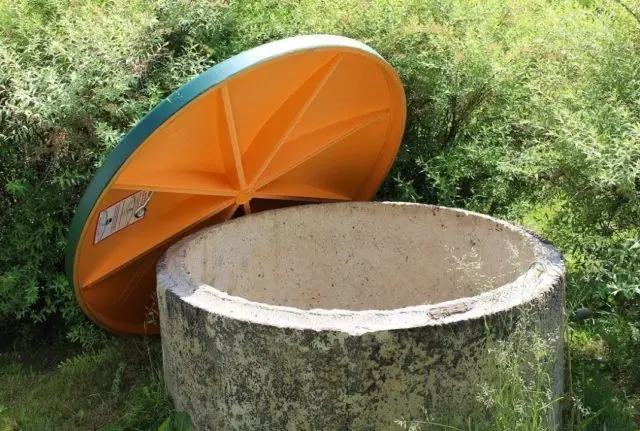
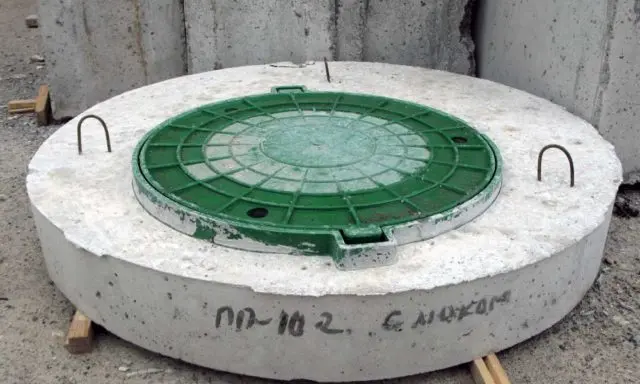
Concrete covers for wells can be made by hand, but their main purpose is to be used in technical mines of large diameter. They are a concrete ring, in the central part of which a viewing hole is provided. But they are recommended to be covered with a wooden lid or plastic. In suburban areas, concrete covers have found their application for sealing cesspools, septic tanks, and blocking wells with drinking water.
What can you make a well hatch with your own hands
There are many options for making a cover for a well, where each has its own manufacturing features and performance characteristics. To determine the type of overlap, you need to familiarize yourself with the most popular types in more detail.
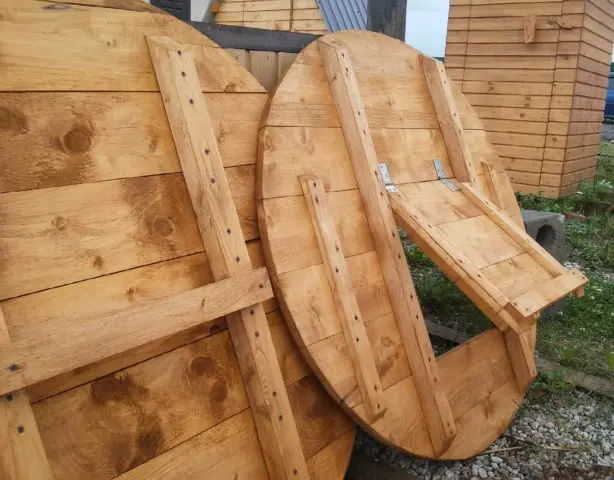
Cover for a well made of wood
The wooden structure can be of different modifications: hexagonal, round, square, folding, collapsible. The product is environmentally friendly, relatively durable and light in weight. For the manufacture of a cover made of wood, it is recommended to use linden, alder, oak or birch.
Of the related materials and devices you will need:
- bolts;
- metal handles;
- sealant for wooden surfaces;
- olifa;
- stain;
- paint/lacquer;
- sandpaper 4×4 cm;
- lumber 15 cm wide and 2 cm thick.
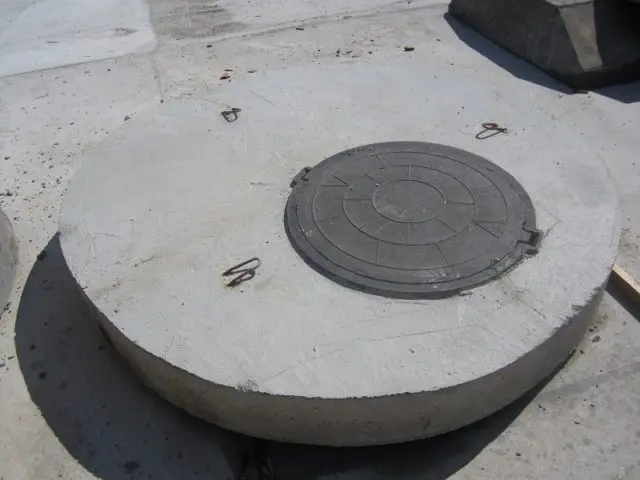
Concrete manhole cover
In most cases, wells in household plots are made of concrete rings. Their disadvantage is considered not very attractive appearance, so they do not impose special requirements for overlapping. Most often, a solid version of the cover and with a hole (hatch) are used to protect against contamination.
In order to make a square-shaped concrete structure with a hatch, the dimensions of which are 70 × 70 cm, it is necessary to provide options for devices for closing it. For these purposes, it is effective to use:
- wooden door;
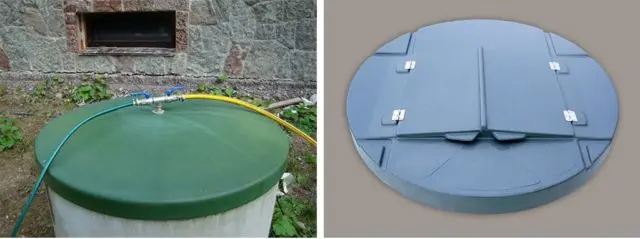
- plastic product for the well;
- metal door;
- brick house;
- wooden frame door.
If you need to make a heavy cover for the well, then you should prepare:
- reinforcing mesh;
- sand;
- cement;
- lumber;
- film.
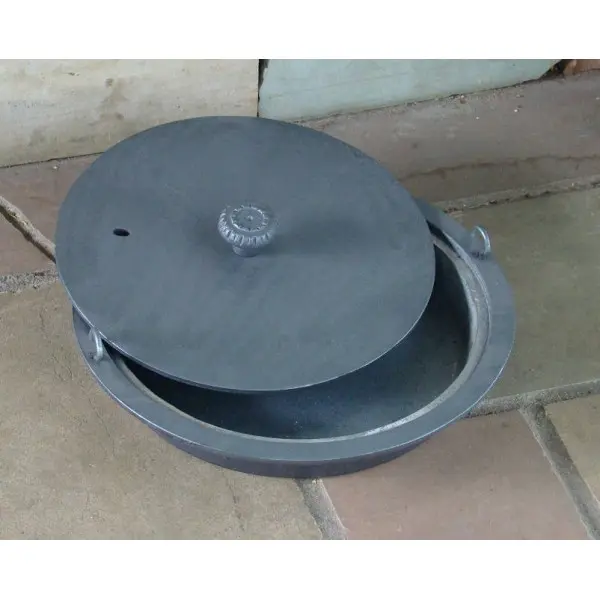
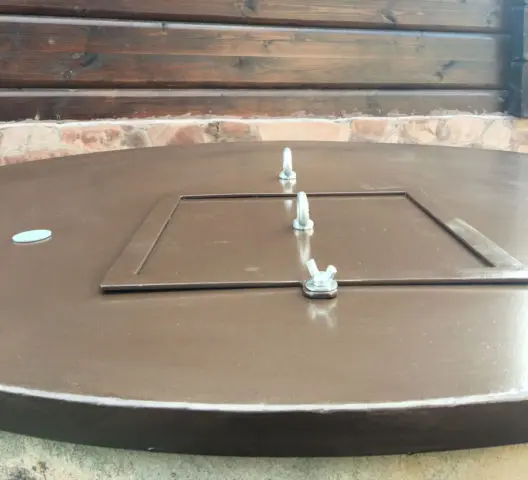
Metal well covers
Making an all-metal structure is not a very rational solution. It will turn out too bulky and heavy overlap, it will be extremely difficult to manage it. It is best to make a metal frame and sheathe it with textolite.
To assemble the cover, you will need to prepare:
- metal corners;
- square pipes;
- metal tape 4-5 cm wide;
- loops;
- sealant;
- paint;
- textolite (1 sheet).
Well Cover Projects
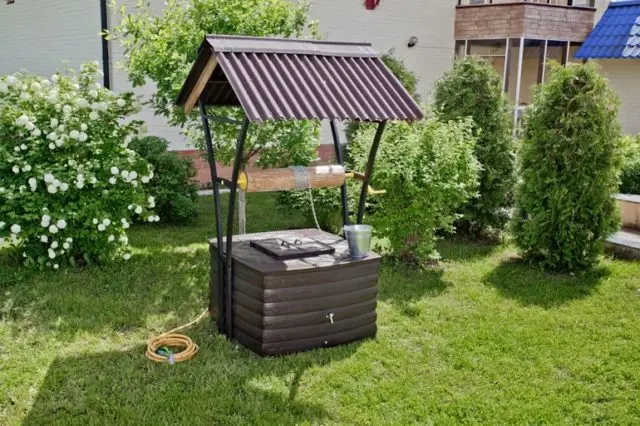
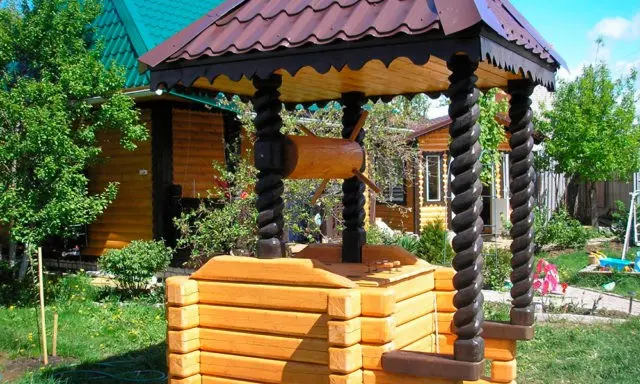
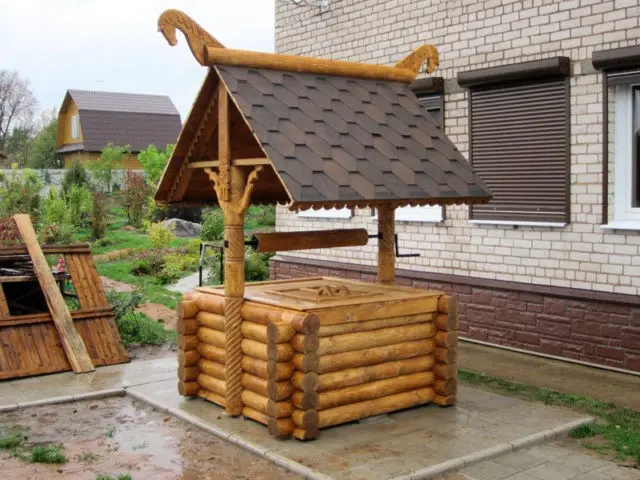
In order for the hydraulic structure to harmoniously fit into the existing landscape design, it must be beautifully designed. Ideas for a cover for a well made of concrete, wood and other materials can be seen below.
How to make a cover for a well with your own hands
Wells can be different. That is why the technology for making covers is slightly different. It is worth considering the method of creating an element for a drinking and sewer well.
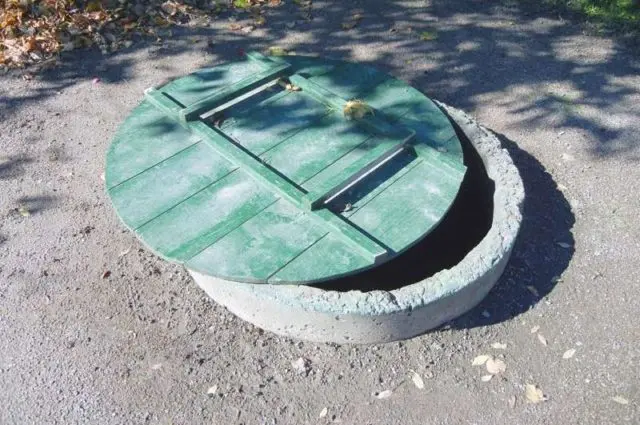
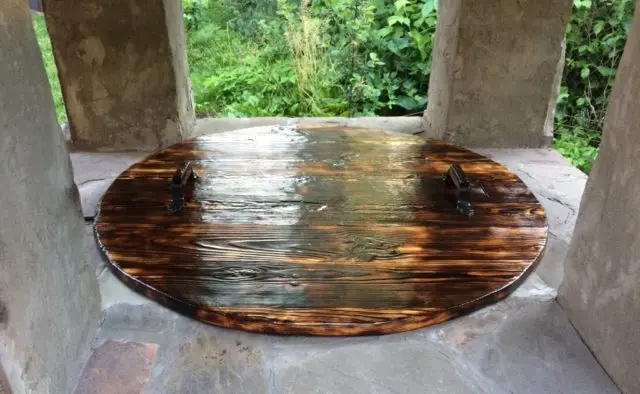
Do-it-yourself drinking well cover
The simplest version of the protective structure is made in the form of a square or round shield made of boards. With the right approach, the cover can be quite beautifully designed. If you process it with the help of a paintwork material, you will be able to extend its service life from 5 years.
To make a wooden model, you will need the following materials:
- wood 20 mm thick and 150 mm wide;
- sealant for wood products;
- 3 bars (40 × 40 mm);
- metal handles;
- fasteners (nails, bolts);
- stain, drying oil, varnish or paint.
Step-by-step instructions for making a cover for a well with your own hands:
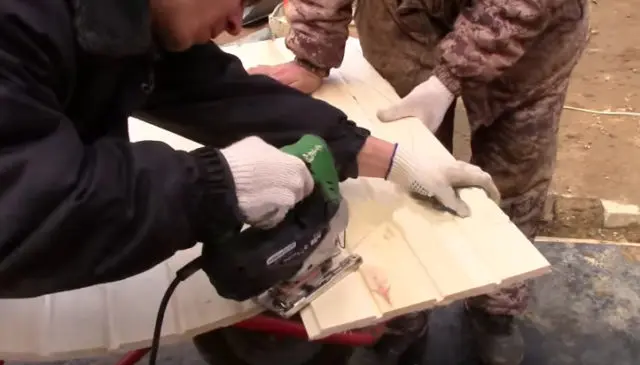
- Knock down a shield from the boards, stuffing them into two bars, placing them close to each other. In length, they should be equal to the width of the shield. The third bar is used as a stiffener, stuffed diagonally between two bars on the inside of the structure.
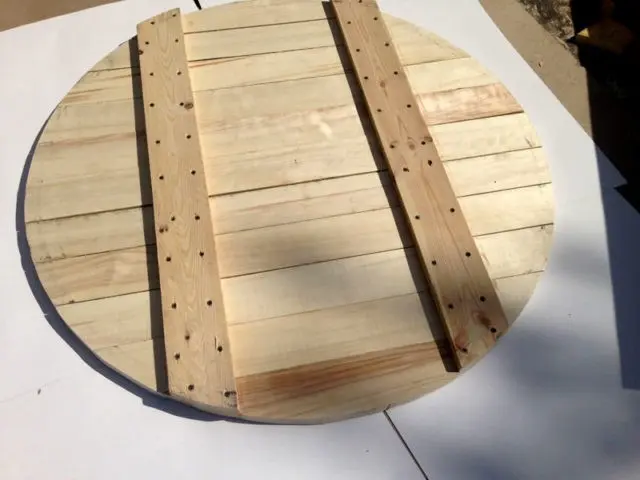

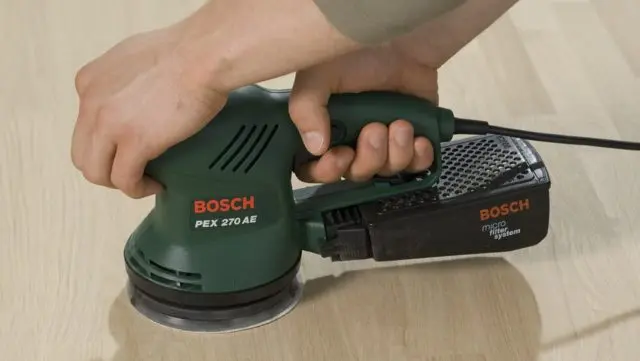
- Sand the shield, chamfer with a planer. To give a round shape, the structure is cut with a grinder.


- Seal all cracks and gaps with sealant, you need to completely eliminate them. Thanks to this simple technique, it will be possible to compensate for seasonal changes in wood, especially in spring and autumn, when it expands. If there is no sealant, then you can use thin strips – flashings from the wrong side of the ceiling.
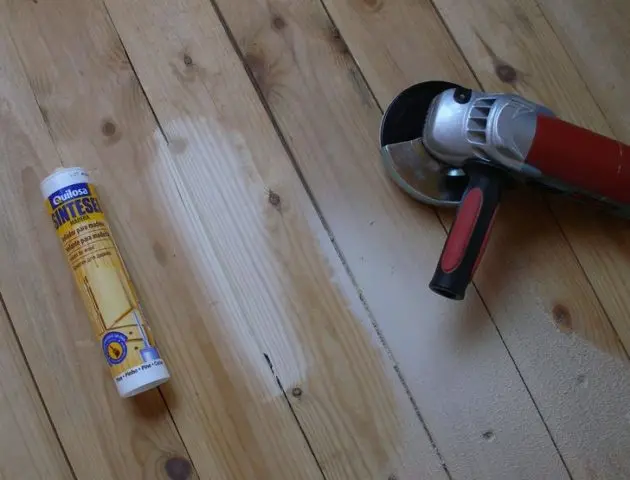

- Cover the lid with oil paint. To make the product more decorative, it is necessary to apply a layer of drying oil, and then two layers of stain (mahogany, bog oak). The cover treated with matte or shiny varnish looks especially impressive.

Install such a wooden structure on the head. If you need to lift it entirely, then metal handles are mounted to its front side.
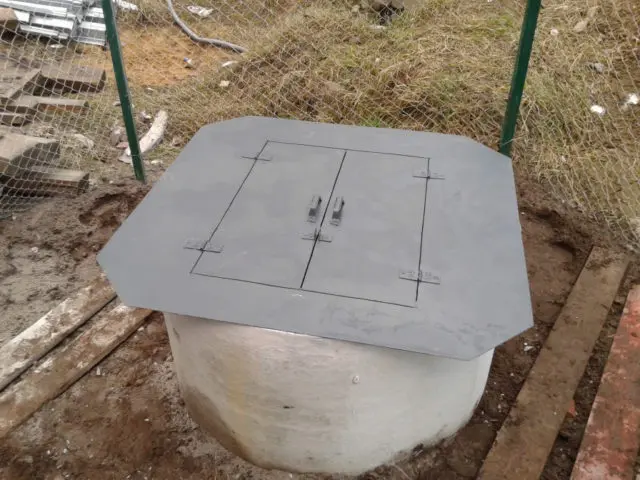
Do-it-yourself cover for a sewer well
Installation of hatches of sewer wells provides for the following algorithm of actions:
- Cut metal corners to a specific length (4 pieces) where the ends should be at a 45° angle. Of these, you need to assemble a square, fixing the ends with a welding machine along the inside and outside of the corners. These places must be cleaned with a grinder. This is how the fixed part of the lid is made.
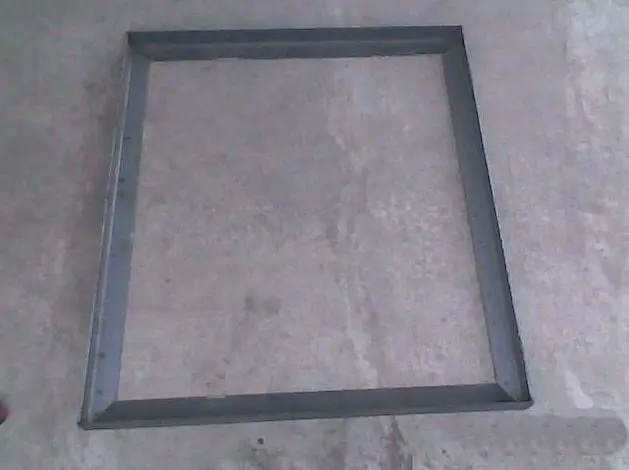

- Assemble the second frame in a similar way. This will be the closing part of the structure.


- Lay the cut profile pipes inside the upper frame at the corners (along the perimeter of the frame) and crosswise. All connections are made by welding, then they are cleaned and primed.
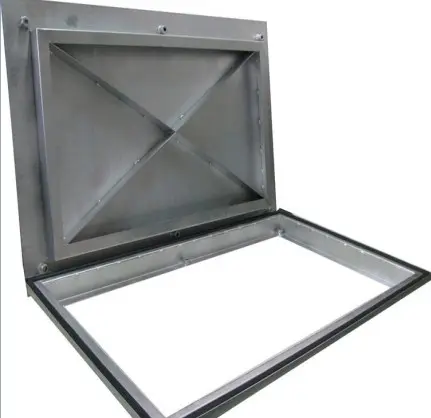

- Cut out two plates from a textolite sheet according to the dimensions of the upper frame. Mounted with self-tapping screws (on both sides of the frame). You can also lay insulation in the form of basalt wool, polystyrene foam.

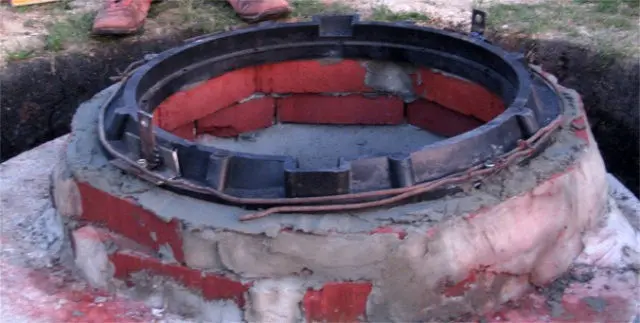
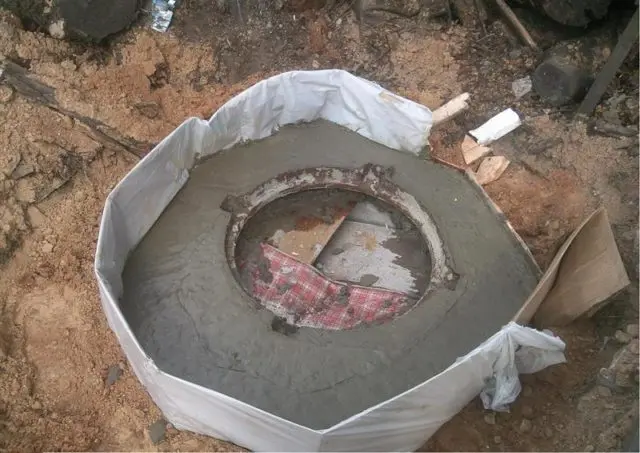
- Bend the metal strip to form a concrete cap. Install formwork from improvised materials on the outside of the well head, taking into account the dimensions of the cover. Fix the lower frame on the formwork, lay a metal tape along the diameter of the head.


- Pour the concrete mass into the space between the belt and the formwork. Connect the lower and upper parts of the structure with the help of loops. Fix the metal handle to the textolite surface. Apply 2 coats of enamel on the metal elements of the ceiling.
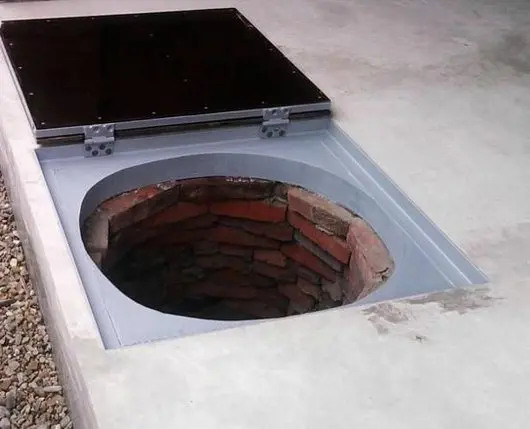

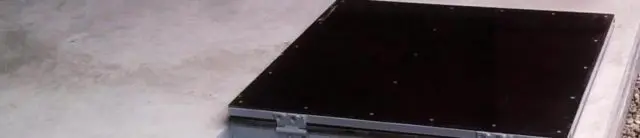
Do-it-yourself installation of a hatch on a well
Correct fastening of the well cover is to perform the following steps:
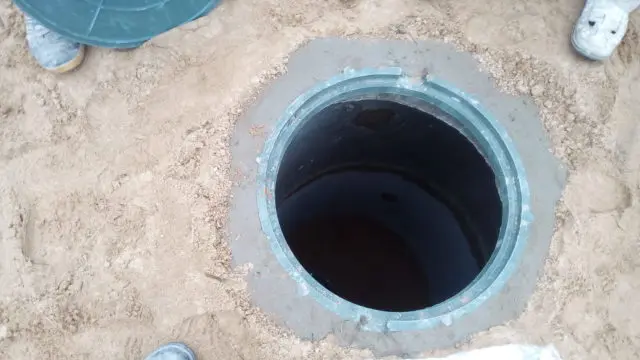
- Provide access to the upper part of the shaft by removing a layer of soil. Set the shell on the level of the upper ring, fixing it securely.

- Fill the formwork with concrete.

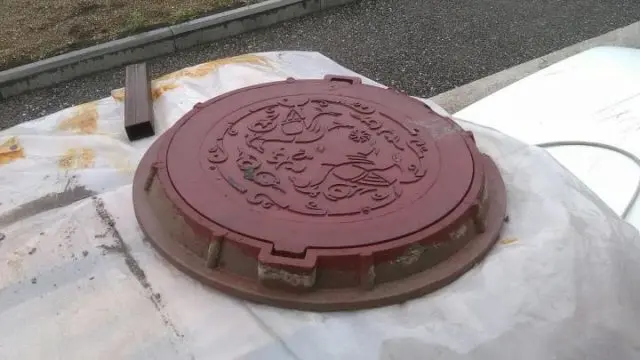
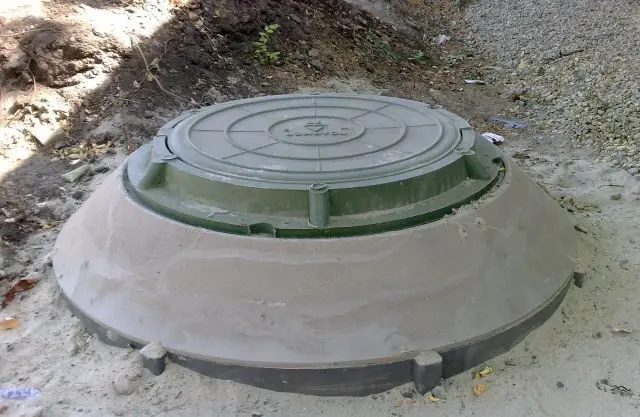
- When the solution dries, install the manhole cover in the grooves provided in the shell.

- Remove the top layer of soil around the ceiling, maintaining a slight slope from the shaft. Cover with sand and compact it.
- Pour the concrete blind area flush with the hatch.

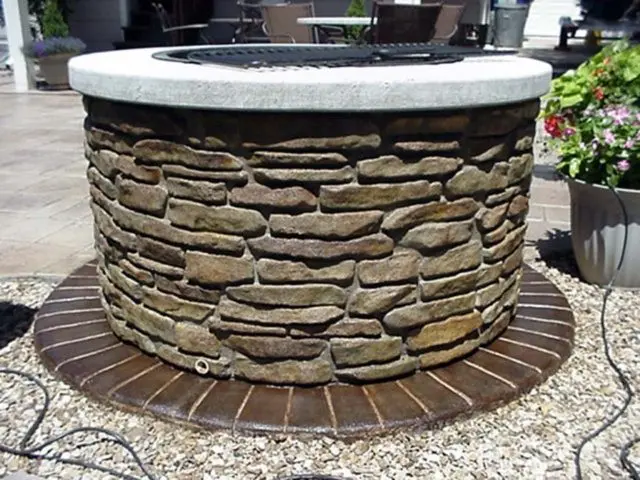
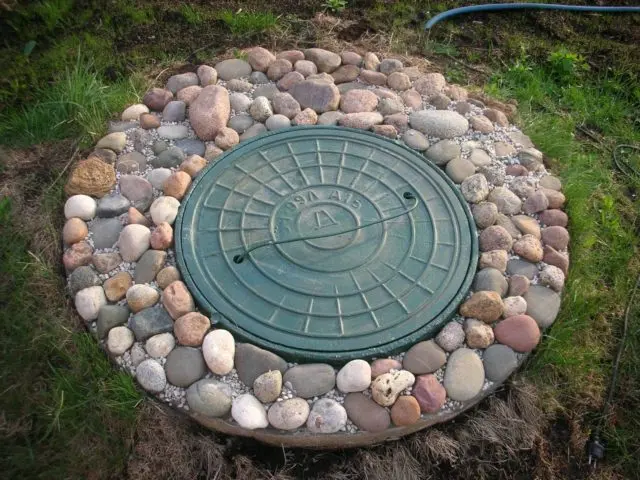
Sewer manholes can be decorated with artificial stones. They are hollow, durable, do not deteriorate under the influence of ultraviolet radiation, atmospheric precipitation. Their relatively small weight makes it possible at any time to carry out all the necessary work inside the well.
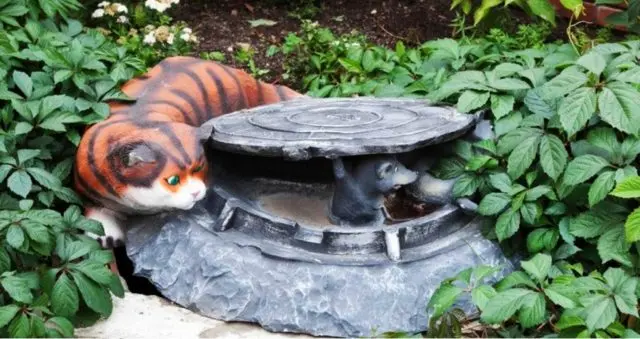
Alternatively, flowerbed covers can be used. They are made of carbon fiber, wood, cast iron. This decorative element is installed on top of the lid; it has a special recess for soil and plants. Such original hatches help to create a flowering meadow on the plot. Designs can be made in the form of decorative stones, animals, fairy-tale characters.
Conclusion
Do-it-yourself well cover is not difficult, anyone can do it. It is enough to prepare all the necessary consumables and tools, adhere to a certain manufacturing technology. Home-made overlap for the well has a lot of advantages, it is important to comply with all norms and requirements at each stage. Only this approach will make it possible to make a durable and relatively inexpensive design that will not allow dirt and debris to penetrate inside.