Contents
A greenhouse or even a small greenhouse on a personal plot allows you to get vitamins to the table earlier, grow a crop of plants with a long growing season. A winter greenhouse opens up much more opportunities for vegetable growers (or flower growers). A capital winter greenhouse, built with your own hands in the country, can provide the family with the necessary vitamins all year round, or can become an additional source of income. It is quite possible to build a capital greenhouse yourself for growing not only annual vegetables, but also for planting perennials there – flowers and fruits will delight the owners, and will also be in demand in the market.
Typical construction technology
Do-it-yourself winter greenhouse is a very relevant topic for everyone who wants to eat fresh vegetables in winter instead of canned ones. If you approach this issue thoroughly, study the best projects from existing ones, consider different ways of organizing heating and additional lighting, building materials from which greenhouses are built, then it is quite possible to build a greenhouse yourself, without resorting to the help of professionals.
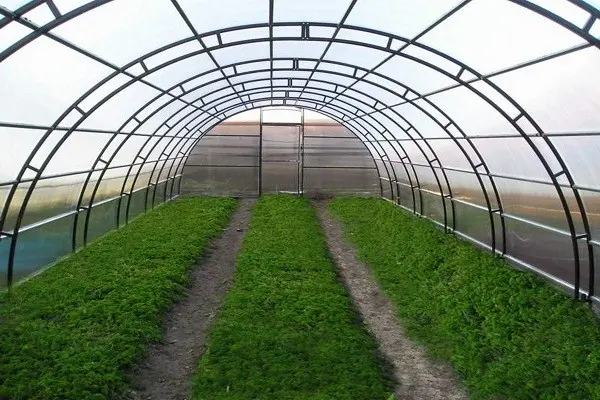
The frame of the greenhouse is most often assembled from a metal profile or a wooden beam, although metal pipes or a plastic profile are also used. Metal is stronger and more durable, but wood creates the right microclimate and is easier to work with. Before deciding on the material, it is advisable to know for which plants this greenhouse needs to be built. Cucumbers, for example, require very high humidity, which will shorten the life of a wooden frame.
For walls and roofs, film, glass or polycarbonate is used. Given the possible very low temperatures, the weight of snow, which can fall a lot in winter, then with a film there is more trouble than savings. Glass has proven itself in any weather, but its weight, increased by the weight of snow falling in winter, must be taken into account when erecting a frame so that it does not collapse under the weight of a snow-covered roof.
Light and transparent multilayer polycarbonate shows itself well, it must be taken with a thickness of 10 – 16 mm. When choosing polycarbonate, it should be remembered that if the thickness is 10 mm, it is necessary to take sheets no wider than 105 cm, and if 16 mm, no wider than 140 cm to ensure sufficient strength.
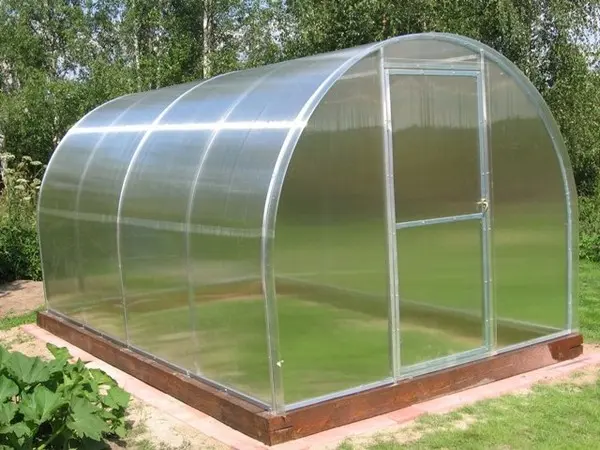
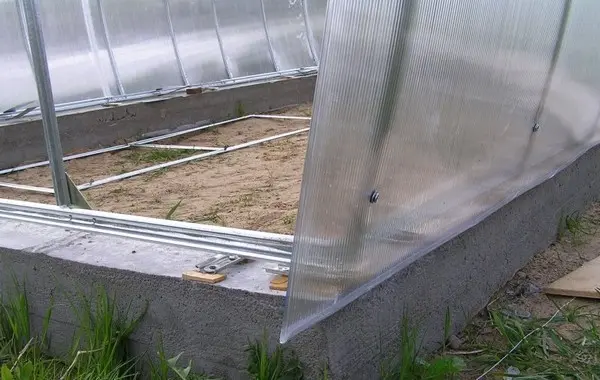
Be sure to make a solid foundation for a winter greenhouse, then a frame is erected. After the installation is completed, the heating system is installed. If you build a shed greenhouse adjacent to a residential building, then its heating can be done simply as a continuation of the heating system of the house.
To calculate the required amount of heat, you need to find the difference between the thermal conductivity coefficient and the glazing area. The difference between heating a house and a greenhouse is significant – in a greenhouse, not only air temperature is important, but soil temperature. Biofuel polycarbonate greenhouses are considered very reliable. When choosing heaters, aluminum convectors are usually preferred, it is believed that they are able to distribute heat evenly throughout the greenhouse.
A layer of sand is laid at the bottom of the pit, then a layer of soddy soil (or just sod laid with roots up), then humus. After laying all the elements of the heat accumulator and installing pipes for its ventilation, it is necessary to lay a PVC film so that the soil does not interfere with its operation. Cuts are made in the pipe film, and it is attached to the walls using a construction stapler. After that, fertile soil for beds and infertile soil are poured into the greenhouses, which can then be covered with tiles – for paths. So that the backfilled soil does not push the boundaries of the beds, they are pulled together every meter with a special wire with a cross section of at least 8 mm. This wire must be wrapped with plastic tape (or better still, hidden in plastic pipes) so that it does not rot in the damp ground.
Video “How to build a heated greenhouse with your own hands”
The author of this video will share with you a recipe for building a high-quality winter greenhouse.
Gable greenhouse
Gable greenhouses are very often erected from a metal corner or a profile pipe. The angle of inclination of the truss system is made from 20 to 30 degrees – such an inclination allows the snow to roll off the roof under its own weight. At the same time, this roof will not be too high so that the winds have to strengthen it.
But you can build such a greenhouse by building a frame from a wooden beam. It is desirable to arrange a foundation with a section of 40 cm – by 40 cm. The walls must be brought out one brick thick, bars should be placed in them, having previously made special grooves for greenhouse frames down. The beam must be taken with a section of at least 15 cm – by 15 cm. The rafter part can be made from beams with a smaller section, 10 cm – by 10 cm is suitable. The rafters must be connected with beams that are laid on the walls, it is better to take a beam for a ridge 12 cm – by 12 cm. There will inevitably be gaps between the frames, it is better to immediately sew them up with slats.
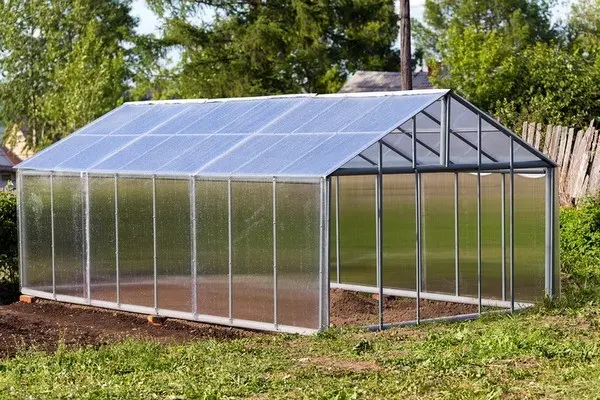
The coating for such a greenhouse can be combined – the walls can be covered with polycarbonate, and the roof can be glazed. It is not difficult to build such a greenhouse on your own. It can be useful for growing perennials or for getting several crops of annuals in one year. But it will definitely have to arrange heating. You can lay a warm floor and limit yourself to air heaters when the temperature column falls – this will depend on the climate and the degree of temperature drop in the street.
With earth filling
A very interesting option is a winter greenhouse with earthen filling. It can be built with a south-facing gable or shed roof. In fact, this is a greenhouse, completely buried in the ground, the sun enters it only through the roof. Of course, in winter there will be little light, especially given the cloudy weather, additional lighting will have to be organized. The roof can be covered with polycarbonate.
If we want to build a greenhouse with a usable area of 15 square meters, we need to dig a pit 80 cm deep with dimensions of 12 m – 3,5 m. m with a length of 60 m. If you leave 2,27 cm for the path, we get beds 10,60 m wide. This is the optimal width of the beds, if you make it larger, it will be difficult to take care of the plants.
Now we need to dig half a meter holes in which the posts will be installed, with a distance of 2,12 m between them. In total, you will need 18 pillars: 6 on the south side (1,65 m each), 6 on the north side (2,10 m) and 6 medium ones (2,30 m). The slope of the roof should be 20 – 25 degrees. The diameter of the pillars should be in the range of 10 to 20 cm. In order for the pillars not to rot, they must be treated with an antiseptic, some advise simply covering the lower parts with resin. Special spikes are made on the poles, and on the strapping of the beams – the corresponding nests, into which these spikes will enter. On the inside of the strapping, grooves are made into which the frames will then lie.
Then they make a slope – logs are stuffed on the racks and covered with earth. The planned length of 10,6 m is designed for 10 window frames. The entrance to such a greenhouse is planned from the end, the roof over the corridor (path) can be covered with boards, the ceiling can be hemmed with a board, and insulating material can be placed between them. The path can be deepened by another 30 cm, then it will be more convenient to walk (you don’t have to bend over) and take care of the plantings.
Such a greenhouse can be covered with glass or polycarbonate. Cellular polycarbonate is used at least 8 mm thick; for it, a crate is assembled from bars with a cross section of 5 cm – 5 cm. The bars are laid at least 1 m. And the glass is at least 4 mm thick, insert it into the frames, after lubricating the ends of the glasses and the grooves of the frames with liquid lubricant. The wooden part of the structure must be painted with oil paint, usually white or just light is used. In such greenhouses, stove heating is made.
Budget greenhouse
A winter greenhouse cannot be a cheap project just because it needs heating and, very often, additional lighting. Heating will be the most expensive part of the greenhouse, you can save on everything else. The most economical option would be to build a greenhouse from a wooden beam with a film coating.
The foundation must be made of expanded clay and concrete, with the help of formwork, make it so that it rises 30–50 cm above the ground, we assemble the frame from a wooden beam treated with an antiseptic. Sheathing can be done with two layers of film (on the inside and outside of the beam), a layer of air between them will help retain heat. And the roof can be covered with a hydrophilic film, from which condensate will not drain, and the walls are ordinary double. In the coldest time of winter, almost all windows should be closed with slats, and then gradually opened, increasing natural light.
It is good to arrange high warm beds. It all depends on how severe the winter is. If the thermometer does not drop too much, warm beds and air heating will be enough to grow vegetables in winter. And if in the conditions of Siberia the frosts are strong, and the ground freezes up to more than 2 meters, then warm beds are arranged not for plants, but in order to help the heating system laid under the fertile soil.
Video “Do-it-yourself super greenhouse: cheap and easy”
In the video, they will explain to you how to make a greenhouse with your own hands from improvised materials with minimal investment.
Building Tips
The place for the greenhouse is chosen even, preferably calm, so that it is not obscured by large trees or buildings, where groundwater does not come close to the surface. It is best to build rectangular rooms, oriented so that more sunlight falls on the wide side.
Usually a small vestibule is made in the greenhouse, where they store garden tools, utensils, all sorts of useful little things. This small room is also necessary because it protects the plants from cold air when the external doors are opened.
Whatever material you choose for construction, always follow the tightness of the room.
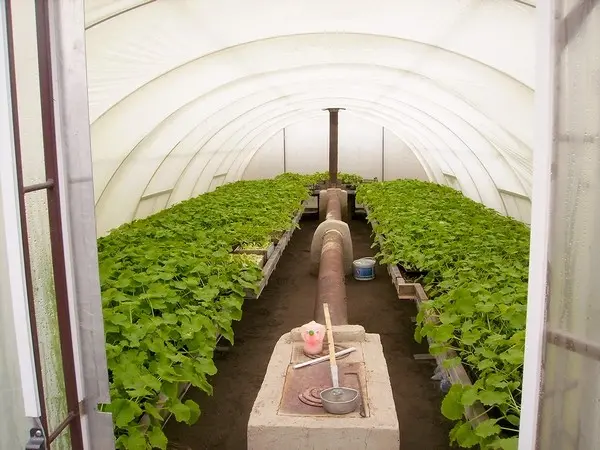
Plants should be watered with exceptionally warm water, it is best to establish a sprinkling system, and not drip irrigation.
To protect the greenhouse from freezing of the soil, you need to insulate it from the inside from below with foam, it can be wrapped with polyethylene for greater safety. For the foundation, it is good to use adobe or foam blocks, which, together with cement and polymer mastic, will retain heat well. Better than them can only be thick (twice as thick as foam blocks) brickwork, which will become significantly more expensive.
Plants require different temperature conditions, so you first need to determine which plants the greenhouse is being built to grow, and then install the heating system.
We invite you to familiarize yourself with the projects of greenhouses from the most advanced vegetable growers:


