


Contents
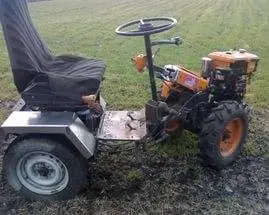
If the farm has a walk-behind tractor, then you just have to make an effort and it will turn out to be a good mini-tractor. Such homemade products allow you to acquire all-wheel drive equipment at minimal cost. Now we will look at how you can assemble a mini-tractor from a walk-behind tractor with your own hands and what you need for this.
Which walk-behind tractors are suitable for conversion
It should be noted right away that almost any walk-behind tractor can be converted. It would be unreasonable to use a low-power motor cultivator. After all, the tractor will turn out to be weak. Ready-made home-made designs have full steering, operator’s seat and front wheels. To make such a transformation, you need to buy a kit for converting a walk-behind tractor into a mini-tractor or rummage through old car parts.
Centaur
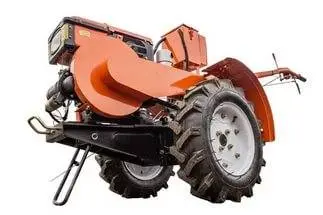
From such professional walk-behind tractors, a mini-tractor will turn out to be powerful, with great performance. The unit is equipped with a 9 hp engine. With. For alteration, you will need to weld a frame from a profile, add front wheels and a seat.
Bison
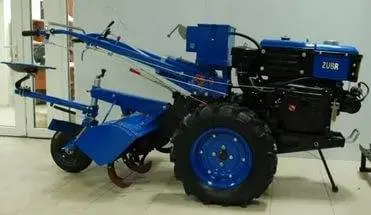
A mini-tractor from the Bison walk-behind tractor will turn out to be of high productivity, as the equipment is equipped with a powerful diesel engine. To alter the mechanism, you will need to add hydraulics. Then the mini-tractor will be able to work with attachments. In addition to steering, you need to take care of the braking system. You can buy front wheels or find old ones from a passenger car.
Agro
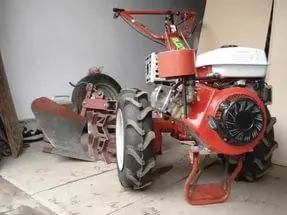
To assemble a mini-tractor from an Agro walk-behind tractor, you need to perform all the above procedures. In addition, the design requires the installation of wheel gears. They are needed to strengthen the leading axle shafts. However, you can go the other way. To do this, the motor is mounted on the back of the frame, resulting in an even distribution of the load.
It is much more difficult to fold a mini-tractor from an MTZ walk-behind tractor, due to the design features of the equipment. But in the end, you can get a maneuverable unit on three wheels.
General guide to converting walk-behind tractors
Now we will consider the general instructions on how to make a mini-tractor from a walk-behind tractor and what is needed for this. The manual is suitable for the Centaur, Zubr and Agro brands. The alteration of the MTZ walk-behind tractor takes place according to a different principle, and we will present the instructions for it below.
Frame manufacturing
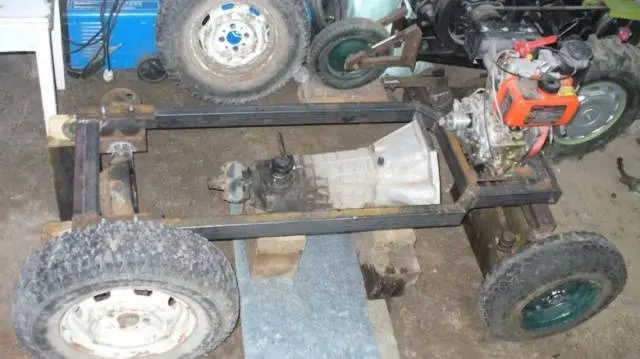
The manufacture of a mini-tractor based on a walk-behind tractor begins with the assembly of the frame. Due to its lengthening, it will be possible to install additional wheels, a driver’s seat and steering. The frame is welded from a steel pipe, channel or corner. It does not matter what the cross section of the blanks will be, the main thing is that the finished structure does not deform from loads. You can take the material for the frame along the section with a margin. The weighting of the finished unit will only benefit, as there will be better grip on the ground.
The material selected for the frame is cut by a grinder into blanks. Further, they are welded together to form a rectangular structure. Additionally, joints can be reinforced with bolted connections.
A hinge is attached to the finished frame. It can be located in front and behind. The device is necessary for working with attachments. If it is supposed to transport goods, then a tow bar is also installed at the back.
Running gear manufacturing
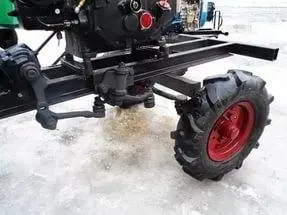
Further conversion of the walk-behind tractor into a mini-tractor involves the manufacture of the chassis. And you need to start with the front wheels. To do this, you need to buy or find 2 hubs with brakes from friends and fix them on a piece of steel pipe. A hole is drilled exactly in the center of the resulting axis. It is made transparent. Through the hole, the axle is attached to the front transverse frame element. Next, a gearbox with a worm gear is installed on the frame. It is connected to the front axle by tie rods. When everything is done, put the steering column.
The rear axle of a mini-tractor with an engine from a walk-behind tractor is mounted on bearings pre-pressed into steel bushings. This part of the chassis is equipped with a pulley. Through it, torque will be transmitted from the engine to the axle with wheels.
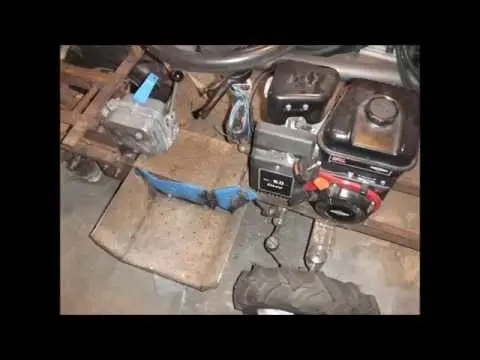
Installing the motor
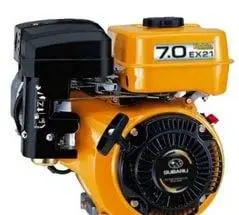
Most often, a home-made mini-tractor from a walk-behind tractor is equipped with an engine in front. Fasteners are welded under it on the frame. This location of the motor allows you to maintain optimal balance while working with attachments.
To transmit torque, a belt is put on the axle and engine pulley. It must be well tensioned, so the motor fasteners are made adjustable.
Installation of additional equipment
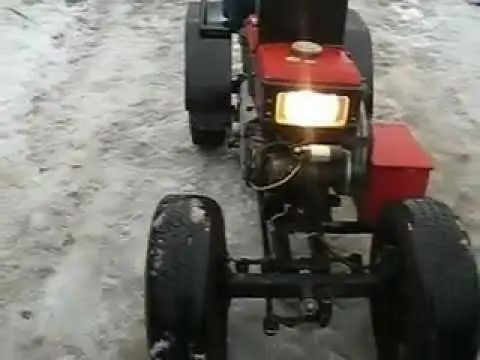
When the assembly of a do-it-yourself mini-tractor with an engine from a walk-behind tractor is completed, the structures begin to give a complete look. First install the brake system and be sure to test it. To work with attachments, hydraulics are attached to the frame. The driver’s seat is bolted to the uprights. They are pre-welded to the frame.
If it is supposed to move on home-made equipment on the road, it must be equipped with headlights, as well as side lights. The engine and other mechanisms can be covered with a casing, which can be easily bent from thin sheet steel.
When the structure is fully assembled, run-in is performed. After that, the mini-tractor is already loaded.
The video shows a converted Neva walk-behind tractor:
Alteration of the MTZ motoblock
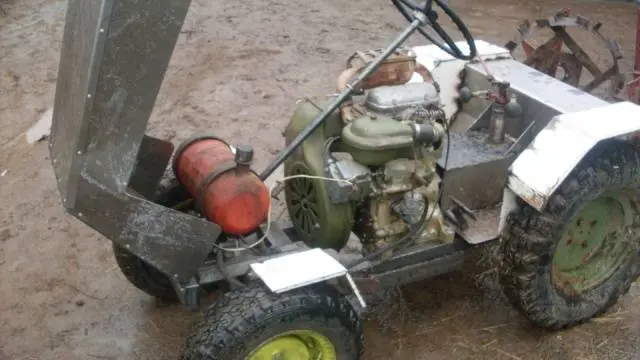
To assemble a mini-tractor from an MTZ walk-behind tractor, you need to fix one problem. It is connected with the fact that the two-cylinder diesel engine shifts the center of gravity to the front of the frame.
You can solve the problem by doing the following:
- The MTZ motoblock has a mode of operation with a mower. This is where the unit needs to be switched.
- Instead of a front platform, a steering wheel and a wheel from a motorcycle are installed.
- At the top of the frame there is a niche where the tie rod is located. Here you also need to put an adjusting rod to increase the rigidity of the structure.
- The operator’s seat is welded to the platform through additional fasteners.
- Another platform for hydraulics and a battery is cut out of thick sheet steel. It is welded next to the motor.
- For additional elements of the hydraulic system, fasteners are welded on the back of the frame.
- The braking system will be manual. It is installed on the front wheel.
In the final, a three-wheeled mini-tractor from the MTZ walk-behind tractor is obtained, which is convenient to operate.
That’s all the secrets of homemade homemade products. Keep in mind that each brand of walk-behind tractor is different in its design, so the transformation process must be approached individually.