Contents
Thanks to this material, you will learn how to make champagne at home from any finished wine. The recipe is simple, but the cooking technology requires dexterity at the time of disgorging (removing sediment from the bottle). That’s why I advise you to make champagne together, it’s more interesting and easier.
There are two ways to prepare homemade champagne:
artificial. The drink is saturated with carbon dioxide without fermentation (carbon dioxide cylinders are required).
Natural. Young wine ferments in tightly corked bottles, then it is cleaned. This method is better, as it turns out a natural sparkling wine with a rich taste. It is about the natural method that will be discussed further.
Ingredients:
- wine – 0,75 liters;
- sugar – 1 tablespoon;
- unwashed raisins – 3-4 pieces.
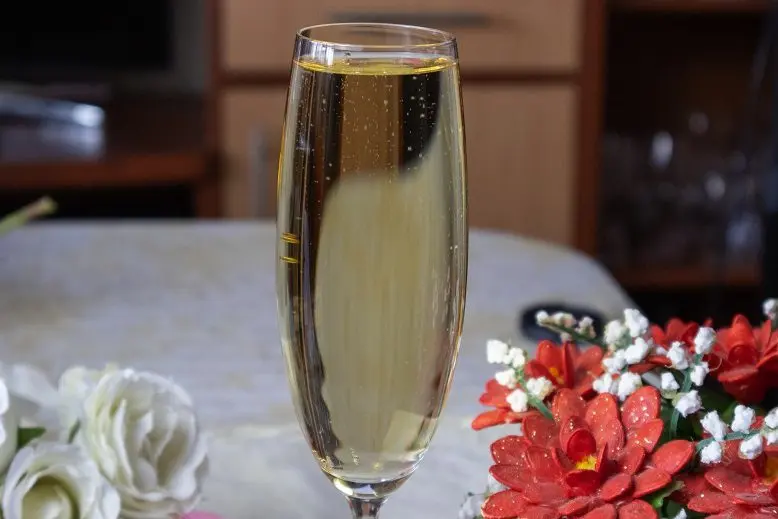
homemade champagne recipe
1. Filling bottles with wine
You can use any homemade wine made from grapes, apples, cherries, rowanberries, other fruits, or buy a drink in a store. In the second case, I advise you to choose wines of the middle price range, the cheapest ones contain a lot of preservatives, as a result of which they ferment poorly.
Pour the wine in a cool room into champagne bottles. They are strong enough and will withstand gas pressure, this is ideal. If there are no such bottles, any others will do, it is desirable that they be made of dark glass. Plastic bottles are the worst option as the alcohol in the wine reacts with the plastic and spoils the taste.
Add 1 tablespoon of sugar and a few raisins. These ingredients are necessary to activate fermentation. Bottles should be filled to the very neck to make them easier to work with in the future.
Cork full bottles with reliable corks and, for greater reliability, tie them with wire, as is done in factory champagne. An alternative option is to fill the corks with sealing wax or hot wax.
2. Storage
Within 60-90 days, future homemade champagne should be stored in a horizontal position at a temperature of 18-25°C. Try to maintain a stable temperature, this is very important for the normal development of wine yeast and fermentation.
In the last 2 weeks of storage, the bottles are placed neck down and rotated slowly every day. This is done so that the yeast lags behind the walls and gradually accumulates at the neck.
3. Disgorgement (removal of sediment)
The most difficult stage, which requires dexterity or the help of other people. I advise you to prepare new plugs and wire for dressing in advance. The procedure must be carried out in the room where the drink was stored.
The essence of disgorging is that we remove yeast and other fermentation products that have accumulated near the cork. To do this, you need to open the bottles, quickly drain the sediment, add a little fresh wine and cork them back.
The procedure is performed by two people in the following order: the first winemaker carefully opens the bottle without changing its original position, drains the sediment (small losses of champagne are inevitable), closes the neck with his finger, and passes the bottle to his partner. The second – intercepts the neck with his finger, turns over and opens the bottle, pours wine into it, tightly corks the cork and pulls the wire (fills it with wax or sealing wax).
Attention! Under gas pressure, a poorly closed plug can fly out.
4. Exposure
Store closed bottles in a cold room (temperature 8-10°C) and keep for at least three months. The longer this period lasts, the better the champagne will turn out.