The obvious advantages of making beer in a slow cooker are that you do not need to control the temperature with an immersion thermometer and constantly stand at the stove. In fact, the slow cooker becomes a small automated brewery. A significant disadvantage is that up to 3 liters of finished beer will be obtained in one brew, which is very small, given the laboriousness of the process. You also have to measure the amount of ingredients to tenths of a gram, which requires accurate and sensitive scales. The method can be recommended to beginner brewers who want to try their hand.
Necessary equipment: a 5-liter multicooker, a kitchen scale, a 5-6-liter fermentation tank, a saucepan for boiling wort, a slotted spoon, a water seal, a mug, a silicone hose for removing beer from sediment, a colander, gauze, iodine or other disinfectant, a bathroom with cold water or other method of rapidly cooling the wort, plastic or glass beer bottles. With additional devices, an electronic thermometer and a hydrometer will be useful to control the sugar content of the wort.
Ingredients:
- water – 3 liters;
- barley malt – 1 kg;
- brewer’s yeast – according to the instructions on the package for 5 liters of wort;
- hops – 3 grams (alpha acidity 4,5%);
- sugar – 7 grams per liter of beer (for saturation with carbon dioxide, any other primer will do).
These are average proportions for homemade beer (lager) of medium bitterness with a strength of 4-5%. You can use any other recipe, for example, brew white wheat beer, counting the amount of ingredients for the volume of the bowl. Here is a general technology for mashing malt in a slow cooker, this technique is not tied to a specific recipe.
Multicooker beer recipe
1. Disinfect all containers and tools so as not to infect the wort with pathogenic microorganisms. To do this, prepare a home disinfectant solution: dilute 10 ml of iodine in 25 liters of cold water. Fill the fermentation tank, multicooker bowl and cooking pot with tools (spoon, slotted spoon, water seal, fermentation tank lid, silicone hose, colander, mug, gauze) with the solution. Moisten all walls and neck. Leave for 5 minutes, then drain the solution.
Instead of iodine, you can use special antibacterial compounds that are sold in brewing stores.
2. If necessary, grind the malt (often sold already crushed) with a special mill or a mechanical meat grinder.
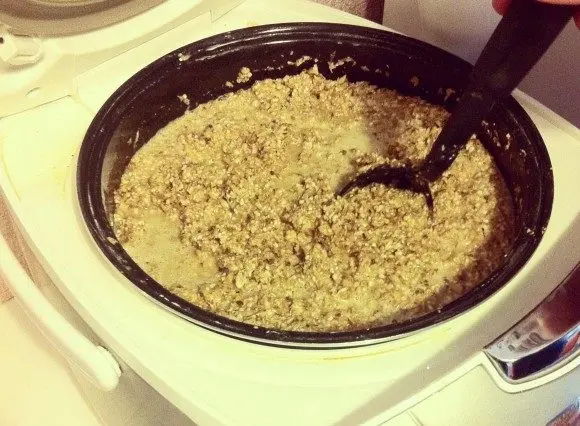
3. Heat 3 liters of water in a slow cooker to a temperature of 70-73 °C. Slowly, stirring constantly, pour the ground malt into the water. You should get a porridge of a homogeneous consistency.
4. Heat the mixture to 65°C, cook for 90 minutes, maintaining the temperature in the range of 61-72°C (optimally 64-69°C). If the open multicooker cannot reach the desired temperature, close the lid.

Once every 15-20 minutes mix the mash (malt with water), not allowing solid particles to accumulate on the bottom.
Attention! It is very important to observe the indicated temperature regimes, otherwise saccharification will not occur (the breakdown of starch in the malt to sugars under the influence of enzymes) and the beer will not turn out. The purpose of brewing is to saccharify the malt.
After 90 minutes, check the quality of saccharification (optional): pour 5-10 ml of wort on a clean white plate, then add a couple of drops of iodine and mix. The solution should not change color. If the mixture turns dark blue, it means that there is a lot of starch left in the grain and you need to continue cooking for at least 15 minutes, and then repeat the test.
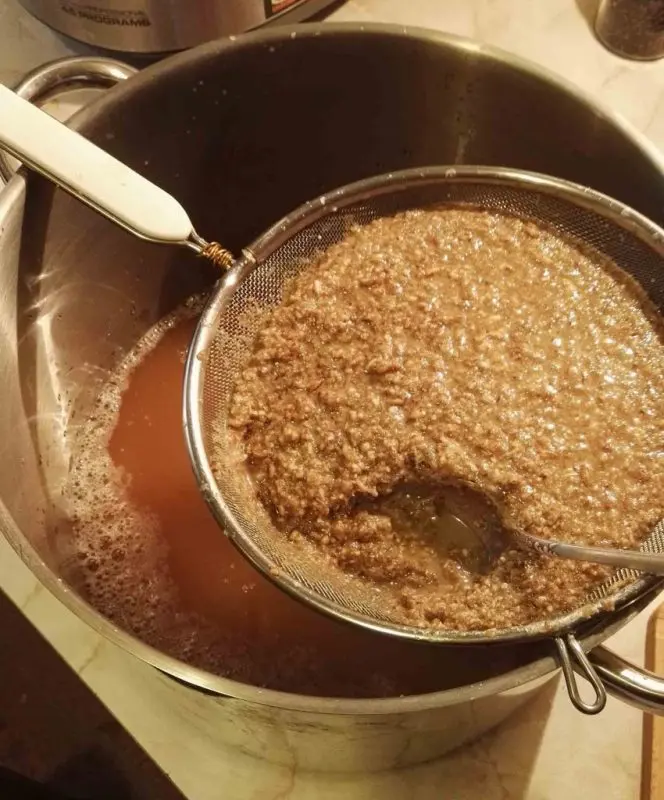
5. Place a colander on a saucepan with a minimum volume of 5 liters. With a slotted spoon, put the grains – the solid part of the mash – into a colander in an even layer, creating a layer for filtering.
6. Using a mug, pour the liquid part of the mash from the multicooker into the cooking pot through a colander with grains. At the end, squeeze the pellet dry, pressing with a slotted spoon. Thanks to the transfusion, the wort is better filtered, and the remains of extractives are washed out of the malt.

7. Bring the pot with the wort to a boil, add the first portion of hops – 1 gram. After 30 minutes, add another 1 gram of hops, and after 40 minutes – the last portion (1 gram) and boil the wort for 20 minutes.
It is important to maintain an intense boil throughout the boil to keep the wort bubbling.
If the device allows, cooking can be done in a slow cooker, after washing the bowl. The advantage is automatic time control.
Dilute brewer’s yeast according to label instructions.
8. Chill the wort as quickly as possible (standard 15-25 minutes) to the temperature recommended by the brewer’s yeast manufacturer (often 5-16°C for lager strains) to minimize the risk of wild yeast contamination. Typically beginner brewers take the container into an ice water bath.
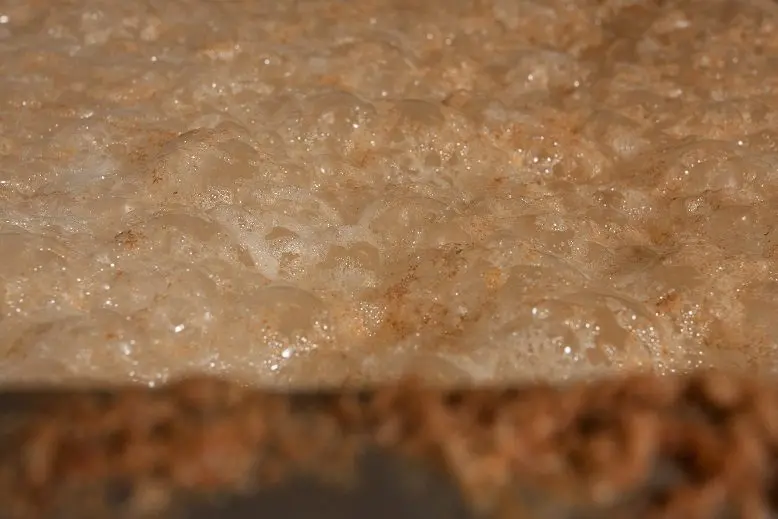
9. Pour the chilled wort through cheesecloth into a fermentation tank, filling up to a maximum of 75% of the volume. Add yeast, shake. Install a water seal and transfer the container to a dark place with a suitable fermentation temperature (indicated on the bag with yeast, for lagers usually 10-13 ° C). Leave the must for 6-10 days for fermentation.

Experienced brewers determine the end of fermentation with a hydrometer by comparing two samples from the last 12 hours. If the values differ by hundredths, you can proceed to the next step.
Beginners are often guided by a water seal – the absence of bubbles for 18-24 hours indicates the end of the fermentation process.
10. Pour the beer through the silicone hose into the pre-sterilized storage bottles without topping up at least 2 cm to the neck. To make the drink carbonated and foamy, carbonize homemade beer with a primer, as indicated in the article at the link. The easiest way is to add 7 grams of sugar per 1 liter of beer to each bottle, fructose or dextrose (glucose) will also work.
11. Close the bottles tightly with stoppers, shake and transfer to a dark room with a temperature of 20-24 °C. Leave for 15-20 days. Weak re-fermentation will saturate the drink with carbon dioxide.
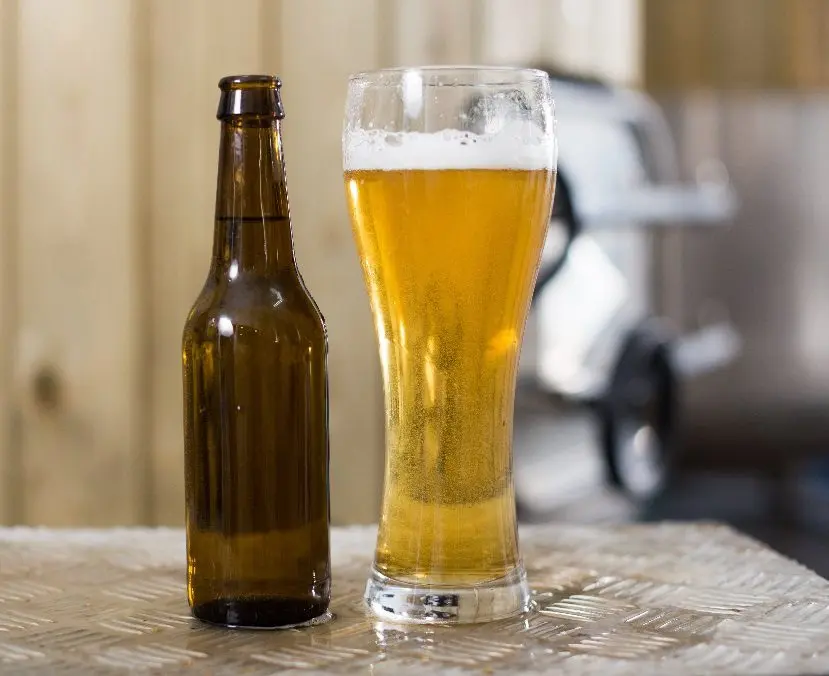
12. Move the carbonated beer to the refrigerator for maturation (significantly improves the taste) for 20-30 days.

Shelf life when stored in a cellar or refrigerator is 6-8 months.


