


Contents
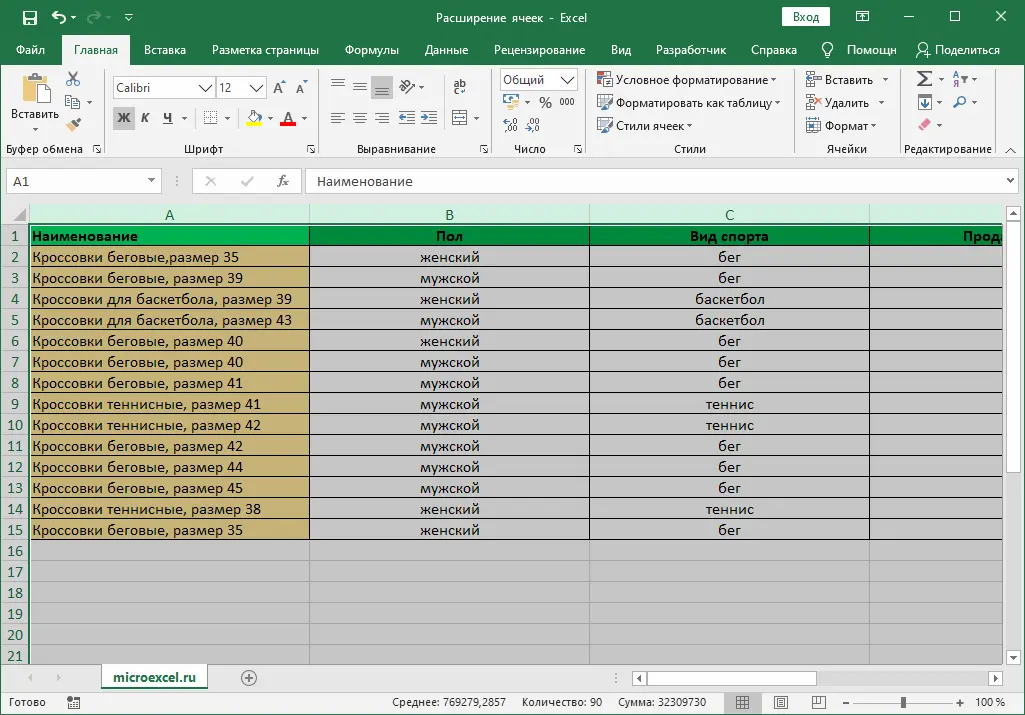
While working in Excel, situations often arise when the contents of a cell do not fit completely in it, and it is necessary to expand its boundaries. Let’s see how this can be done in the program in different ways.
Content
Method 1: Manual Border Shift
This method is considered the simplest. All you need to do is manually move the border on the coordinate bar (horizontal or vertical).
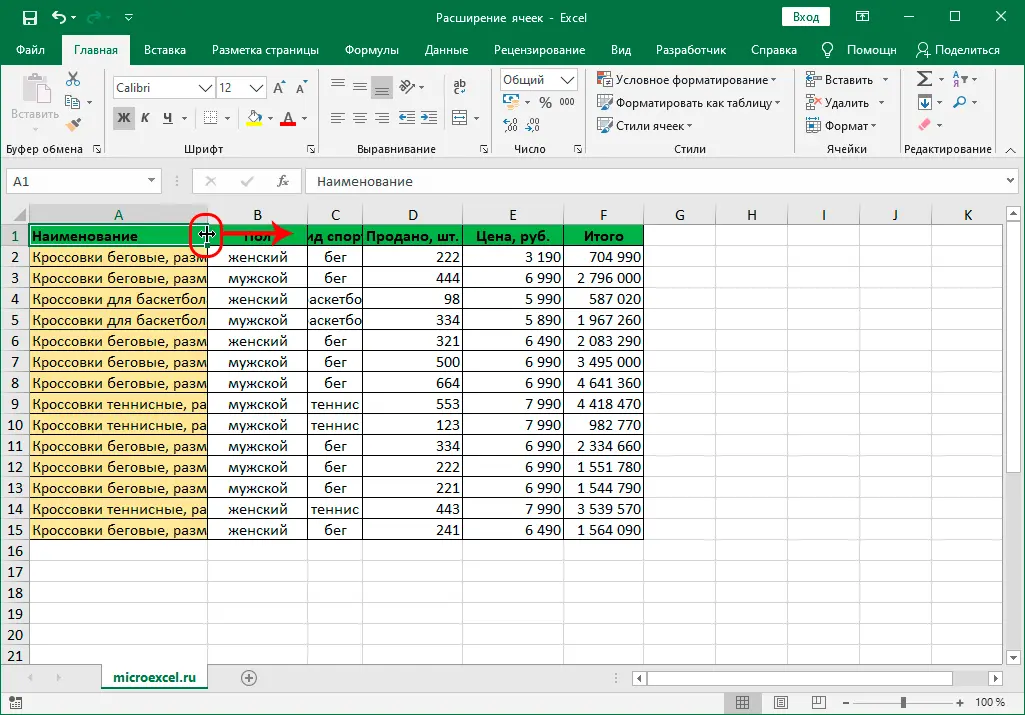
- On the horizontal coordinate bar, move the mouse pointer over the right border of the column whose expansion you want to perform. When a black plus sign appears with arrows in both directions, hold down the left mouse button and drag the border line to the right.

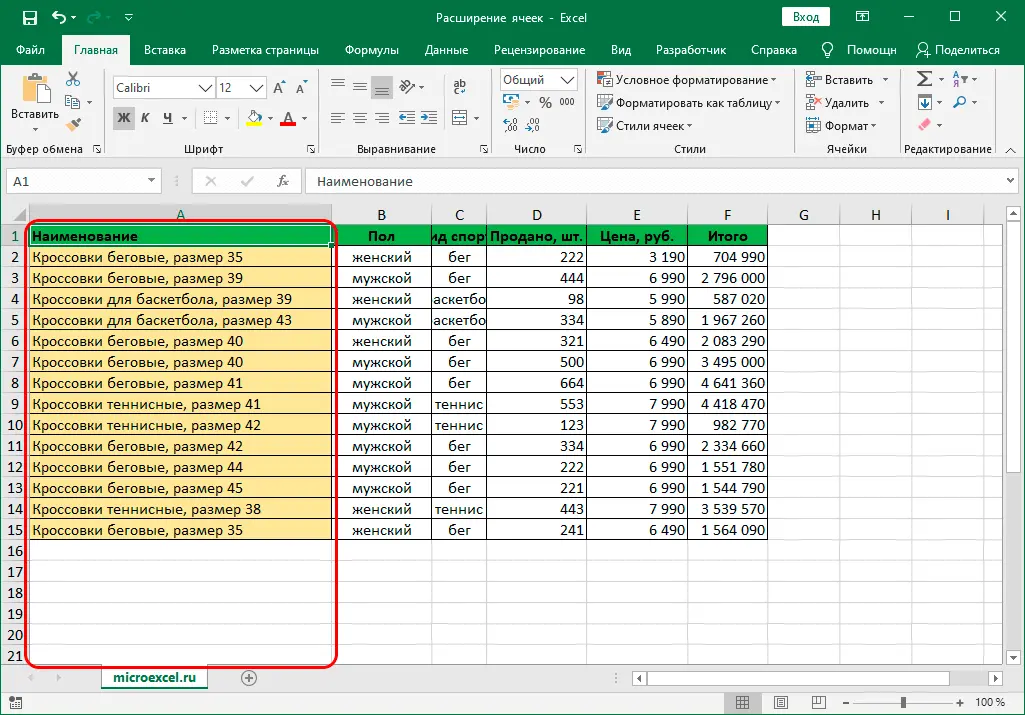
- Let’s release the mouse button and we can evaluate the result. If required, the action can be repeated.
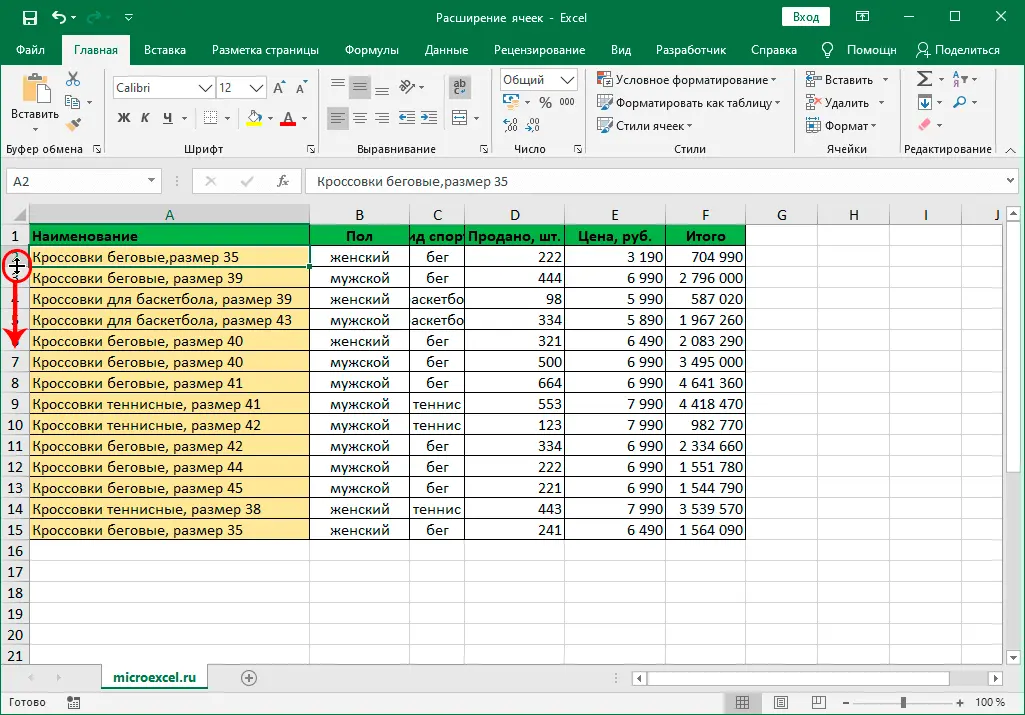
A similar action can be performed on a string. On the vertical coordinate bar, move the pointer to the bottom border of the line that we want to expand. In this case, a plus sign with up and down arrows should appear. Holding down the left mouse button, drag the border line down.
Note: You can expand the borders of a cell using only its right and bottom borders, because left and top will resize adjacent cells.
Method 2: Extend the Bounds of Multiple Rows or Columns
This method, as the name of the header implies, allows you to expand multiple rows and columns at the same time. To do this, perform the following steps:
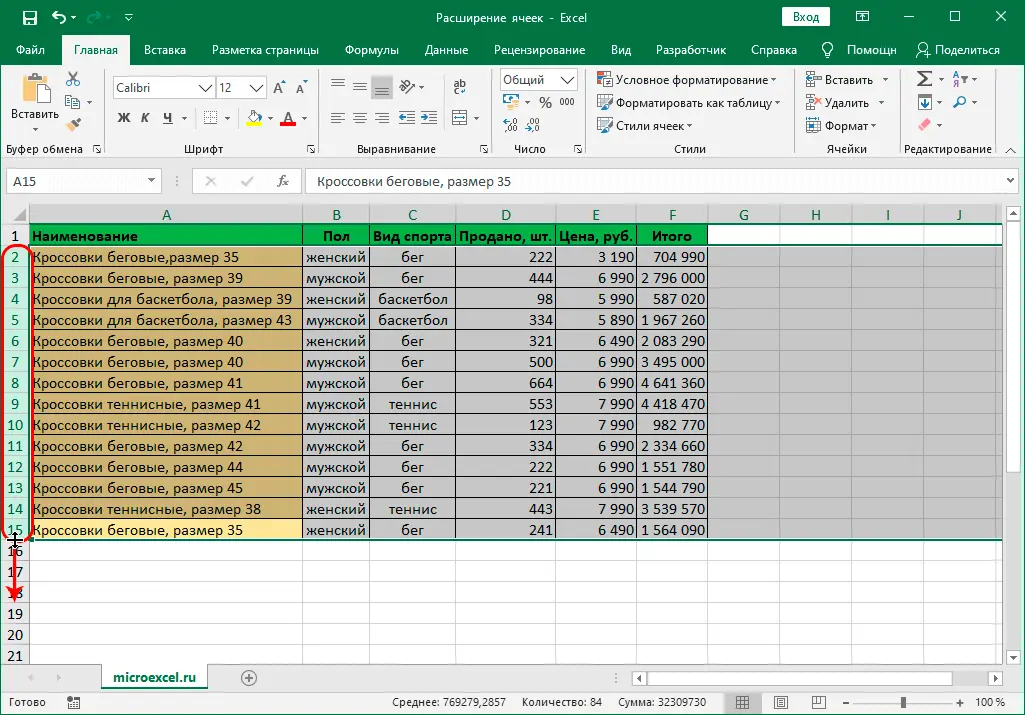
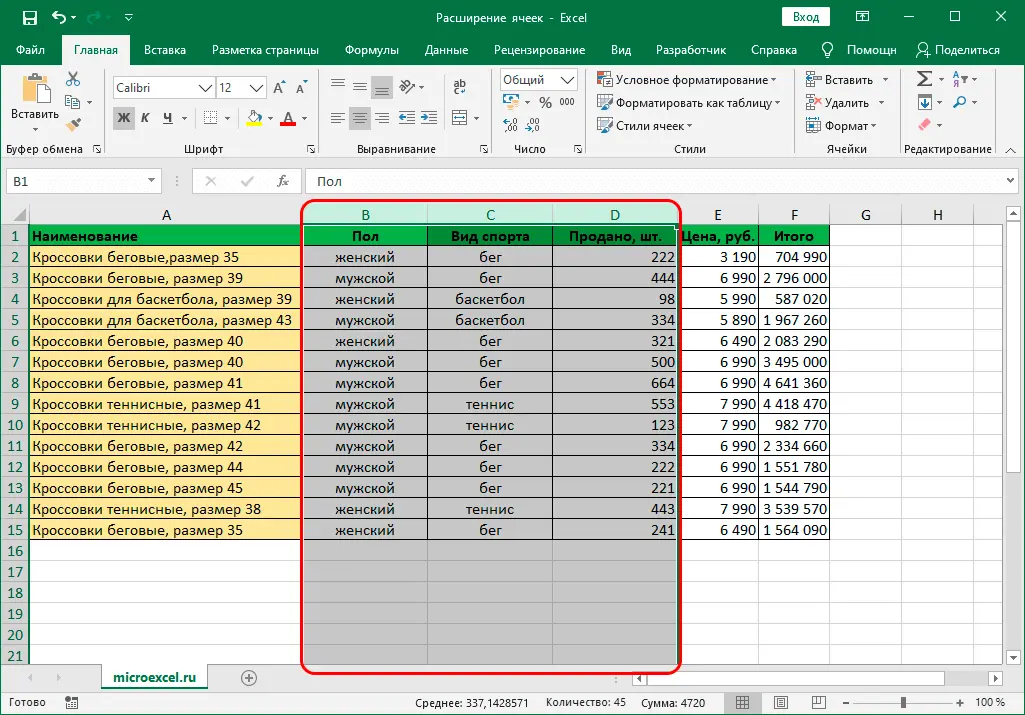
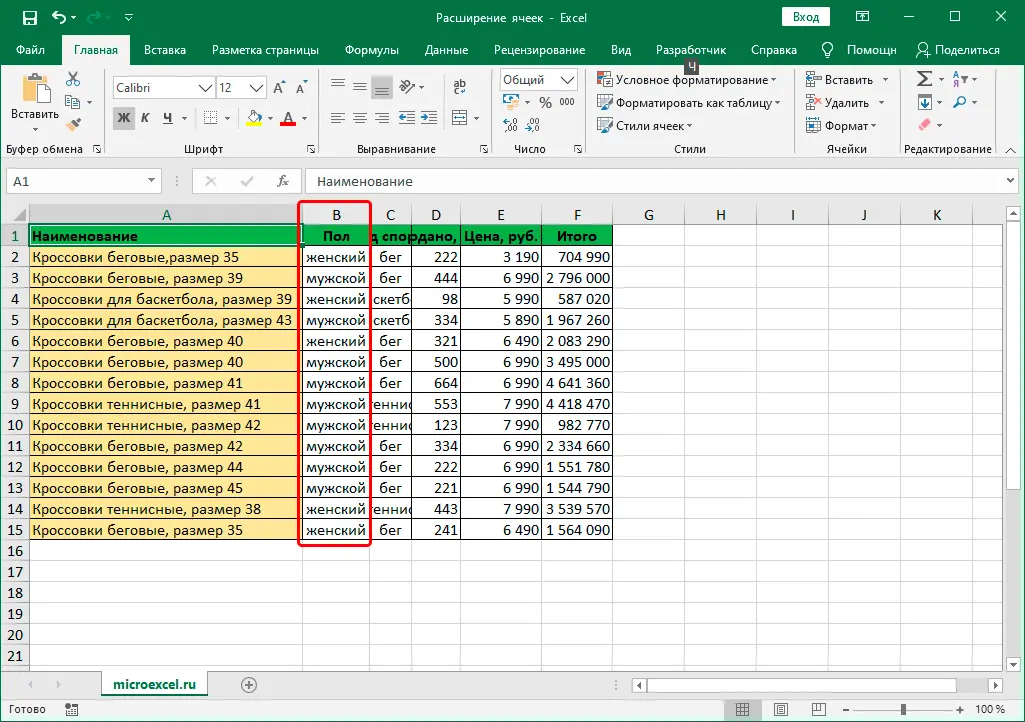
- We select the required ranges on the coordinate panels – vertical or horizontal (in our case).
- Move the mouse pointer over the right border of the rightmost cell in the selected range. As soon as we see the already familiar cross with arrows in both directions, holding down the left mouse button, we drag the border to the right.
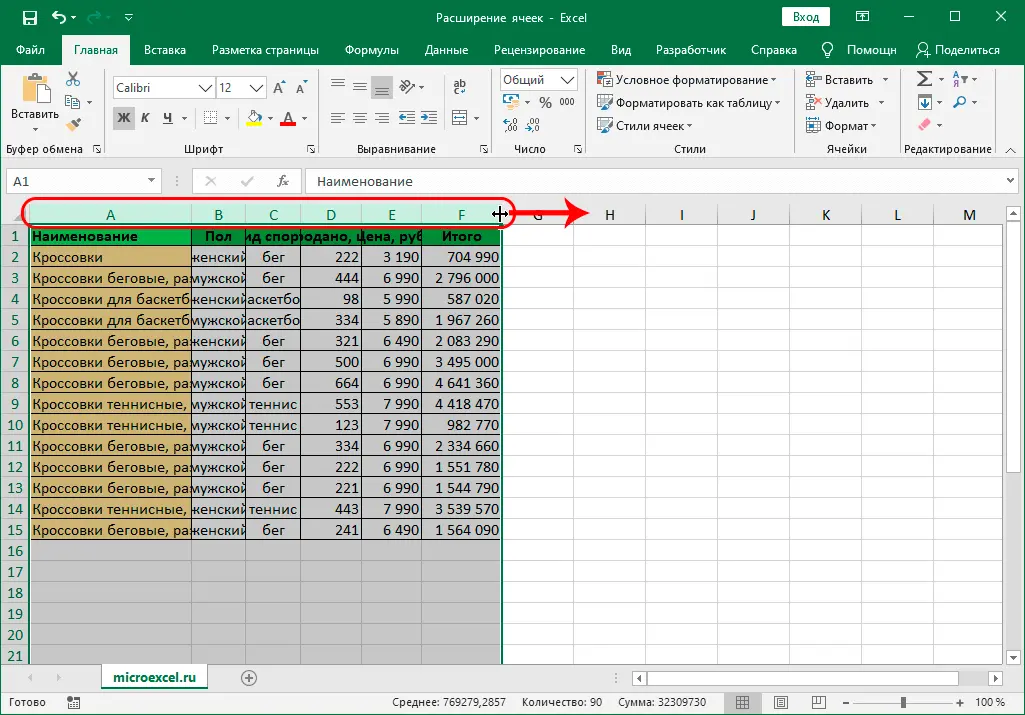
- Thanks to this, we can expand the borders of not only the rightmost column, but also all columns in the selected area.
Similarly, you can extend the boundaries of multiple rows at the same time. Only now you need to select them on the vertical coordinate panel and drag down the bottom border of the lowest line of the selected range.
Method 3: specifying the exact cell size
In Excel, you can also specify the exact size of a row or column. By default, the following values are set in the program (depending on the version of the program, they may differ, below are the data for Excel 2019):
- cell width – 8,43 units. (can be increased to 225);
- cell height – 15 units. (can be increased to 409).
So, the algorithm of actions is as follows:
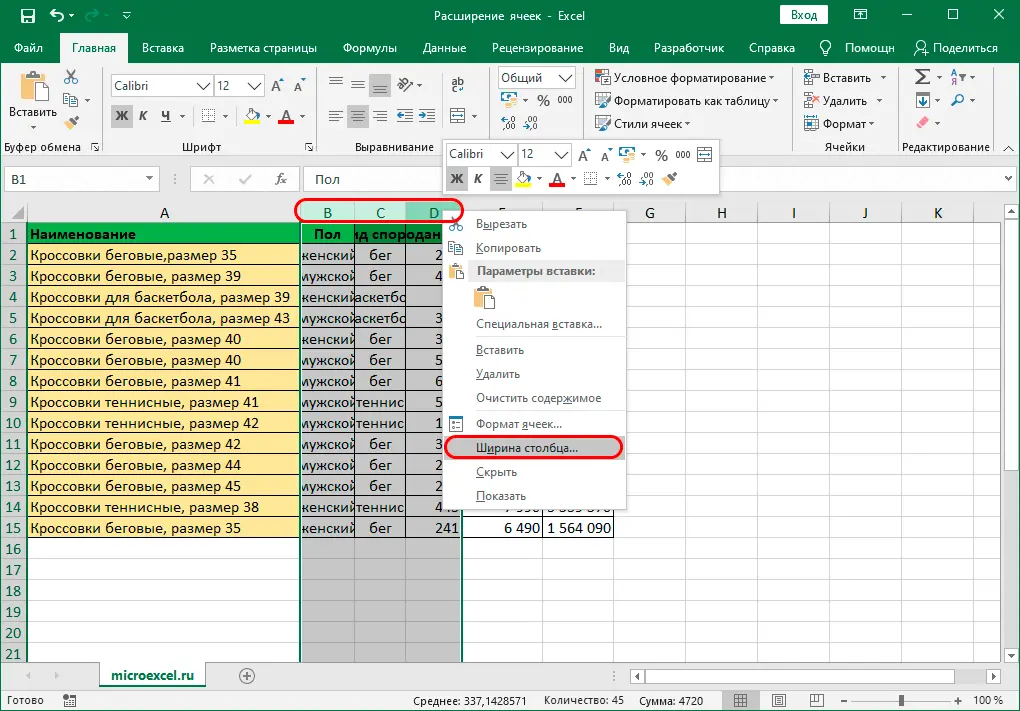
- On the horizontal coordinate panel, select the desired column (range of columns), then right-click on the selected elements to call up a menu in which we click on the line “column width”.

- An auxiliary window will appear where we can set the desired value for the column width. Enter the desired number and click OK (or Enter).
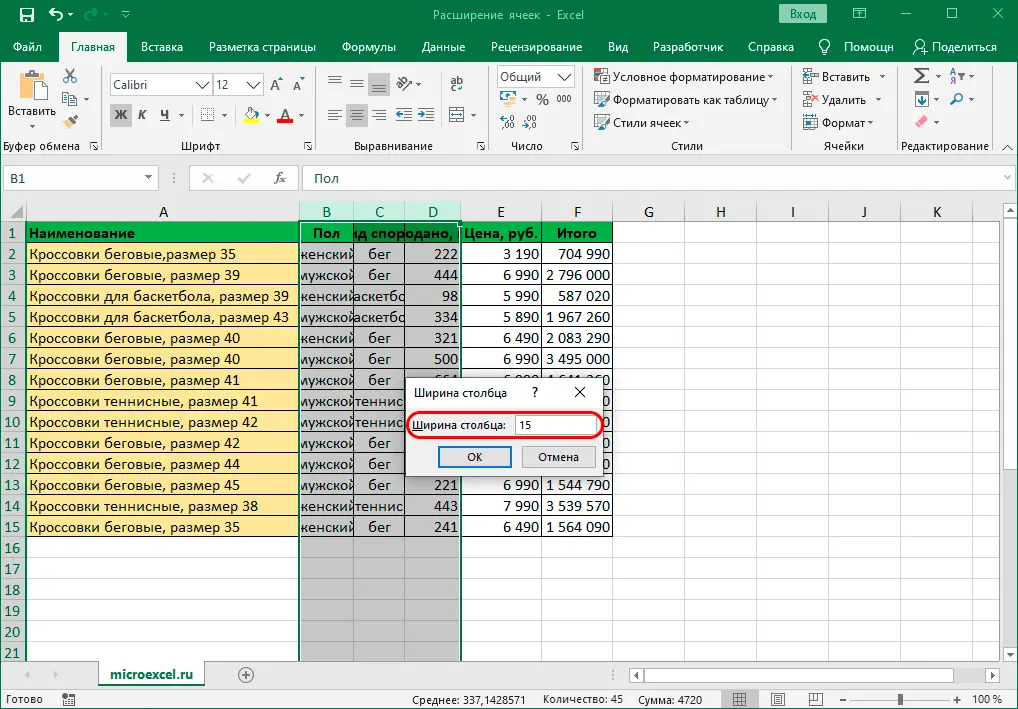

- The width of all selected columns will be aligned to the specified value.
To manually set line height:
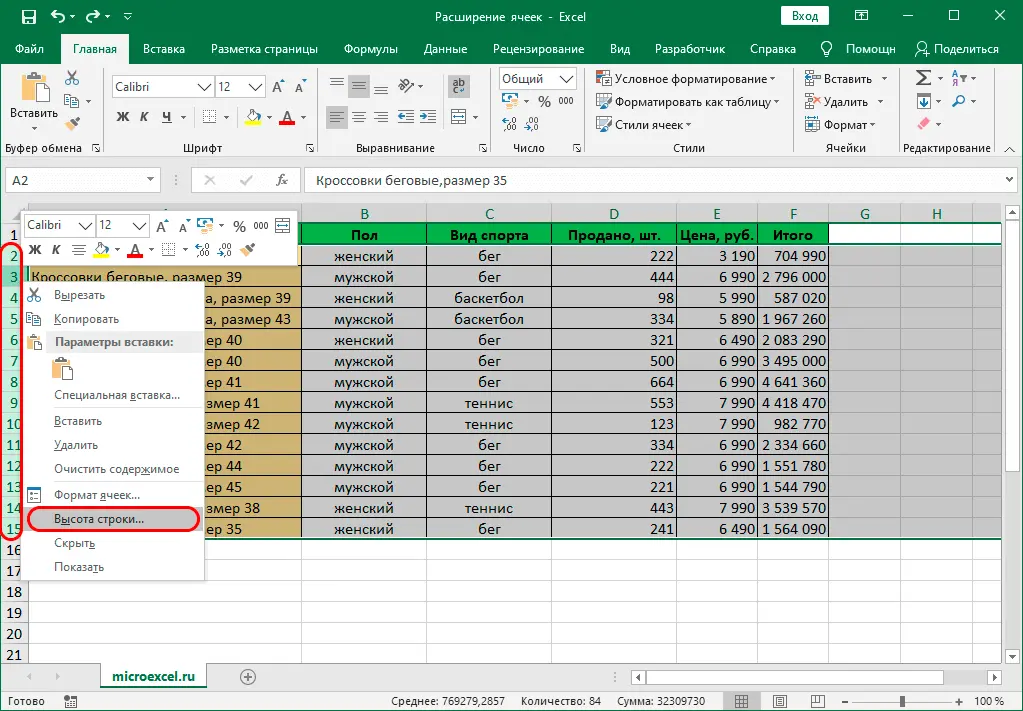
- Select the desired range on the vertical coordinate panel, then right-click on the selected area and select the item in the context menu that opens. “Row Height”.

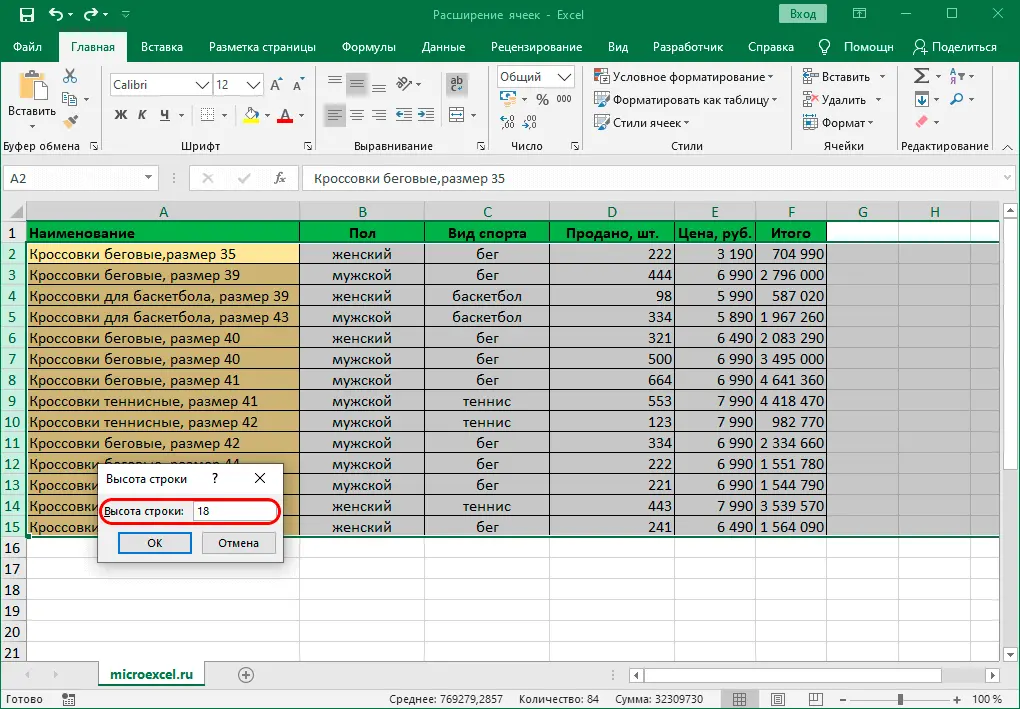
- In the window that appears, enter the desired number and press OK (or Enter).

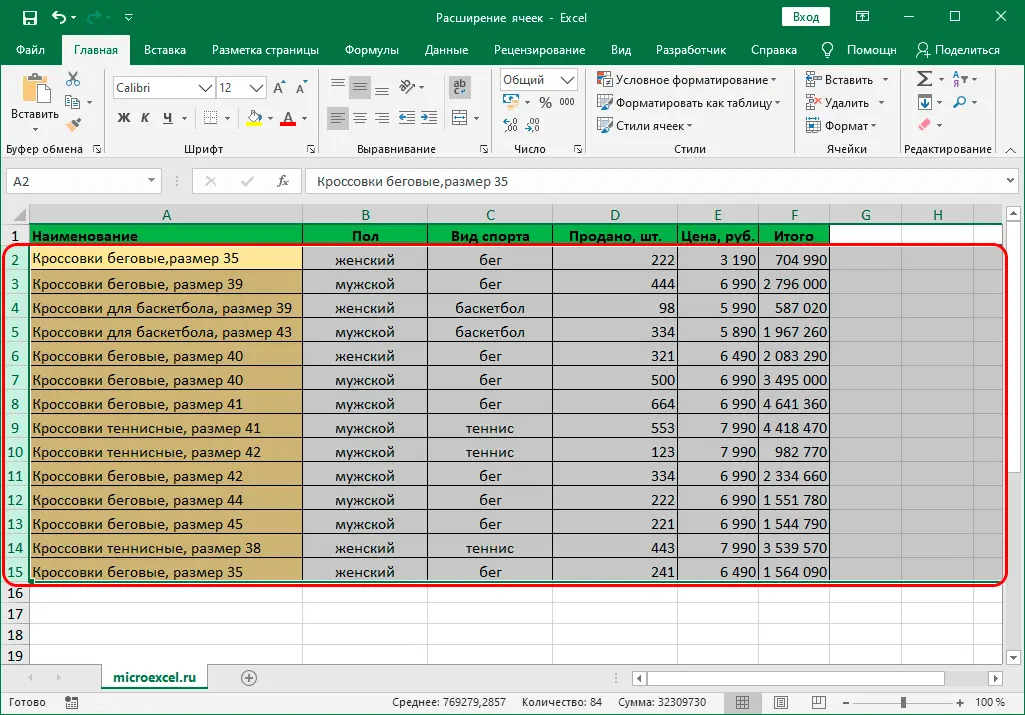
- As a result, we will get exactly the height of the lines that we specified.
Method 4: Ribbon Tools
You can change the cell size using the tools on the program ribbon.
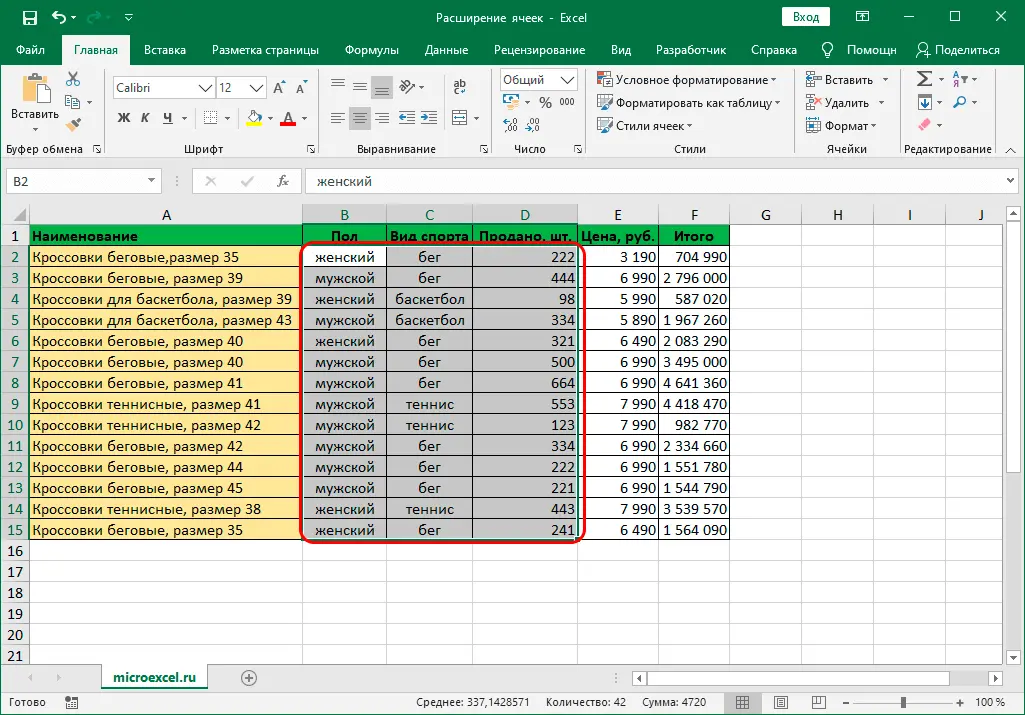
- First you need to select all the cells for which you want to make changes.
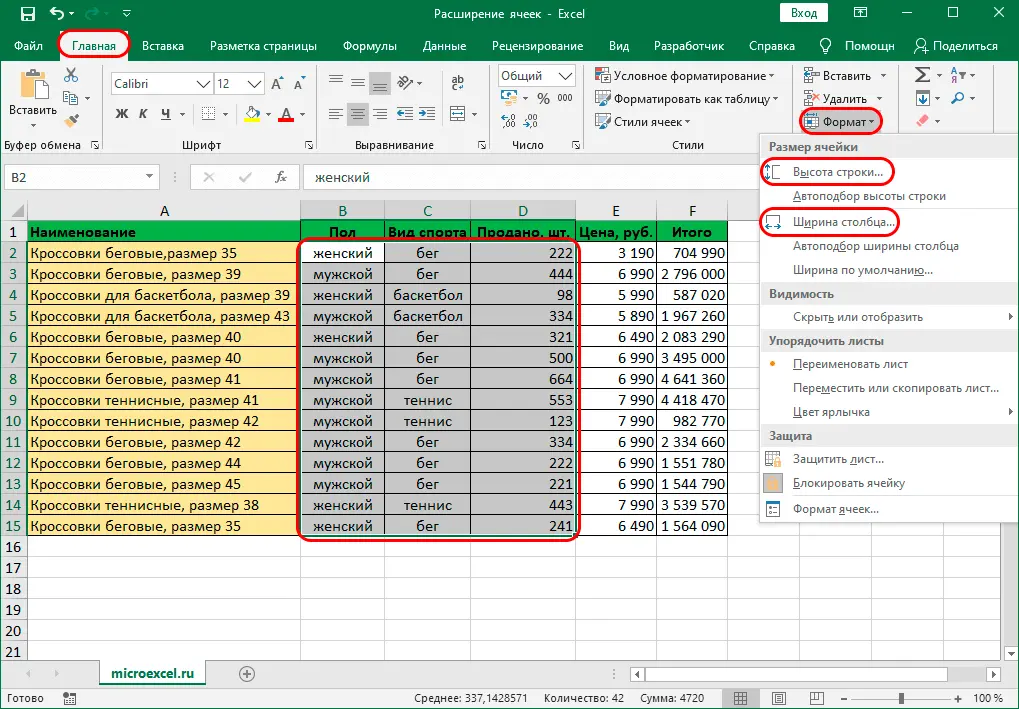
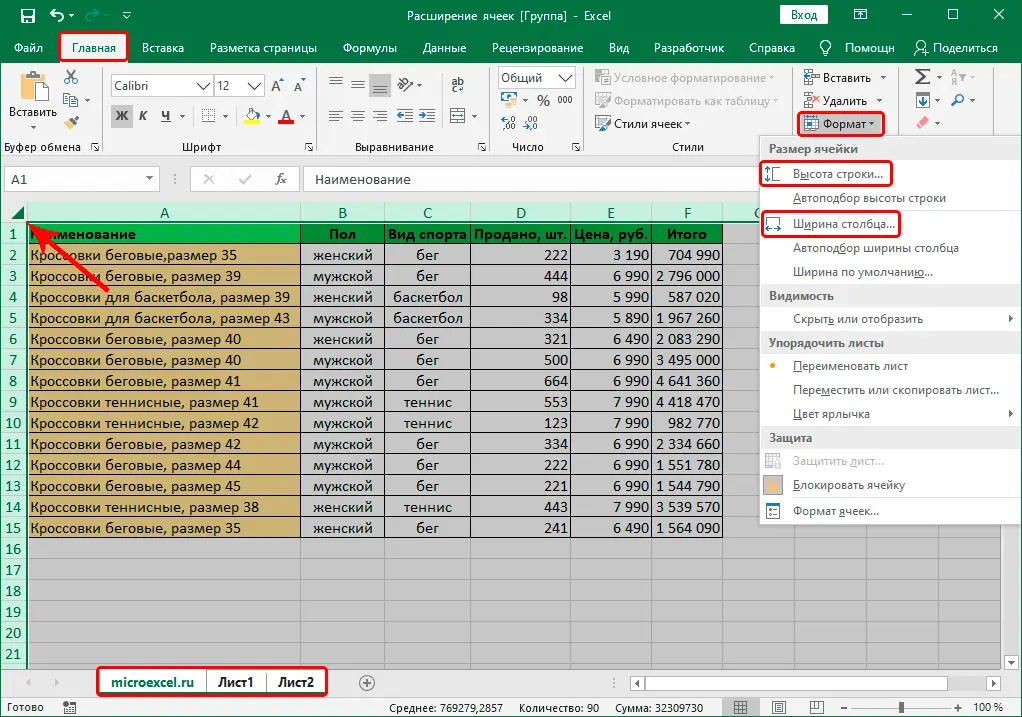
- Being in the tab “Home” press the button “Format” (block of tools “Cells”). In the list of commands that opens, we can select items “line height” or “column width”. The result of choosing these commands will be the opening of the corresponding small windows that we discussed above (where you can enter the exact values).

Method 5: Expand All Cells of a Sheet or Workbook
In some cases, you want to expand the borders of all cells on a sheet or in an entire workbook. Here’s how it’s done:
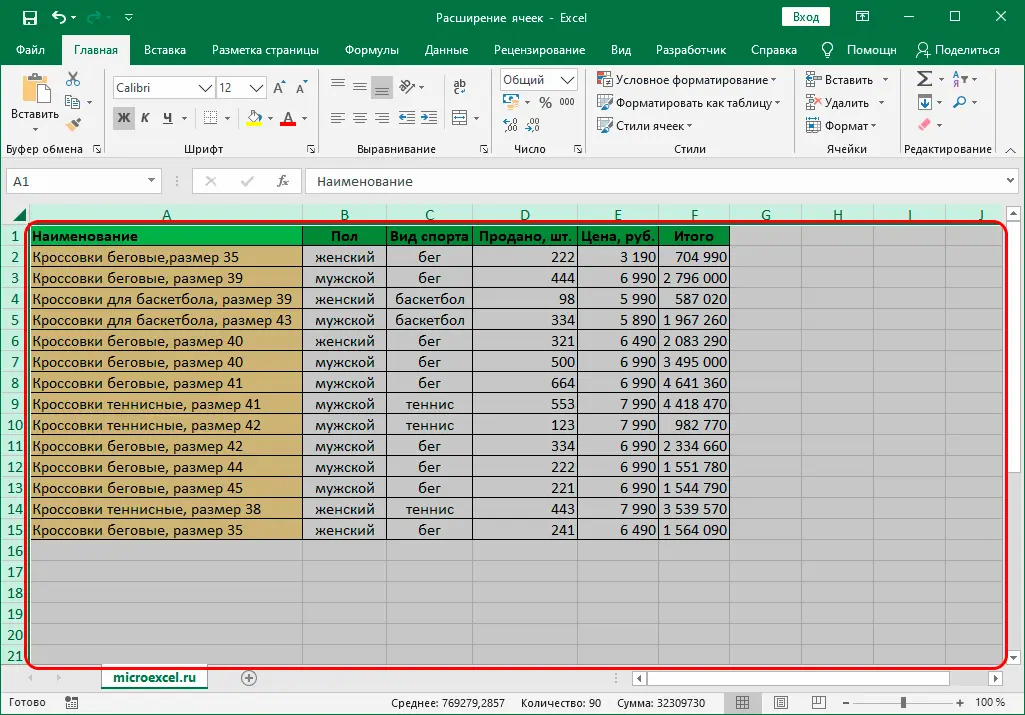
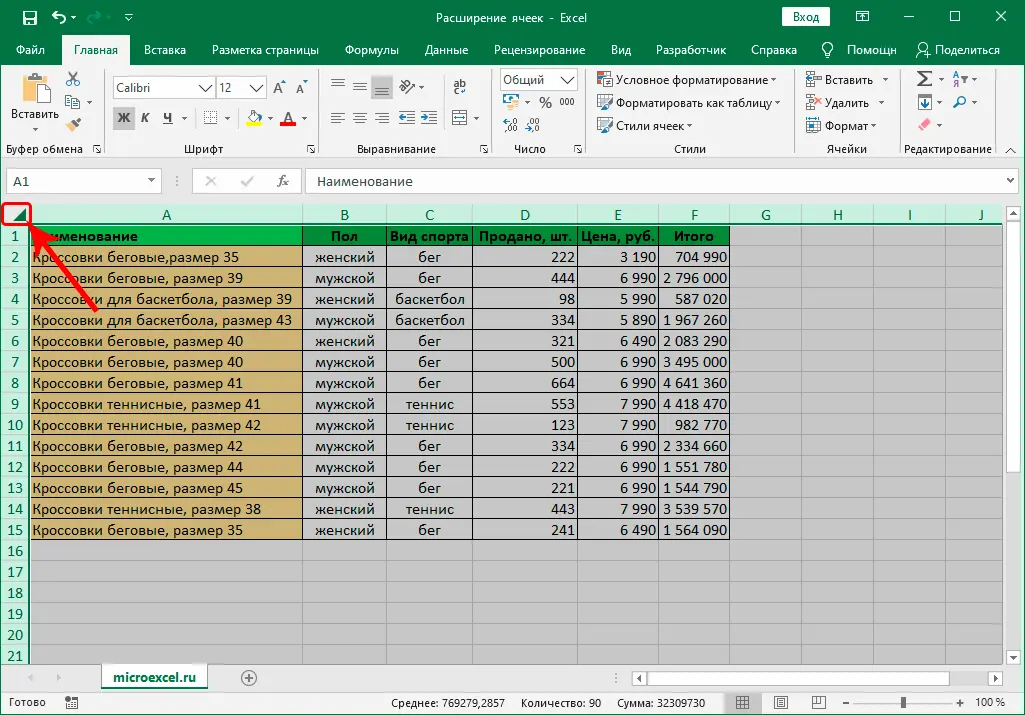
- First, select all the cells on the sheet by pressing the combination Ctrl + A:
- once if the cursor is currently positioned outside the table;
- twice if the cursor is inside the table.
 Selection can be done in another way. Simply click on the intersection of the horizontal and vertical coordinate bars.
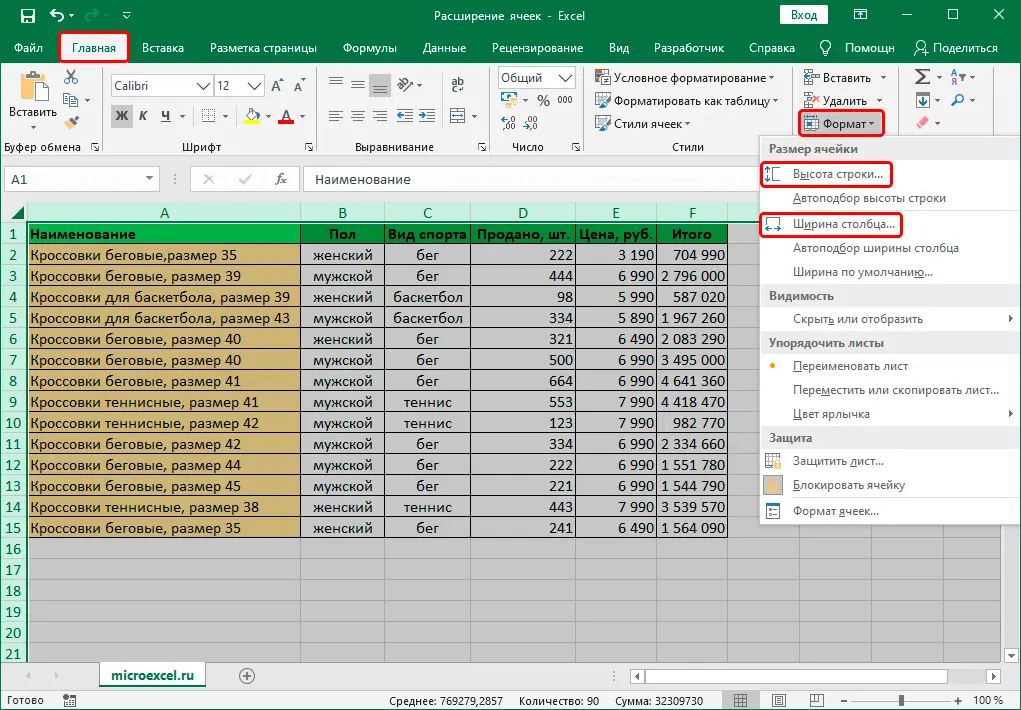
- Now, when all the necessary elements are selected, we will use the button “Format” in the tab “Home”, which will allow you to select the required command from the list that opens – “column width” or “line height”.

To resize all cells of the book, and not a single sheet, proceed as follows:
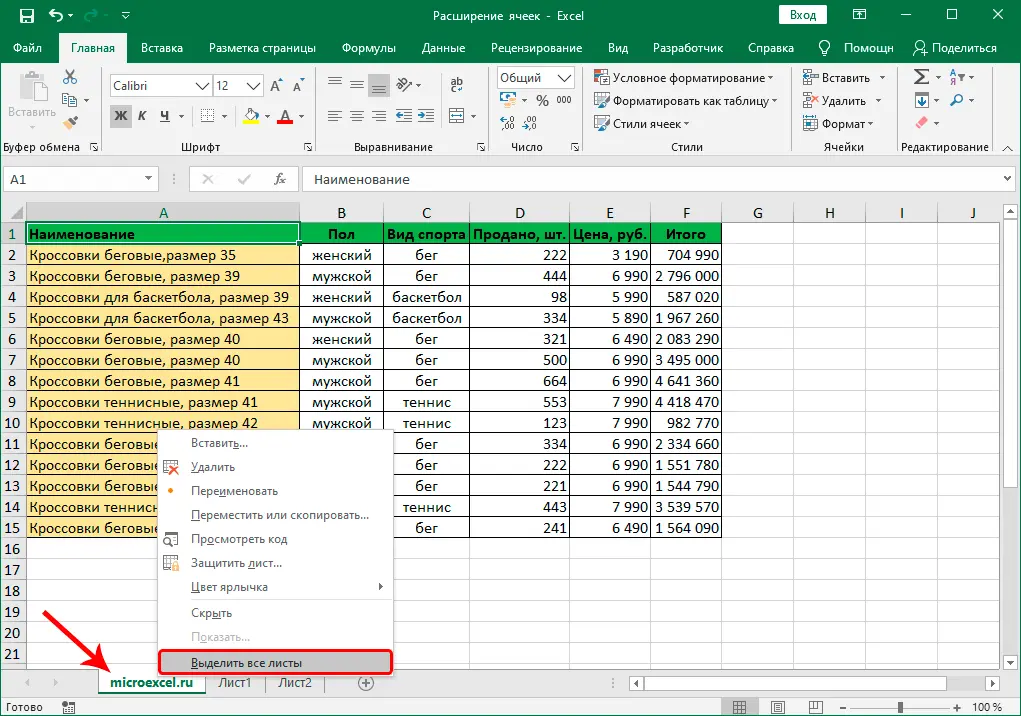
- By right-clicking on the name of any sheet in the lower part of the program window, we open the context menu in which we need the command “Select all sheets”.

- Now we select all the cells on the current sheet, after which it remains only to use the already well-known button “Format” to adjust the width and height of the cells.

Method 6: AutoFit Cell Height and Width to Content
This method is quite often used to quickly adjust the cell size, in particular, to increase it.
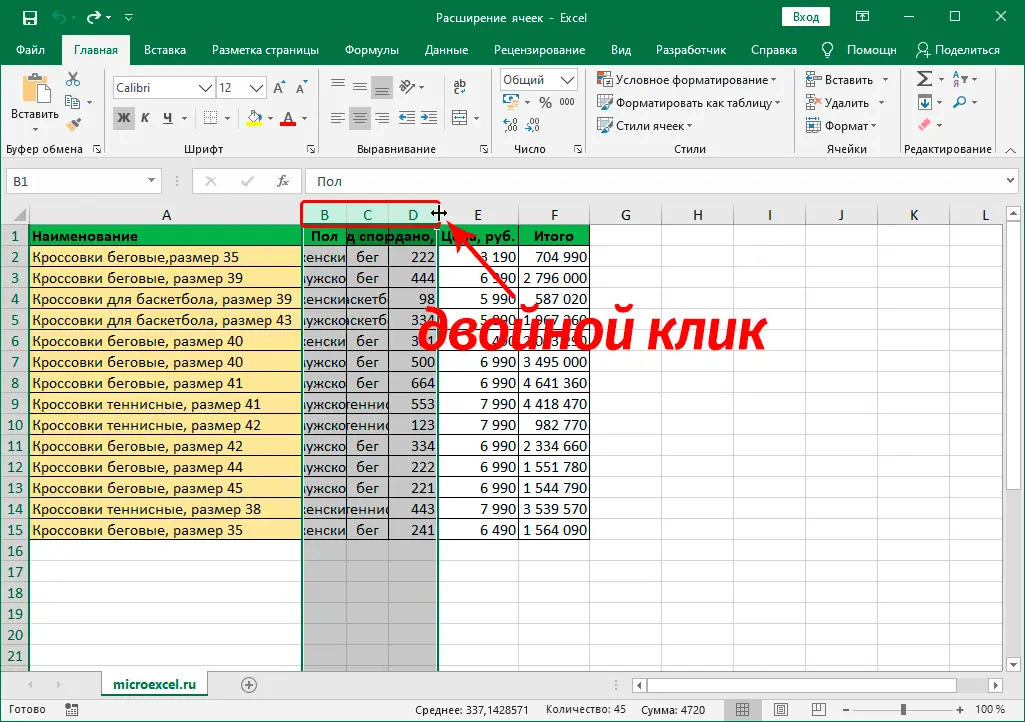
- Move the mouse pointer on the horizontal coordinate bar to the right border of the column, the size of which you want to adjust automatically. As soon as a characteristic black plus sign with arrows in both directions appears, double-click the left mouse button.
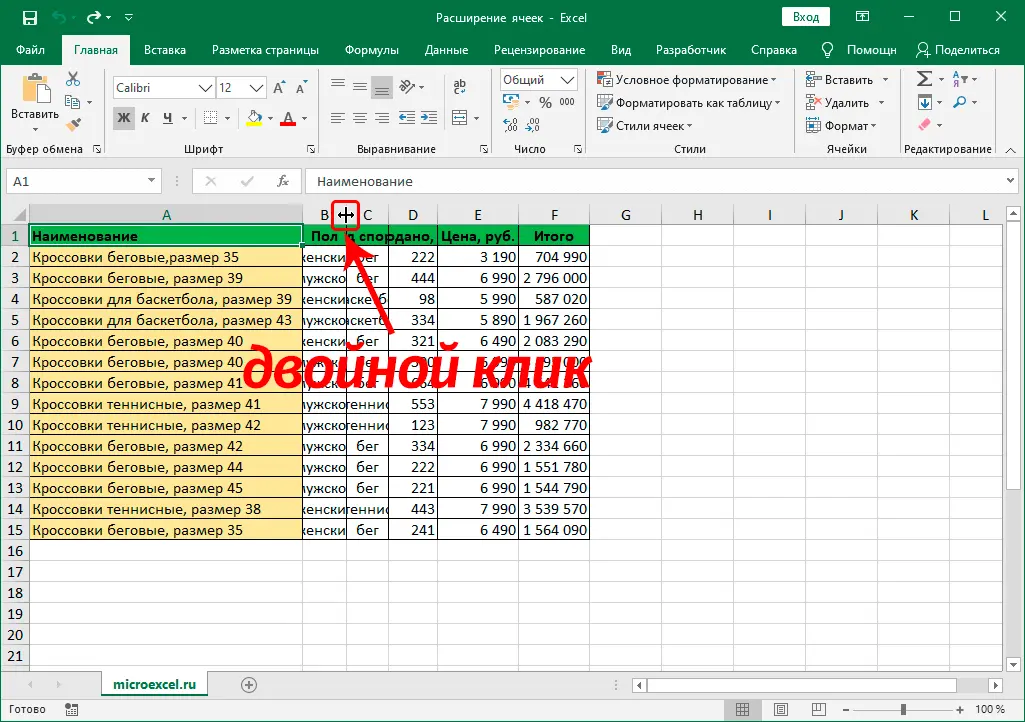

- The column width will align with the cell containing the most characters.
- This action can be performed on several columns at once by selecting them in the coordinate bar and then double-clicking on the right border of any of the selected elements.
Similar actions can be performed to auto-fit row heights by selecting one or more elements in the vertical coordinate bar and double-clicking on the bottom border of the selected line (or the bottom border of any element in the selected range).

Method 7: Adjust Content to Column Width
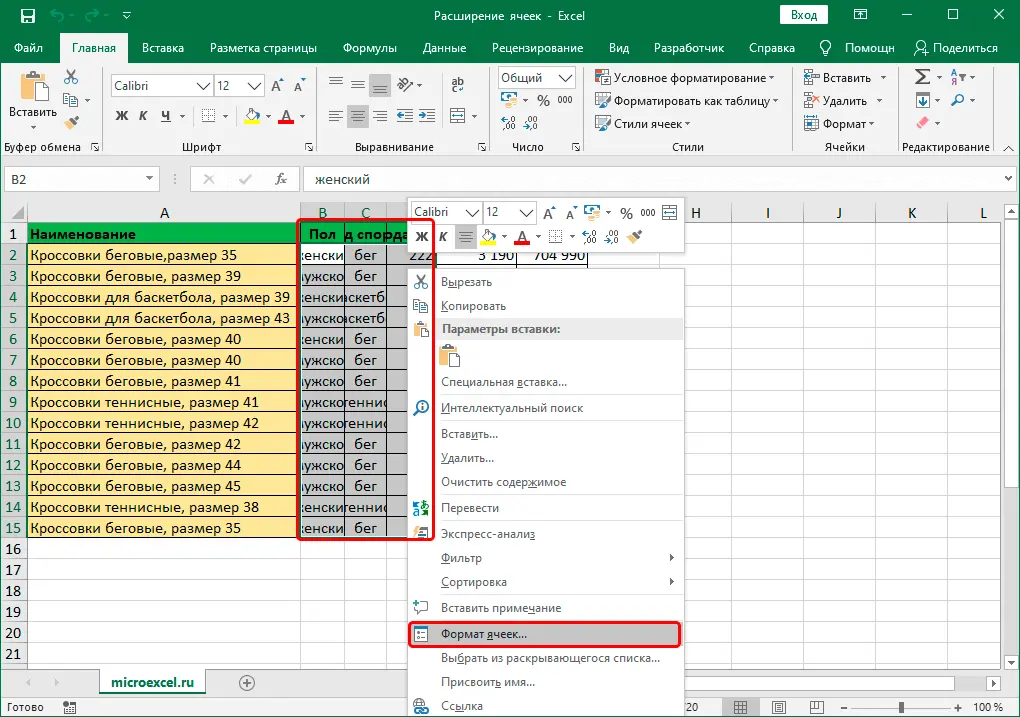
- First, select the cell (range of cells) for which you want to make changes. After that, by right-clicking on the selected elements, we open the menu in which we select “Cell Format” (or you can just click Ctrl + 1).

- Switch to tab “Alignment”. In the parameter group “Display” check the box next to the option “AutoFit Width”, then click OK.
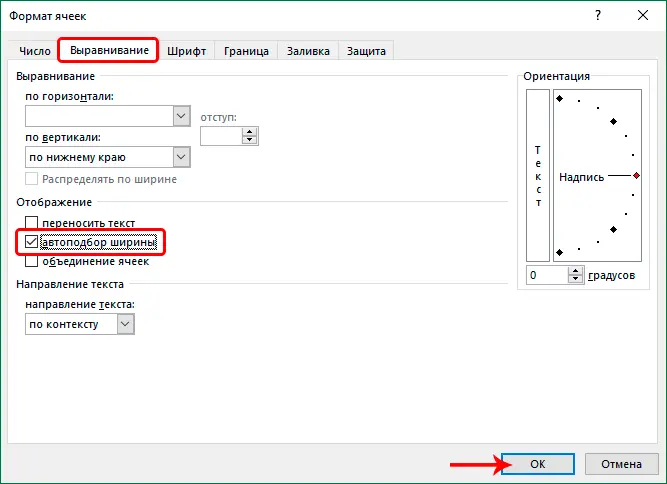

- After that, the font size of cells whose contents do not fit within the specified boundaries will be reduced.
 There is one caveat here – if there are too many characters, as a result of applying this method, the contents of the cell may become unreadable.
Conclusion
Thus, in Excel, you can adjust the row height and column width in various ways. It all depends on which one is most applicable in a particular situation, and which one seems to be the most convenient for the user.