Contents
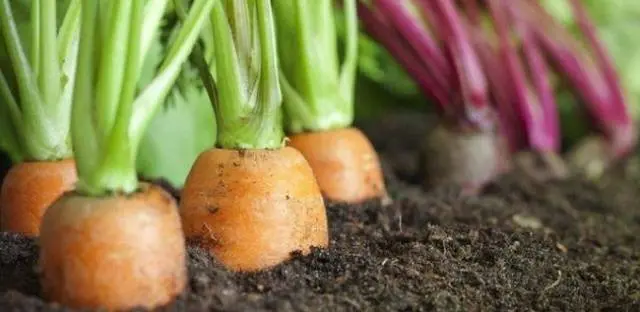
Carrots are perhaps the most popular root crop in our home gardens. When looking at these openwork, green little beds, the mood rises, and the tart smell of carrot tops invigorates. But not everyone gets a good harvest of carrots, but only those who try to adhere to the basic rules when growing this wonderful root crop and know which “correct” varieties need to be planted. One such variety is the Canterbury F1 carrot. How it looks can be seen in the photo below:

Variety description
Carrot Canterbury F1 – a hybrid from Holland, in terms of ripening – medium late (110-130 days from germination). The fruit is of medium length, shaped like a cone with a slightly pointed tip. The weight of one fruit is from 130 to 300 grams, sometimes reaching 700 grams. The pulp is dark orange in color with a small core, merging with the pulp in color. Loose, fertile light loamy or sandy loamy soil, in which there is a lot of humus, is suitable for cultivation. The soil should not be clayey and heavy loamy, since the dense crust that forms during drying serves as an obstacle to seed germination. Because of this, carrots rise unevenly.
Nevertheless, in order for the plant to actively grow and develop properly, watering is necessary. F1 Canterbury Carrots are weather resistant and resistant to diseases and pests such as the carrot fly. The variety is high-yielding (about 12 kg per 1 sq.m), a distinctive feature is a long storage time with minimal losses.

Choosing the “right” variety is only half the battle. The most important thing is ahead. And it all starts with choosing the right place for planting Canterbury carrots.
Where to make a bed for carrots
Carrots of any variety love the sun. Lighting a carrot bed is of great importance for a good harvest. If Canterbury F1 carrots grow in a shady area, this will affect the yield and taste for the worse. Therefore, the area where the carrot bed is supposed to be located should receive sunlight throughout the day.
In addition, it is important what cultures grew in this place before.
Carrots cannot be grown after:
- parsley;
- dill;
- parsnip;
- celery.
Carrots can be planted after:
- tomatoes;
- cucumbers;
- Luke;
- garlic;
- potatoes;
- cabbage.

When to sow carrots
It is very important to plant Canterbury F1 carrots on time. Sowing time affects the yield. Each variety has its own ripening period. Canterbury F1 carrots reach technical maturity in 100-110 days, and fully ripen only after 130 days. This means that seeds should be sown at the end of April, as soon as the land allows. And you can sow it before winter, then the ripening period may decrease, and it is possible to harvest the crop earlier.
Seed preparation for spring sowing
First you need to prepare the seeds in order to reject unsimilar and diseased ones. You can use regular soaking. To do this, they should be placed in warm water. After 9-10 hours, all unusable seeds will be on the surface of the water. They need to be collected and thrown away. Dry the remaining seeds, but do not overdry, so that they remain slightly moist. And if there is a desire to taste these fruits early, then you can speed up the germination process by placing them on a damp cloth or gauze and soak for 3-4 days at a temperature not lower than 20 ° C. Soon the seeds will begin to hatch and even roots will appear. A small piece of land can be planted with this seed to start eating fresh Canterbury F1 carrots as early as the end of May.

Soil preparation for spring sowing
F1 Canterbury Carrots grow best in loose, fertile, light soil. If the soil is not loose enough, then the carrot will grow clumsy, it can be large, but ugly and inconvenient to process. According to experienced gardeners, it is better to prepare a carrot bed in the fall, then in the spring it will only be necessary to loosen it. When digging the earth, humus, wood ash should be added.
Conditions for sowing seeds
- You need to choose a dry, calm day so that the wind does not scatter them throughout the garden.
- Just before sowing seeds of Canterbury F1 carrots, not very deep grooves (1,5-2 cm) should be made on loosened soil at a distance of about 20 cm.
- Rinse the grooves with plenty of warm water.
- Spread the seeds, adjusting the distance between them at 1-1,5 cm. Planting too often will cause the fruits to grow small.
- Level the grooves and pat the soil a little with your hand.
The photo below shows how to make grooves:

For the early emergence of seedlings, you can cover the bed with a film or covering material.
Thinning, timing and number of times
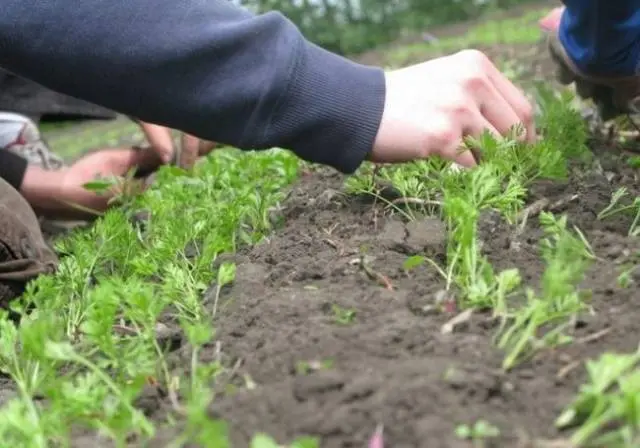
In order to eat tasty, sweet, large and beautiful carrots, it is necessary to regularly cultivate the soil, that is, to do weeding and thinning. It happens that weeding needs to be carried out even before germination. And how to do this so as not to harm the plants?

There is one simple and useful way: while sowing carrot seeds, while the grooves are not yet closed, sow radishes between them. Radishes grow much faster, so two crops of different root crops can be harvested from one bed. And when weeding the beds, the radish will serve as a guide.
For the first time, Canterbury F1 carrots should be thinned out when true leaves appear. Between plants should be left about three centimeters. The second thinning occurs somewhere in the beginning or middle of June, when the diameter of the fruit becomes at least 1 cm. This time, about 5-6 cm should remain between the plants.
Carrot variety Canterbury F1 is unpretentious in care and keeps well until the next harvest.


