Contents
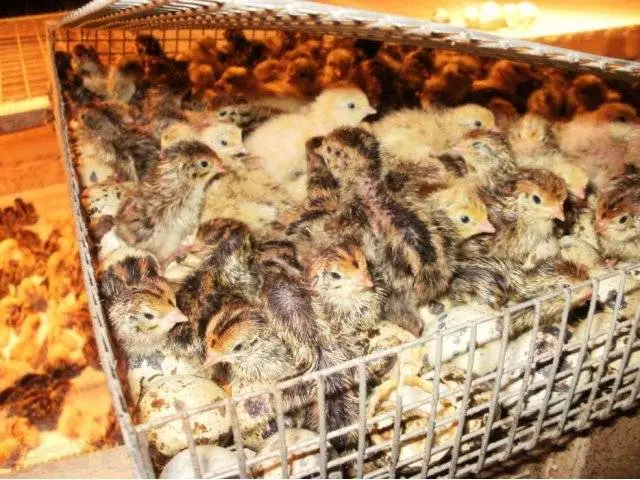
The process of incubating quails on your own farm is not too burdensome if you follow simple rules. Chicks are invariably in demand on the market, and quail meat is in constant demand. It is very tasty and has dietary qualities. If desired, you can breed birds in an incubator and multiply your own livestock tenfold during the year.
Obtaining high-quality reproductive material
One of the advantages of breeding quails is that they lay eggs 1,5 months after they hatch. However, not every reproductive material is suitable to be placed in an incubator. It needs to be fertilized, fresh and with good genetic information. If you want to breed quails to form your own herd, there are 3 to 4 females per male. In this case, you can count on the fact that the females will be covered and there will be enough material for incubation.
On your own mini-poultry farm, it is possible to achieve an increase in productivity up to 80%. Quails and quails are kept in separate enclosures. For mating, the quail is left in a small enclosure with two males for half an hour. What rules must be observed in order for the reproductive material for incubation to be of high quality?
The optimal age for laying hens is from 2,5 to 9,0 months. Males for mating should be used no older than 3 months of age. If the quail is older than 3 months, it must be culled and replaced with a 2-month-old producer.
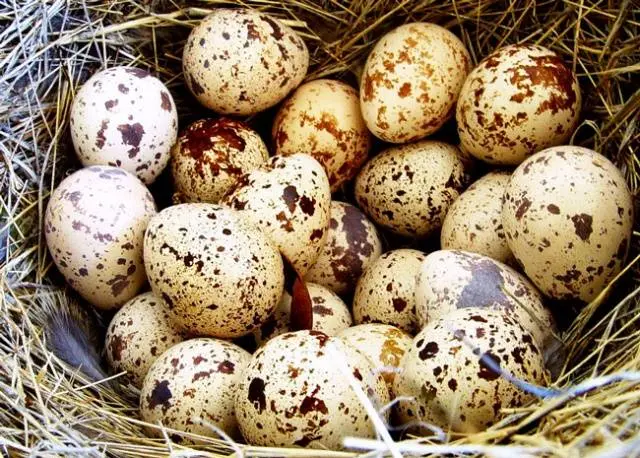
The criteria for the suitability of eggs for breeding quails in an incubator are as follows:
- The hatching fertilized egg should not be too big or small.
- The mass of one egg is: for egg breeds – from 9 to 11 g, for meat breeds – from 12 to 16 g.
- The shell is not too dull, nor too variegated.
- The shell is not rough to the touch.
- Another important point is the correct form. Neither pointed nor spherical eggs are suitable for incubation.
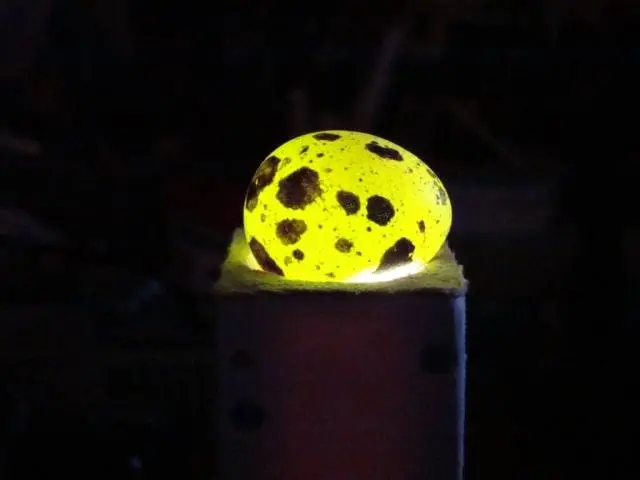
It is possible to make final conclusions about the suitability of an egg for placement in an incubator using an ovoscope made by yourself. Make a cardboard cylinder, cut a window in the center according to the size of the egg. From the end, insert the lamp connected to the power supply.
The material is not incubated in the following cases.
- Cracks in the shell.
- An air chamber in the side of the egg or on the side of the sharp end.
- The yolk is off center.
- The presence of two yolks.
- Protein and yolk with spots.
Storage of incubation material
Fertilized eggs can be stored for no more than 1 week before being placed in the incubator. Each subsequent day reduces the likelihood of a full-fledged quail being born by a third. This is due to the fact that the viability of the embryo does not exceed four weeks.
Before being placed in the incubator, the reproductive material is kept in a well-ventilated room, at an air temperature of 10 to 12 degrees and a relative humidity of about 80%. To humidify the air in the room, you can use an open vessel filled with water.
Eggs should also be protected from the sun. They are turned over twice a day. In this case, you must act very carefully, in order to avoid damage to the cords.
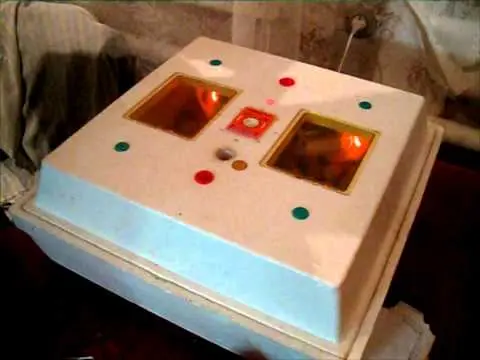
Putting eggs in the incubator
First, we prepare the incubator for “hatching”. Eggs are placed in a thoroughly washed and disinfected incubator. Disinfection of the incubator can be done by 8-minute irradiation with a quartz lamp or dissolved Ecocide.
The controversial question: do you need to wash eggs before laying in the incubator? Experts do not recommend doing this, as the shell membrane may be damaged. But many poultry farmers still neglect this rule. They wash them and treat them with a 5% manganese solution. Much more effective than such treatment is 8-40-minute ultraviolet irradiation. The lamp is kept at a distance of XNUMX cm from the surface.
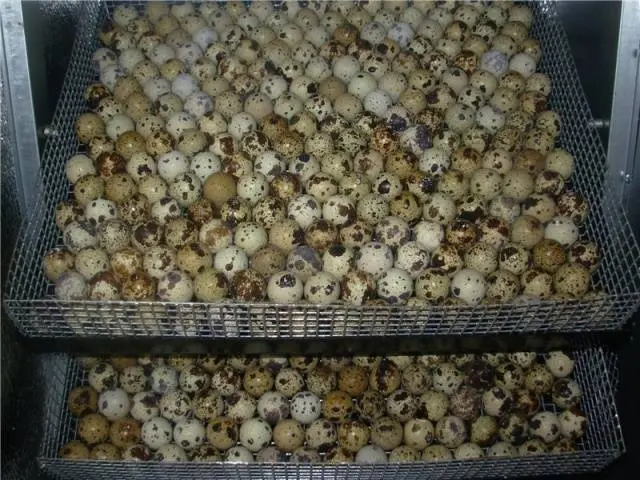
Eggs are placed in the incubator in two ways: in a vertical and horizontal position. When laying horizontally, the eggs are periodically rolled in different directions, and when laid vertically, they are tilted to the right and left (incubation of quails without a flip). The vertical method is characterized by a smaller capacity, but a high percentage of hatching (about 75%).
Vertical bookmark
If the incubator is not suitable for vertical laying of eggs and is not equipped with a device for automated egg turning, then you can make a mold with your own hands. Ordinary egg trays cut along the fold are well suited for this. Cut a XNUMX mm hole in the bottom of the cells. Arrange the eggs in the cells vertically, tilting them at forty-five degrees.
Horizontal unfolding
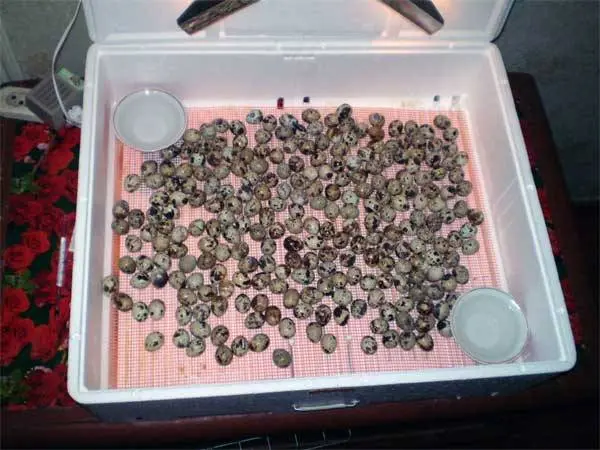
With this method of incubation, eggs simply need to be laid out on a grid. In this case, you must first outline the side that is on top, so as not to be confused when turning over.
Incubation mode
Incubation conditions are changed several times.
- 1-7 days: air temperature 37,8 degrees, relative humidity level 50-55%. Turn eggs every 6 hours.
- 8-14 day. The temperature regime remains the same. Relative humidity is reduced to 45%. Eggs need to be turned every 4 hours. In addition, 2 times a day you need to ventilate the incubator for 15-20 minutes to cool the eggs. Turning helps to avoid sticking of the germ to the shell.
- Day 15-17: Relative humidity rises to 70%. The air temperature is 37,5 degrees.
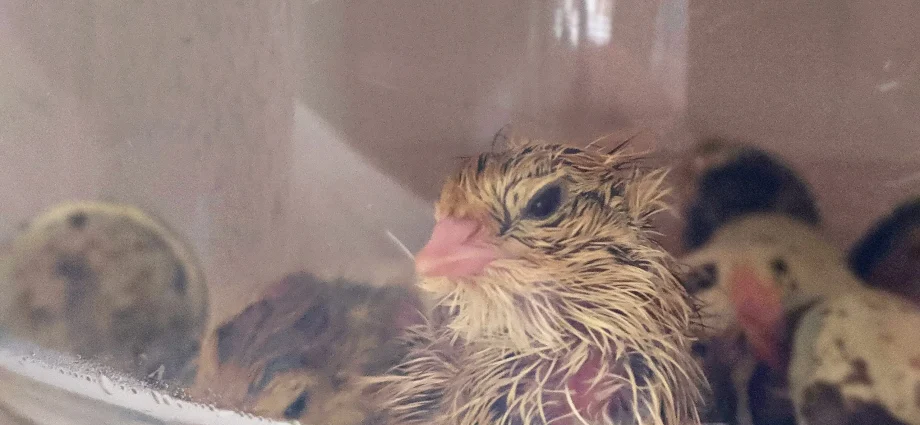
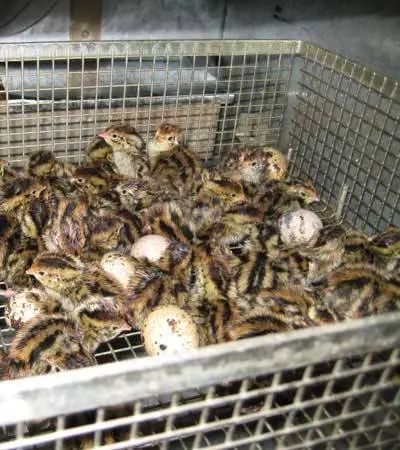
The duration of incubation is from 17 to 18 days. After hatching, the quail should be in the incubator until completely dry. After about two days, quail cubs can be placed in more “adult” conditions: a separate room, preheated.
It is important to see and fix the damage in time. So that the embryos do not suffer, they should be cooled to 15-17 degrees.
Result of work
The productivity of quail hatching in an incubator can be estimated by a simple arithmetic calculation. If the number of young is ¾ or more of the total number of eggs, then everything is in order. If less, then you need to analyze the cause of this phenomenon and use the help of an ovoscope.
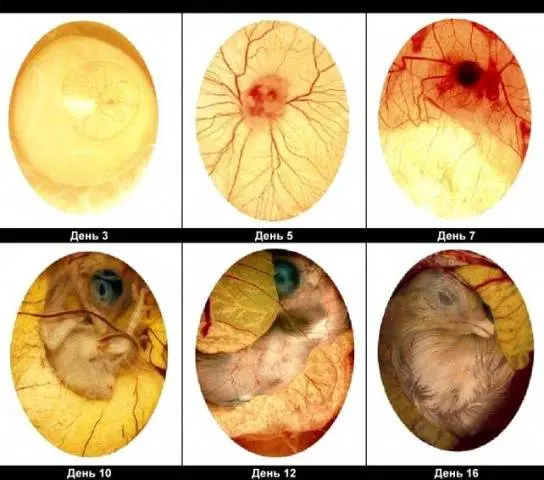
- An egg without fertilization has the same appearance as before being laid inside the incubator, with the difference that the air chamber is expanded.
- If a bloody scarlet ring is visible, this is a sign of the death of the embryo during the first five days the egg is in the incubator.
- If the embryo froze from 6 to 14 days, it takes up about ½ of the entire capacity.
- Quails that died before hatching or during it occupy the entire volume. When viewed on an ovoscope, the lumen is either completely absent, or slightly noticeable.
It is also necessary to find out what exactly caused the decrease in the productivity of quail breeding: a violation of the temperature regime, an unfavorable level of humidity, or irregular egg turning. The reasons for the low productivity of incubation can be.
- Unbalanced diet, lack of minerals, trace elements and vitamins. As a result, weak and initially non-viable embryos are formed. Hatched chicks have malformations, weak immunity. Some babies die, being unable to break through the shell with their beak.
- Wrong mode of incubation. This may be a violation of the regime of humidity and air temperature, as well as insufficient ventilation. Embryos die from lack of oxygen.
- Disturbed gas exchange. It is necessary to monitor the temperature and, in accordance with the incubation regimen, periodically cool the eggs.
Before purchasing an incubator, you need to familiarize yourself with its technical characteristics and the availability of additional functions (automated egg turning, box for hatching chicks, air humidity control).
It is desirable to buy material for incubation in proven farms. But if you wish, you can start growing your own broodstock. You will save money and gain experience. The procedure for incubating quails is a rather painstaking business, but interesting and exciting. Your perseverance and patience will be rewarded!
The incubation process is shown in the video: