Contents
Real apple cider is prepared without added sugar, so it is much easier to drink, perfectly quenches thirst and has less calories than wine. This is an easy-to-make drink, so it is often prepared at home. We offer you reliable recipes and technologies for making delicious apple cider.
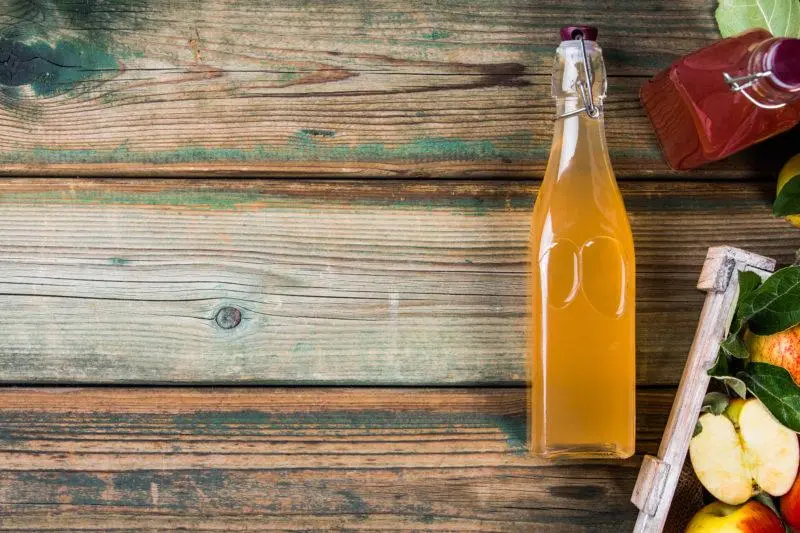
Cider is a low-alcohol drink obtained by fermenting apple, pear or berry juice without adding sugar. It has a characteristic honey or greenish color (homemade cider can be a little hazy). Sugar content: dry to sweet. The most popular is apple cider, which at one time became a cult drink in the UK, especially in the western part of the country. Less popular is pear cider, which is called perry in the United Kingdom.
The Apicius manuscript, which is in fact a Roman cookbook and was presumably compiled in the time of Tiberius, contains a recipe for quince cider.
Apple cider is very popular in France, in particular in the regions of Brittany and Normandy. In the latter, you guessed it, it is also used to make calvados (in Brittany, a distillate known as lambigue is made from cider, which, like calvados, is often mixed with unfermented apple juice to get an extraordinary Pommo aperitif by all standards). In Germany, cider is called apfelwein, which literally translates as “apple wine”. The drink is also popular in Spain (in Asturias and the Basque country). In America, if you happen to be there, cider is called a soft drink (a kind of apple juice), alcoholic is called “hard cider” (hard cider).

The alcohol content in cider is not high: 1,2-8,5% in England, 3,5-12% in continental countries. UK law requires it to contain at least 35% apple juice, but the Campaign for Real Ale (CAMRA), a voluntary consumer organization in England, says cider must contain at least 90%. In France, only a drink made entirely from apple juice can be called cider. In the US, the minimum is 50%.
We will offer you several options for making apple cider at home, both with 100% apple juice, and with the addition of water and sugar. The technology of making cider according to wine technology, which is used to make all apple wines, will be described in great detail. This technology allows even the most novice winemakers to prepare a decent drink at home.
Apple cider by wine technology
The first recipe will be based on the preparation of a drink using wine technology. Its main difference from the technology of making traditional cider is the primary fermentation of juice on the pulp (apple pomace). Ordinary apples have less tannins than a tasty and strong cider requires – in European countries, special “cider” varieties of apples, rich in tannin, acids and other things, were bred for its production a long time ago. Fermentation on the pulp allows not only to saturate the wort with the necessary substances, but also to extract apple juice as much as possible and as easily as possible.
Stage 1. Select and prepare apples
Ordinary apples, which we use for food, are not suitable for making homemade cider, as they have little tannins, and often even less acids. Therefore, a mixture of different varieties is needed, among which there should be sour, sweet and tart apples. But we can use what we have on hand, and it’s better to go pick wild apples in a nearby park than stock up on the market. For all apple wines, including cider, winter varieties are best suited, which are harvested in late autumn and left to ripen in the cellar for 1-2 months.
For cider and so-called table wines, it is better to choose sweet and sour apples of autumn economic species (acid content – 0,6-0,7%, sugar – 10-15%). As for “blending” (in this case, mixing different varieties of apples depending on their taste), there are a lot of proportions here. The most common:
- 3 hours sweet, 3 hours, tart and 2 hours sour apples;
- 2 hours sweet, 2 hours tart and 1 hour sour;
- 1 hours sweet, 1 hours tart and 2 hour sour;
- 1 hour sweet, 3 hours tart;
- 2 hour sweet, 1 hours tart;
- 2 parts bitter apples should take 1 part sweet.
 Apples must necessarily ripen – for this, after picking, they must be placed in the basement for several days (or weeks, if these are late varieties). After ripening, the fruit needs to be washed a little, but without enthusiasm, so that natural yeast cultures remain on them to start the fermentation process. The main thing is to remove strong pollution. Fruits can be wiped with a thick cloth. All wormholes and rotten places must be cut off.
Next, all the apples need to be chopped with a grater, meat grinder, food processor or perforator with a special nozzle. The must is ready for fermentation.
On average, it takes about 5 kg of ripe apples to make 10 liters of apple cider.
Stage 2. Fermentation of apple must
The resulting pulp should be placed in a container with a wide neck. In the classic recipe for fermentation, nothing is needed, as well as the pulp itself. But without apple pomace and sugar, the fermentation process can take a very long time (including due to the low content of tannin in the juice), and the cider itself will turn out not as strong as we would like. At this stage, you can add a little sugar, but it would be wiser to do this after fermentation, when we get pure juice, the sugar will not go to waste.
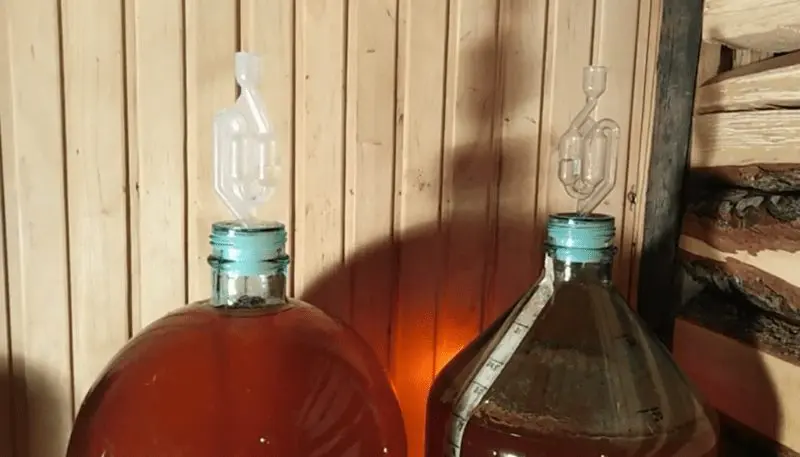
First, the container should be covered with gauze and sent to a warm place for 3-4 days. The contents should be stirred a couple of times a day. After, when fermentation begins (a sour smell appears, the wort begins to foam), the pulp must be squeezed through a dense cloth or several layers of gauze, and the resulting juice should be poured into a clean, dry fermentation container. A water seal should be installed on the container, which will release carbon dioxide and prevent oxygen from entering inside, which can lead to must mold, the formation of apple cider vinegar and other troubles.
As a water seal, you can use an ordinary medical glove with a small hole in one of the fingers. But it will be more reliable to make an analogue of the factory one (by the way, you can find it in a winemaker’s store): take a tube (for example, from a dropper that is sold in any pharmacy) and thread it into a hole that must first be cut in the lid. After that, it will be necessary to cover the joints with plasticine, silicone or drip with wax. The reverse side of the tube must be placed in a glass of water.
Stage 3. Compilation of apple must, rapid fermentation
If you decide to responsibly approach the process and prepare cider for the whole year, then we advise you to familiarize yourself with the table below. It presents the proportions of compiling the wort for cider, taking into account the taste of apples. Water and sugar must be added after filtering the must from the pulp. Sugar can be pre-dissolved in slightly warm water or apple juice.
To make 10 liters of must to obtain 8 liters of apple cider:
The prepared wort must be sent to a dark place where it is possible to maintain the air temperature in the range of 20-27 оC. The temperature will determine how quickly the wild yeast will process the sugar. It usually takes about 30 days, but you should be guided by external signs. If a glove was used, then a sure sign of the end of fermentation will be its “falling off”. If a water seal was used, carbon dioxide bubbles will no longer appear in a glass of water. The wort should clear, a thick yeast sediment will appear at the bottom, and the cider itself will taste dry (bitter-sour, without sweetness).
Stage 4. Silent fermentation of apple cider, maturation
Remove the fermented cider from the sediment with a hose (decant), then stir vigorously to remove excess carbon dioxide. Pour into a clean, dry glass container under the very neck and reinstall the water seal. In this form, apple cider should be sent to a cool place with a temperature of about 10-15 оC for lightening and exposure. After a month, take a sample to make sure everything is going as it should. A yeast sediment should appear – decant. At this stage, the cider can be sweetened to taste by adding sugar or, preferably, fructose. Reattach the water seal (the cider may ferment again) and leave to mature for 2-3 months.
Stage 5. Bottling the cider
Remove the cider from the sediment, if any. Prepare the container. It is better to use tinted glass or plastic bottles, as ultraviolet light negatively affects the color and taste of the cider. Bottles are best sterilized or washed with special disinfectants, for example, from a beer shop. Before bottling, the drink can be adjusted: add more sugar or malic / citric acid. The container must be filled to the very neck, minimizing contact with oxygen, and then hermetically sealed. Such apple cider, if done correctly, can be stored in the refrigerator for up to 3 years.
If you don’t want to wait for half a year to taste your creation, you can try fermenting the pulp under a glove for 5-7 days, and then stop fermenting: squeeze the juice and put it in the refrigerator for 3-4 days. After decanting from the sediment – this cider is stored for about a year, less strong, but still refreshing and invigorating.
The traditional way to make homemade cider
Find the wildest apples and pick the right amount. Let them ripen in a warm place. Squeeze the juice out of them with a juicer, and throw away the pulp – we will no longer need it (or make mash for apple moonshine from it). Next, we cook according to wine technology:
- Hold the juice under cheesecloth for 2-3 days until the first signs of fermentation appear.
- Put the fermented juice under a water seal for 3-4 weeks at a temperature of 20-27 оC, providing him with darkness and peace.
- After vigorous fermentation, drain the cider from the sediment with a hose.
- Install the water seal again and leave it in a dark room for 3-4 months at a temperature of 10-15 оC.
- Once again remove from the sediment and bottle.
Traditional apple cider has a small strength, which is highly dependent on the sweetness of the fruit. It is recommended to store it in an airtight container in a cool place, ideally in a cellar or refrigerator.

At the bottom of a bottle of real apple cider, yeast sediment is sure to fall.
Recipe for apple cider with CKD
A more stable and interesting variant is obtained using CKD (pure yeast cultures), which are sold in wine or beer stores. Almost every such store has special yeast for cider. Almost all champagne yeasts, white wine yeasts, and pale style brewer’s yeasts also perform well. So, to prepare approximately 27-30 liters of delicious cider, we need:
- 75-100 kg of apples
- yeast cultures per 25 l of wort
- any yeast feed (optional)
- 500 g sugar (optional)
How to make apple cider with CKD:
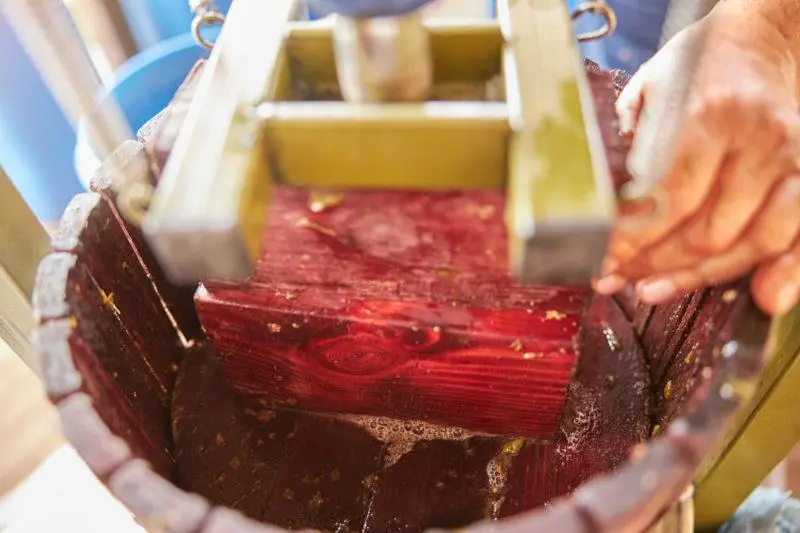
- Rinse the apples well, cut off the wormholes and rotten places. Squeeze out the juice using a juicer or any other device. For such quantities, it is better to have a grape press. We need to get about 35 liters of juice, so the number of apples can be different.
- Pour the juice into the fermentation tank, filling it no more than 4/5 of the volume. Dilute the yeast in warm water or apple juice with 2 teaspoons of sugar and leave for 15-20 minutes in a warm place until it activates (or according to the instructions on the pack). Add prepared yeast to juice. If desired and possible, add yeast feed from the liquor store to the juice.
- Install a water seal on the fermentation tank and send it to a dark place at a temperature of 20-27 оC for 5-7 days. At this stage, rapid fermentation takes place, apple pomace should gather at the top.
- Using a hose, drain the wort from the bottom of the tank, getting rid of the cake from the top. Rinse the fermentation tank with clean water and return the juice back by installing a water seal. Active fermentation with ChKD will continue for another 7-10 days (much faster than with wild ones). Do not forget to maintain the optimum temperature for fermentation.
- When the signs of fermentation subside, drain the cider from the sediment into a clean, dry container and send it to mature in a cool place for 1-3 months. It is advisable to install a water seal. Once a month, you can drain from the sediment.
And then the cider can be carbonated …

How to make apple cider carbonated
Not always bubble cider, but it is the carbonated drink that is the most popular. In Spain, in the Principality of Asturias, there is even such a ritual when non-carbonated cider is poured from a great height so that it is saturated with air and has a sparkling taste like champagne (this ritual is called “escanciar un culín”). But we do not need such difficulties. Homemade cider is very easy to carbonate and natural. This technique is suitable for all recipes described above. Those 500 g of sugar, which are indicated in the last recipe with CCD, are just for this.
For natural carbonation of cider, it is enough to do the following:
- After maturation and clarification, the cider must be bottled. Before that, in each bottle of 0,5-0,7 liters, add 0,5 teaspoon of sugar for weak gassing and 1 teaspoon of sugar for strong. Of course, it is better to use fructose or dextrose (monosugar).
- After adding the sugar and bottling the cider, the bottles should be sealed tightly and left for 3-4 days in a warm place (this will give a secondary fermentation, as the remaining yeast has just received a new food).
- After 3-4 days, bottled cider must be put in the refrigerator to stop fermentation. Now the cider is carbonated and will bring even more pleasure.
It should be remembered that secondary fermentation generates a large amount of carbon dioxide, which creates serious pressure in the bottle. Therefore, the cork on the bottle must sit very firmly. To be on the safe side, if you decide to pour all the cider into glass containers, pour a little drink into plastic to control the carbonation of the drink by the swelling of the walls and not miss the critical mass of carbon dioxide that can break the glass container.
How to drink homemade apple cider
You need to drink homemade cider at a temperature of 12-14 degrees, without sniffing, hourly savoring, color assessments and other nuances. In general, leave all ceremony – just enjoy. Also, cider is often used as an ingredient in cocktails, especially warming ones. Cider is often substituted for champagne in cocktails. If you drink the drink in moderation, then you can forget about the hangover. At the same time, if you knocked over a couple of mugs of cider in a pub yesterday, and in the morning you have all the syndromes of illness, then it makes sense to ask yourself: what did I really drink?
Finally, a little bit of educational program …
Calvados is not the only drink made from cider. In the United States, they are preparing the so-called “applejack” (applejack). This is a traditional American drink, the technology of which is reduced to the concentration of cider. At the same time, cider is not only distilled. The traditional Applejack technology is called sublimation distillation: barrels of cider are left outside all winter, where the water turns into ice, and the stronger cider is carefully drained. The process is repeated until the drink reaches 20-30% strength.
In Normandy, fermenting cider is mixed with young calvados, and in England with labig, an apple distillate (2 parts must and 1 part calvados, labig), and then aged in oak barrels. Such a drink is called pommo (pommeau de normandie or pommeau bretagne) and should be drunk as an aperitif or as an accompaniment to melon and blue cheeses. Fortress pommo about 16-18%.


