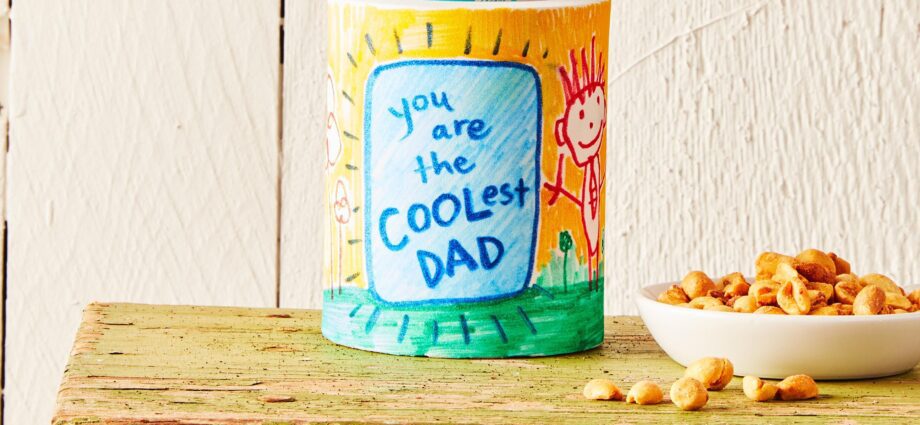
How to make a gift for dad with your own hands
It’s time to reward your warriors and defenders – a keychain, order or a festive frame made with your own hands for February 23rd – will be appreciated by men of all ages.
Design: Violetta Beletskaya Photo Shoot: Dmitry Korolko
Keychain “Warrior”
Make a gift for dad with your own hands
Materials:
- Burgundy felt 0,1 cm thick
- Green felt 0,5 cm thick
- Multicolored floss threads
- Copy paper
- Eyelets 0,4 cm – 2 pcs.
- Key chain ring
Tools:
- Embroidery frame
- Universal punch
- Photo 1. Select a drawing with a soldier. Transfer it to felt using carbon paper.
- Photo 2. Gently pull the burgundy felt over the hoop. Embroider a pattern on the felt using the Simple Double Sided Stitch technique. Remove the embroidery hoop and carefully cut out the embroidered design, leaving a 1,5 cm allowance.
- Photo 3. Cut out two identical parts from green felt in the form of a small shoulder strap. Install the punching nozzle on the punch, make the same holes in both parts. Use a special attachment to secure the eyelets. Also, this hole can be processed by hand by overcasting the edges with threads to match the epaulette.
- Photo 4. Sew the embroidered felt to one piece of green felt with a blind stitch.
- Photo 5. Make a window slot on another piece of green felt.
- Photo 6. Fold the pieces together and hand-sew them over the edge.
- Photo 7. Decorate the top piece by hand-stitching it with red threads.
- Photo 8. Insert the chain with the keyring ring into the hole.
By the way
A keychain can be made from two blanks of thick felt folded together, cut out in the shape of a shoulder strap. Decorate one sheet of felt with two strips of gold braid, attached with a “gossamer” thermal tape. Fold the edges of the tape and glue to the wrong side. Glue the epaulettes together. Decorate it with a gold star decal. Make a hole and fit the grommet, insert the key chain.
Materials:
- Wide photo frame 10×15 cm
- Felt blue and blue, 0,1 cm thick
- Thick three-layer napkins
- Decoupage glue on fabric
- Light cotton fabric
- Cobweb thermal tape
- Blue acrylic paint
- Photo 1. Take three-layer napkins and cut out the images of the soldiers. Peel off the top layer of the picture napkin. Using special decoupage glue, glue the soldier images to the cotton fabric. After the glue is dry, trim off the excess fabric.
- Photo 2. Take a light blue felt and pull it over half of the frame, gently bending the corners. Using a glue gun, attach the felt to the back of the frame. Cut the fabric to pull the felt around the edge of the frame hole. To the rest of the frame, similarly attach end-to-end dark blue felt.
- Photo 3. To make the frame look more tidy, paint the back with blue acrylic paint.
- Photo 4. Place the prepared images of soldiers and drums on the front felt surface of the frame. Place the “cobweb” tape cut out in the shape of the appliqués under them, and iron it in the “cotton” mode through the cotton fabric.
Council
If you want to hang the frame on the wall, you need to attach a metal hanging loop on the back side.
Materials:
- Hot cork rack
- Thin plexiglass
- Blue satin ribbon 4 cm wide
- Thick cardboard
- Metal ring for fasteners, 2 pcs.
- Gold acrylic paint
- Colored paper
- Eyelet 0,4 cm, 1 pc.
- PVA glue
Tools:
- Glue gun
- Universal punch
- Photo 1. Prime with PVA glue and paint the stand with gold acrylic paint. Cut an eight-pointed star out of cardboard that matches the diameter of the stand. Cover the star with two coats of gold paint. Use a hot gun to connect the stand and the sprocket so that the groove in the stand is on the outside.
- Photo 2. Cut out a circle of plexiglass with a diameter of 0,1 cm larger than the diameter of the stand so that the plexiglass holds well in the photo frame. With a punch, punch a hole in one star beam, insert the grommet and secure it with a punch with an eyelet attachment. Insert a metal ring into the hole.
- Photo 3. Thread a satin ribbon through the ring and tie it into a bow. On the back side, glue the second metal ring for fasteners.
- Photo 4. Decorate the rays with triangular colored paper elements, alternating between gold and blue.
Read on: what to give for the birth of a child


