


The days when photographs were gathering dust in albums are a thing of the past. Now family pictures are hung on the wall and proudly shown to guests. How to decorate your home photo gallery beautifully?
Family photos
The main task is how to combine images of different genres, sizes and styles?
You can, of course, buy the same frames and hang the photos in a dull order. However, this monotony is unlikely to delight your guests, and it will not add dynamics to the interior. Get creative with our advice.
1. The principle of rhythm can be maximized – with photographs of the same format, you can completely “revet” the wall, like tiles. An original interior solution for a hallway or office.
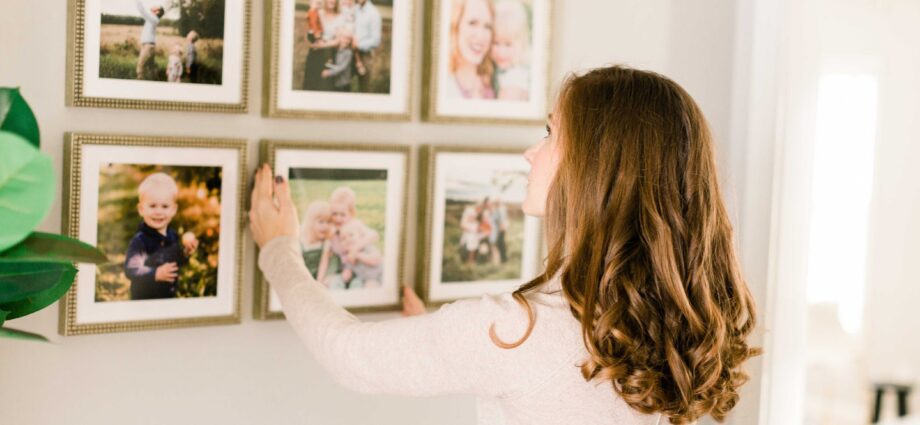
2. You can gather a group of photographs by arranging small photographs around one large one.
3. Avoid placing photographs in order of increasing or decreasing size, as usually such “pyramids” look very unattractive.
4. The strongest selection technique is one photo on one wall. Use it for your favorite family shots.
5. For photographic works, you can also use the principle of tapestry hanging of paintings (pictured). This technique was popular in the XNUMXth century. The point is that “different-sized” works cover the entire wall, like a multi-colored carpet. An effective technique, suitable if you are ready to give an entire wall for exposure and you do not regret that in such a mass, not all pictures will fall into the attention of the beholder.
6. Passepartout will help you combine images of different sizes and give your collection a more artistic look. Be sure to use them for small shots.
7. For school and children’s photographs, bright multi-colored frames and a mat are suitable (they can be cut out of wallpaper, sheets of wrapping paper, even magazine pages – they will add mischief to the entire collection.
8. Frames can become not only a worthy framing of the picture, but also a bright accent of the interior, if they are combined in color with curtains, vases or other colorful details of the setting.
9. When choosing a frame for a photograph, one must remember that the mat is usually 1,5 – 2 times the size of the picture itself.
10. Many people collect travel photographs – handmade frames will be an excellent frame for such a collection. To do this, buy the simplest raw wood frames and decorate them as you wish. Each frame is a separate story worthy of its own frame. It is best if the items for its decoration – shells, sand, leaves and flowers – you grab from the same overseas countries.
11. Be sure to arrange an interchangeable exposure of the most recent family photos – no frames are needed for this, you only need stud buttons or magnets (if you want to place photos, for example, on the refrigerator door). This collection will always be the center of attraction for the guests’ eyes.
12. Hang the photographs so that the line in the center of the work is at eye level of the person standing (the traditional exhibition height is 152 cm). Everything above is inconvenient to consider. If you hang it a little lower, it will be convenient to study the collection while sitting on the couch. For a group of photographs, the same principle will work: add the height of the photographs taking into account the frames and the gaps between them. Then, dividing the resulting number in half, find the photo work in the middle and place it at eye level of the beholder.
13. When hanging two photographs of different sizes side by side, try to place the large one above eye level to make it easier to view the small image.
14. Before hanging your photographs on the wall, lay out the photographs in the intended order on the floor and step back a few steps. This look at the assembled group will help you to better imagine how it will look on the wall, and, if necessary, swap the pictures in places.
15. There are many ways to hang your photos. The simplest one is with a regular nail and hooks. If your walls are sheathed with wood or fabric and you do not want to spoil them, you can use additional wall panels for your home photo corner, in which it will not be a pity to make holes. But it is better to take care of this even at the stage of finishing the premises.
Optional item. If you are posting photographs in a room, basic lighting is sufficient. Backlighting is more often used as an additional technique for highlighting especially significant exhibits in a collection. Ideally, it will be built into the frame, then the lighting will not have to be carried over if you want to outweigh the photo. The main problems with its installation arise in connection with shadows and highlights. Direct the light bulb at the photo and, smoothly moving it and changing the angle, select the point from which the light will fall on the photo, and there will be no glare and shadows at all. Try to use low-voltage halogen bulbs – they are usually small and emit a directional white tint that does not distort natural colors.
Genre scenes, still lifes, portraits do not require monumental dimensions, on average in terms of the volume of the room, a photographic format of 20 × 30 cm is sufficient.For landscapes and photographs with many small details, a size of 30 × 40 cm is desirable.