


Contents
When working with long tables that do not fit vertically on the screen and have a large number of columns, periodically there is a need to scroll the screen in order to display the top line with headings on it. For convenience, the Excel program provides the ability to fix the table header at the top of the screen for the entire time the file is open. The options for achieving this are discussed below.
Only one top row needs to be pinned
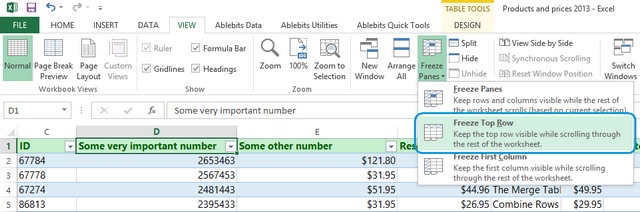
- In the top line of the program ribbon, go to the “View” tab.
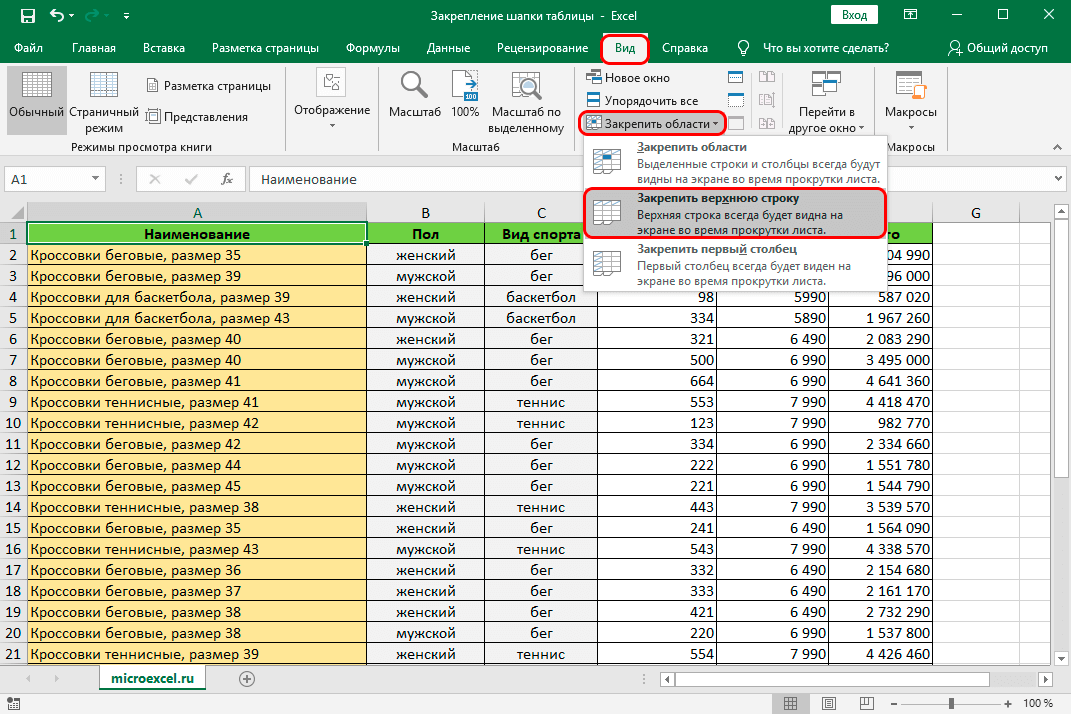
- In the “Window” section (the section names are indicated on the bottom line of the ribbon), find the item “Freeze areas” and click on the triangle in its right part.
- In the list that opens, select “Lock the top row” by clicking the left mouse button. The result will be a permanent presence on the screen of the table header row, which persists even after the file is closed.

The top line is pinned

Attaching a header to multiple lines
If you need to fix several lines, then you should act differently:
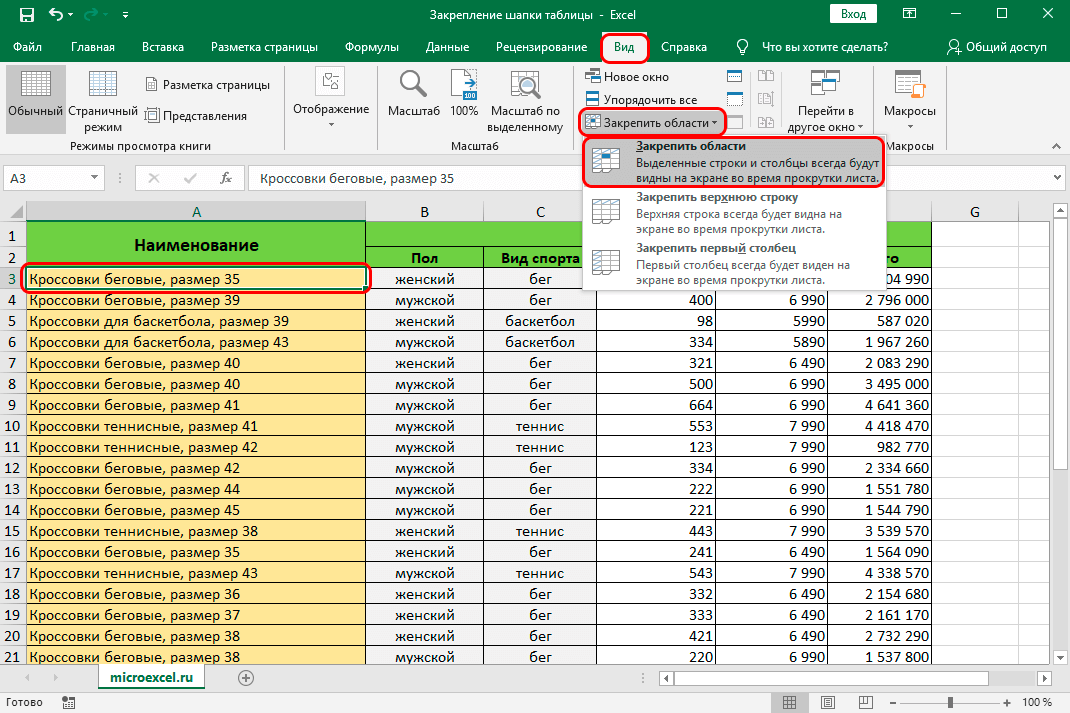
- In the leftmost column of the table, click on the cell of the first row that is not part of the header. In this case, it is cell A3.
Sequence of actions for fixing several lines - Go to the “View” tab, click on “Freeze Areas” and select the “Freeze Areas” item from the drop-down list. As a result, all lines located above the one to which the selected cell belongs will be fixed at the top of the screen.
The heading is fixed in the table, consisting of the top two rows

“Smart table” – another option to fix the header
If you’re familiar with Excel’s smart spreadsheets, there’s another useful way to pin them. True, this option is applicable only in the case of a single-line header.
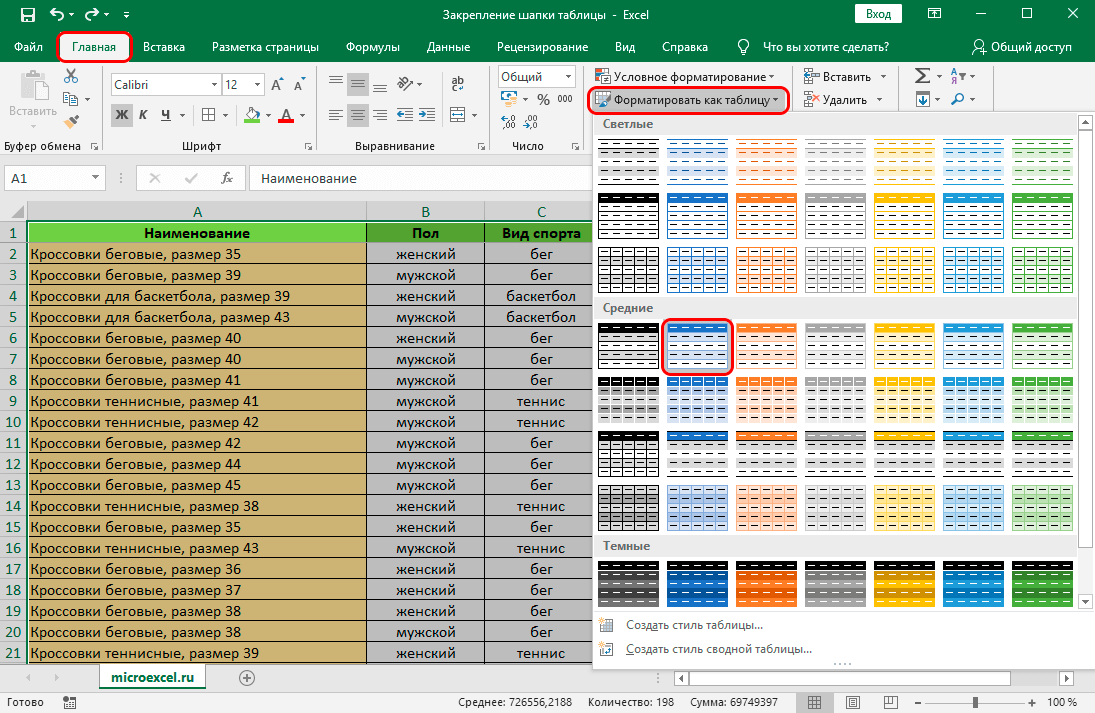
- On the Home tab of the ribbon, select the entire table.
- In the “Styles” section (on the bottom line of the ribbon), click on the “Format as Table” item. A window with a set of table styles will open. In it you need to click on the most suitable option.
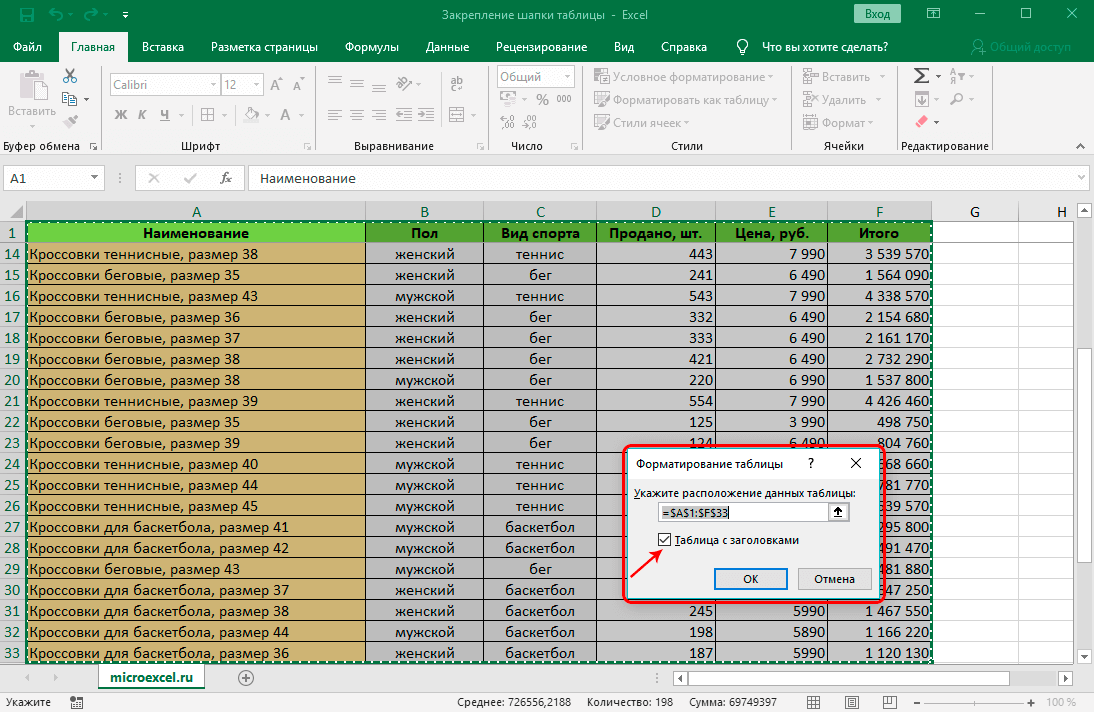
Checkbox “Table with headers” - The “Table Formatting” window pops up, in which the boundaries of the future table are indicated, and the “Table with Headers” checkbox is also located. Make sure the latter is checked.
- Close the window by clicking on the “OK” button.
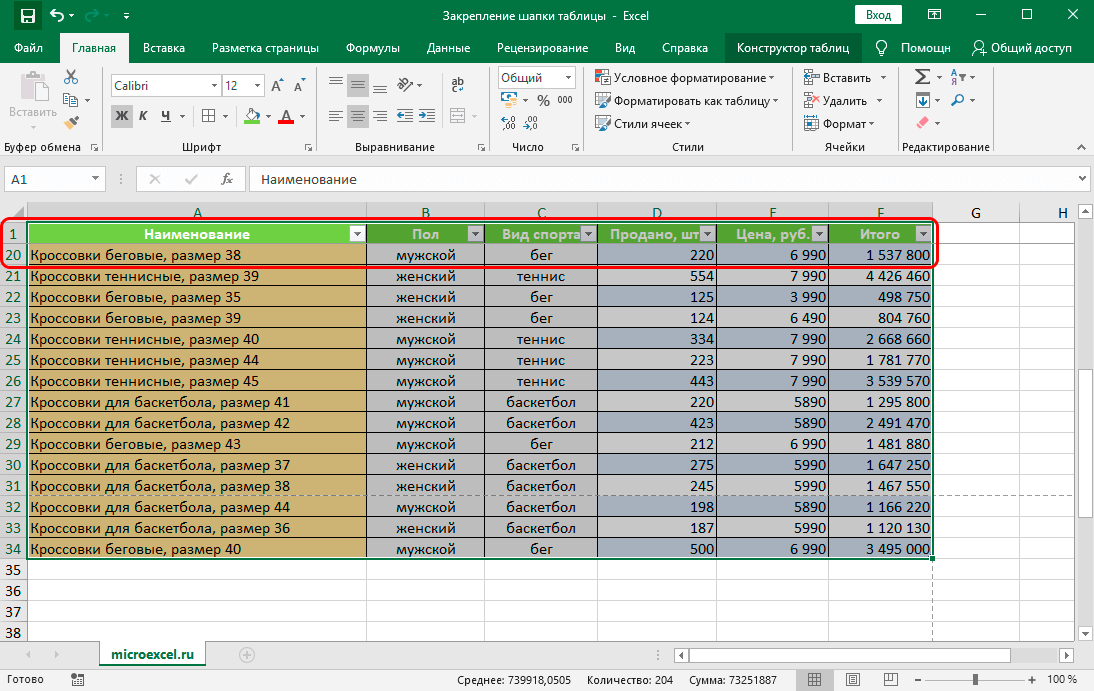
“Smart table” with a fixed header
You can create a “smart table” in another way:
- After selecting the desired area, go to the “Insert” ribbon tab and click on the “Tables” item.
- In the pop-up list, click on the “Table” item.
- After the “Create Table” window appears with the same content as the “Format Table” window, you need to follow the steps similar to those already outlined above. As a result, a “smart table” will also appear with a cap fixed at the top.
The second way to create a “smart table”

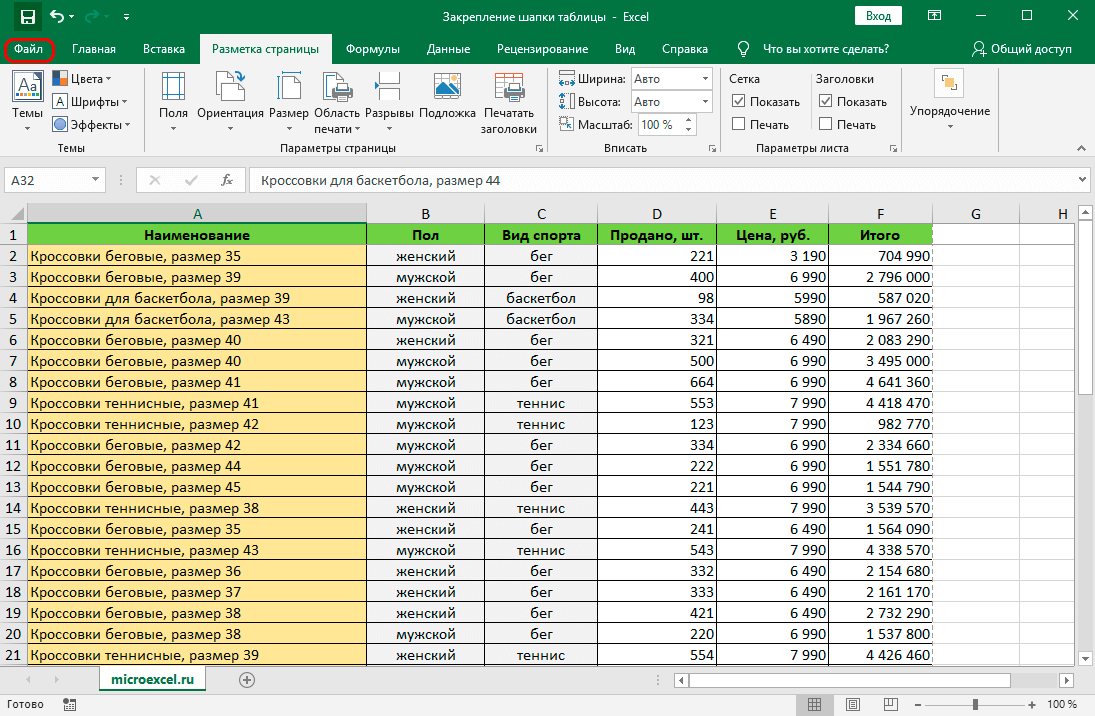
How to print a table with a header on each page
When printing a table spanning several pages, it is useful to have its header on each page. This allows you to work with any printed page separately. In Excel, this possibility is provided and it can be implemented as follows.
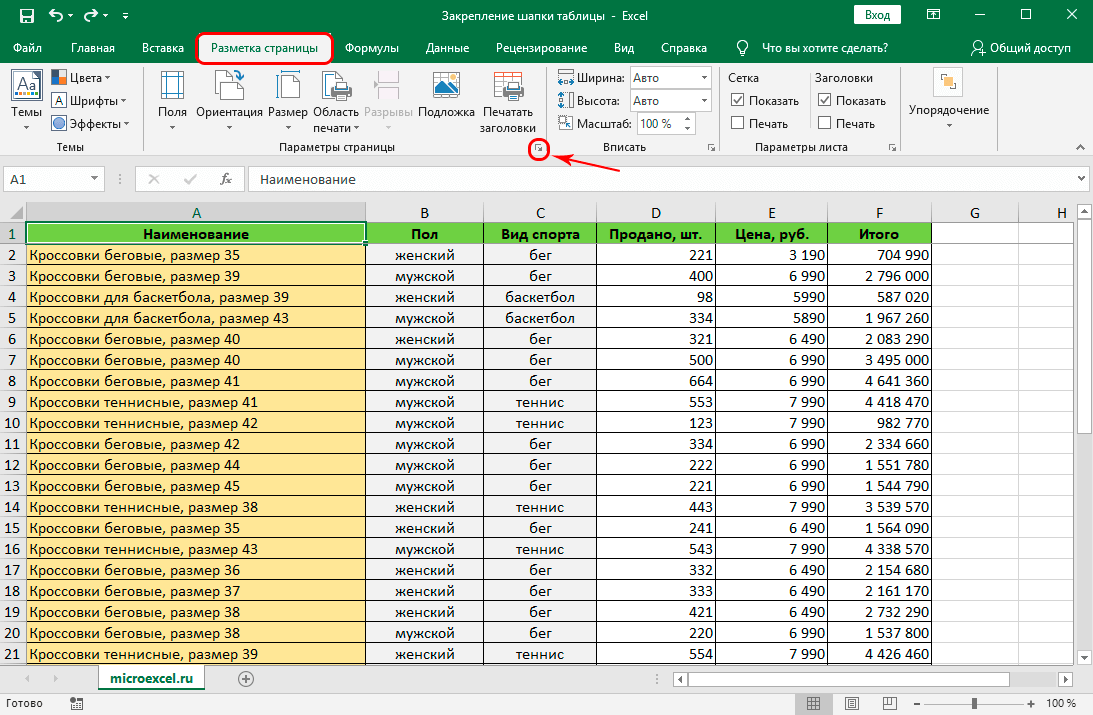
- Go to the “Page Layout” ribbon tab and in the “Page Setup” section (on the bottom line of the ribbon) click on the box with the arrow to the right of the inscription.
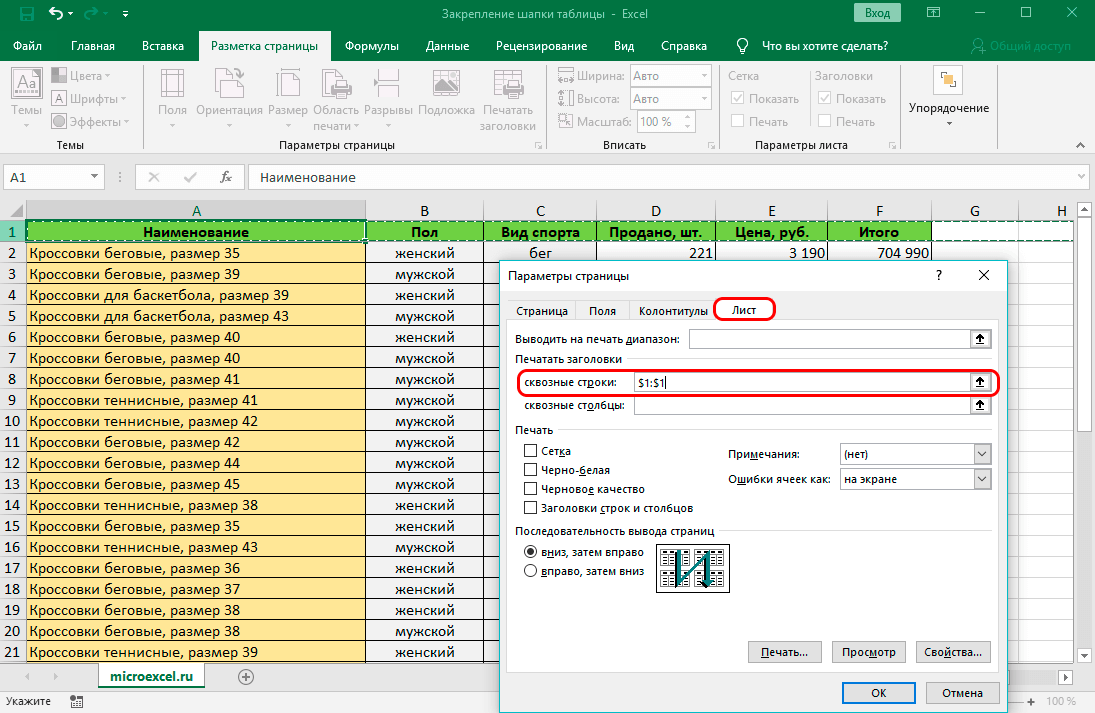
Sequence of actions in the main Excel window - In the Page Setup window that opens, go to the Sheet tab.
- Click on the “Through lines” box (second from the top).
- Return to the table and, by moving the cursor, which has taken the form of a black arrow pointing to the right, along the column with line numbers, select the line or lines in which the table header is located.
The sequence of actions in the “Page Setup” window - On this, all actions are completed, but their result is not displayed on the screen.
Table view after selecting a header to print it on each page
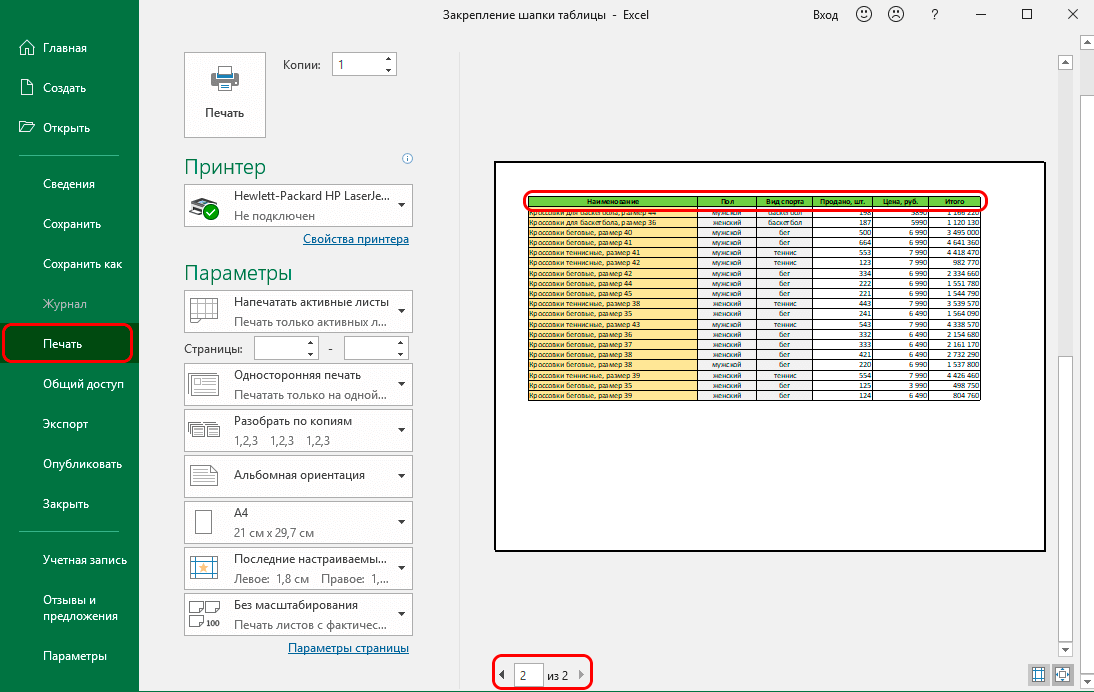
Important! To make sure that the goal is achieved, you need to go to the “File” ribbon tab and click on the “Print” item. In the window that opens, the type of the document as a result of its printing will be displayed.
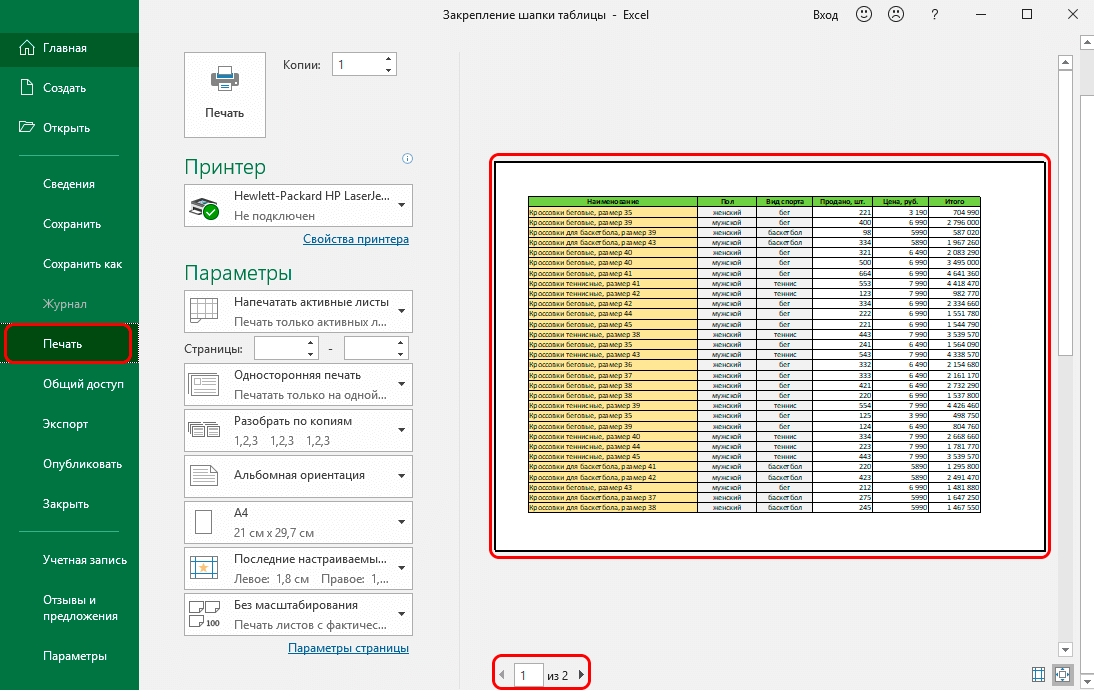
Here, by clicking on the triangles in the bottom line of the window or by scrolling the mouse wheel, with the cursor on the table page, you can view all pages to check for the presence of a header on each of them.
Conclusions
In Excel, there are two ways to permanently display a table header on the screen. One of them involves the use of fixing the area, the second – turning the table into a “smart” one by formatting the selected area of inserting a table into it. Both methods make it possible to pin one line, but only the first allows you to do this with a header consisting of more lines. Excel also has an additional convenience – the ability to print a document with a header on each page, which certainly increases the efficiency of working with it.